59
03/12
CARD Suite Programming Software
General Description
GAI-Tronics’ CARD Suite Programming Software, included in the No. XAC4000A Programming
Bundle CD, is needed to program some of the functions and parameter settings of the dispatch
equipment. It allows entry of operational programming data into your personal computer for transfer to
the equipment. The programmed data can be retrieved, edited, archived, and printed in hard copy for
record keeping. Detailed programming information can be found in CARD Suite’s Help file. The
following information is provides as guidance to initiate the programming application.
Connection
The GAI-Tronics equipment must be connected to your personal computer with the programming cable,
part number XAC0004A, before the programming software can be used. To make this connection, attach
the cable to the COM1 or COM2 connector on the computer. Connect the other end to the programming
jack on the GAI-Tronics equipment.
Installation
The minimum system requirement necessary to support the CARD Suite Software Application is
Windows 95 or newer. However, CARD Suite is not compatible with Windows NT. It is compatible
with Windows XP (Home or Professional), Vista, and Windows 7 when used in Virtual Mode.
The CARD Suite Programming Application components are contained on CD-ROM. Please exit all
other programs that are running until the installation is complete.
1.
Place the CD in the PC’s CD-ROM drive. If the “auto-run” feature on your CD-ROM drive is
enabled, a program selection chart will be displayed. Select
Card Suite
for downloading. If for any
reason the installation does not start up automatically, it can be run from the Start menu.
Select the
S
TART
button and then select
Run
from the Start menu. At the prompt, type
x:\Setup.exe
where
x
represents the drive letter that is associated with your CD-ROM drive. A
CARD Suite icon should appear on the desktop display after successful installation.
2.
After opening the program, select the appropriate product icon, click on
File
in the toolbar and select
New Archive
to begin creating an archive.
3.
Enter an archive description (name) and customer/site (name), select the method of creating the
archive (default values or reading a connected unit), and click
Ok
button to create the archive.
4.
View the
Help
file for programming guidance.
Reading the Unit
1.
After opening the program, select the appropriate product icon, click on
File
in the toolbar and select
New Archive
to begin creating an archive.
2.
Enter an archive description (name) and customer/site (name), select the method of creating the
archive (default values or reading a connected unit), and click
Ok
button to create the archive.
3.
View the
Help
file for programming guidance.
Summary of Contents for IPE2500A
Page 69: ...63 03 12 Circuit Boards...
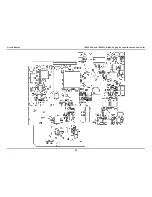
Page 70: ...Circuit Boards IPE2500A and IPE2500A MLS Paging Encoder Desktop Controller 64...
Page 71: ...IPE2500A and IPE2500A MLS Paging Encoder Desktop Controller Circuit Boards 65...
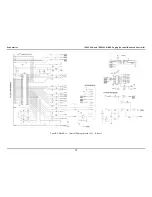
Page 73: ...67 03 12 Schematics...
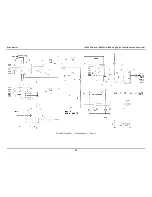
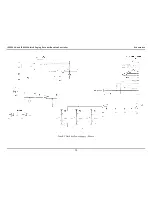
Page 80: ...Schematics IPE2500A and IPE2500A MLS Paging Encoder Desktop Controller 74 Schematic Sheet 7...
Page 86: ...Schematics IPE2500A and IPE2500A MLS Paging Encoder Desktop Controller 80...

