


Page 14
Converting from One Track One Transmitter Operation
to
Two Tracks on the same Transmitter Operation
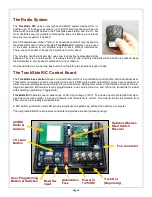
When you receive your new second base unit, it should be labeled “Track 1”, with Parameter 7 set for Option 2
(Two Track—Left Keys), Parameter 4 set for Option 3 (10 secs Momentum), and new stickers to label your exist-
ing transmitter and base unit. It will be all set to go, except you will need to open it up to “Learn” you existing
transmitter. (Press Learn on the PCB then STOP on the transmitter).
Now to set up your existing unit for Track 2 …
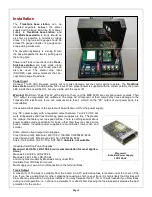
1. Replace the label on your transmitter with the new Two Track label.
2. Open up your base unit and program Parameter 7 for Option 3 (Two Track—Right Keys).
3. Program Parameter 4 for Option 3 (10 secs Momentum, or your choice, but both units should be the same).
4.
Place the Track 2 label on your base unit.
Your throttle momentum is now determined by User Parameter 4, so set that as desired.
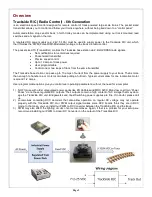
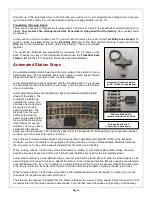
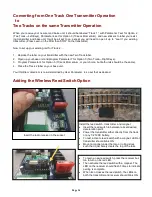
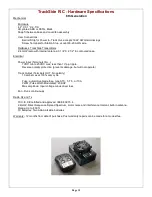
Adding the Wireless Reed Switch Option
Insert the radio receiver in the socket
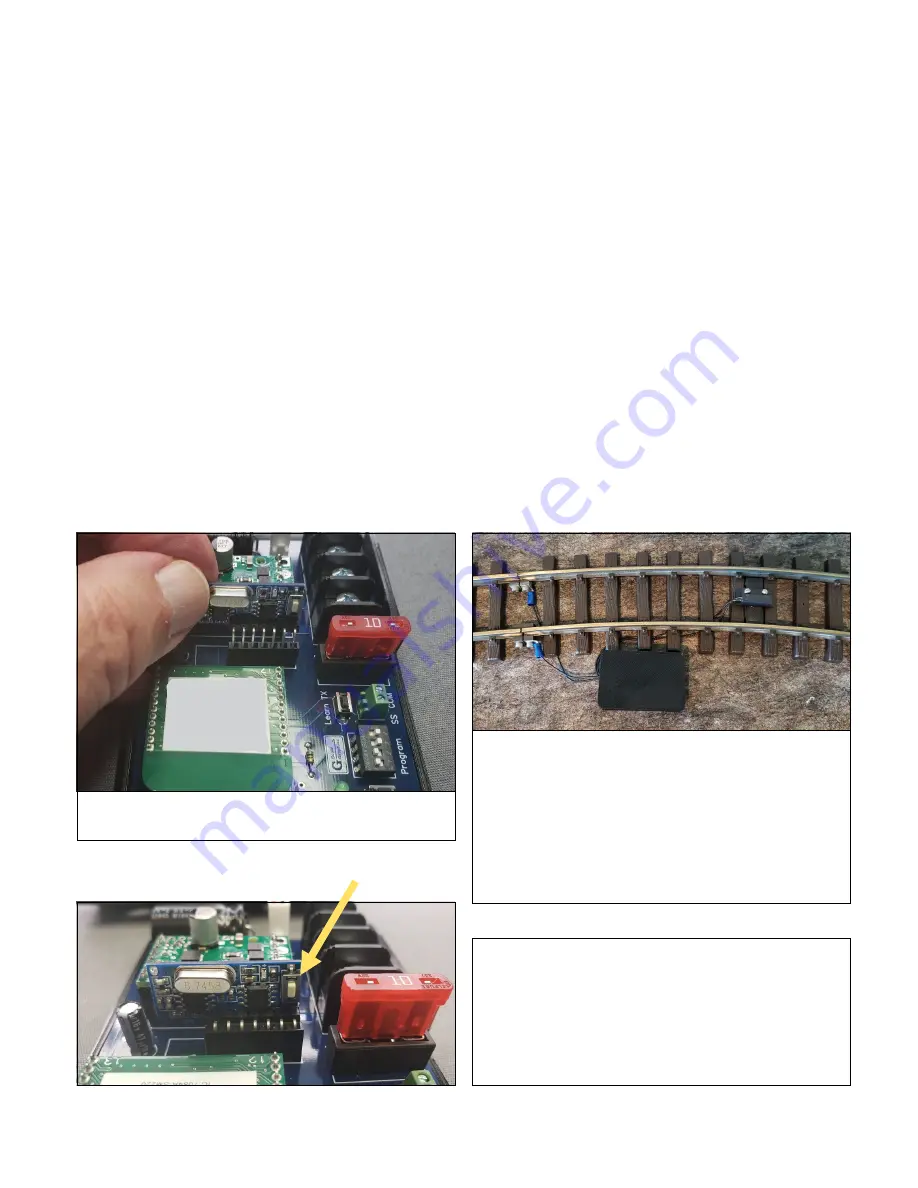
Install the reed switch, transmitter, and magnet
Insert the reed switch in between rails at desired
deceleration point.
Power the transmitter either directly from the track
or any 7-25VDC battery.
To test, activate reed switch with a magnet. LED on
transmitter should blink ON.
Mount a magnet under the loco or rolling stock
such that it just barely clears the top of the rails.
To learn a new reed switch, press the receiver but-
ton to turn on its red LED.
Then activate the reed switch with a magnet. The
LED on the receiver should flash 3 times to indicate
pairing is complete.
When loco crosses the reed switch, the LEDs on
both the transmitter and receiver should blink ON.