2
While we have carefully designed your F306 to operate in a safe manner, accidents can happen.
Your F306 should
NEVER be run unattended or overnight.
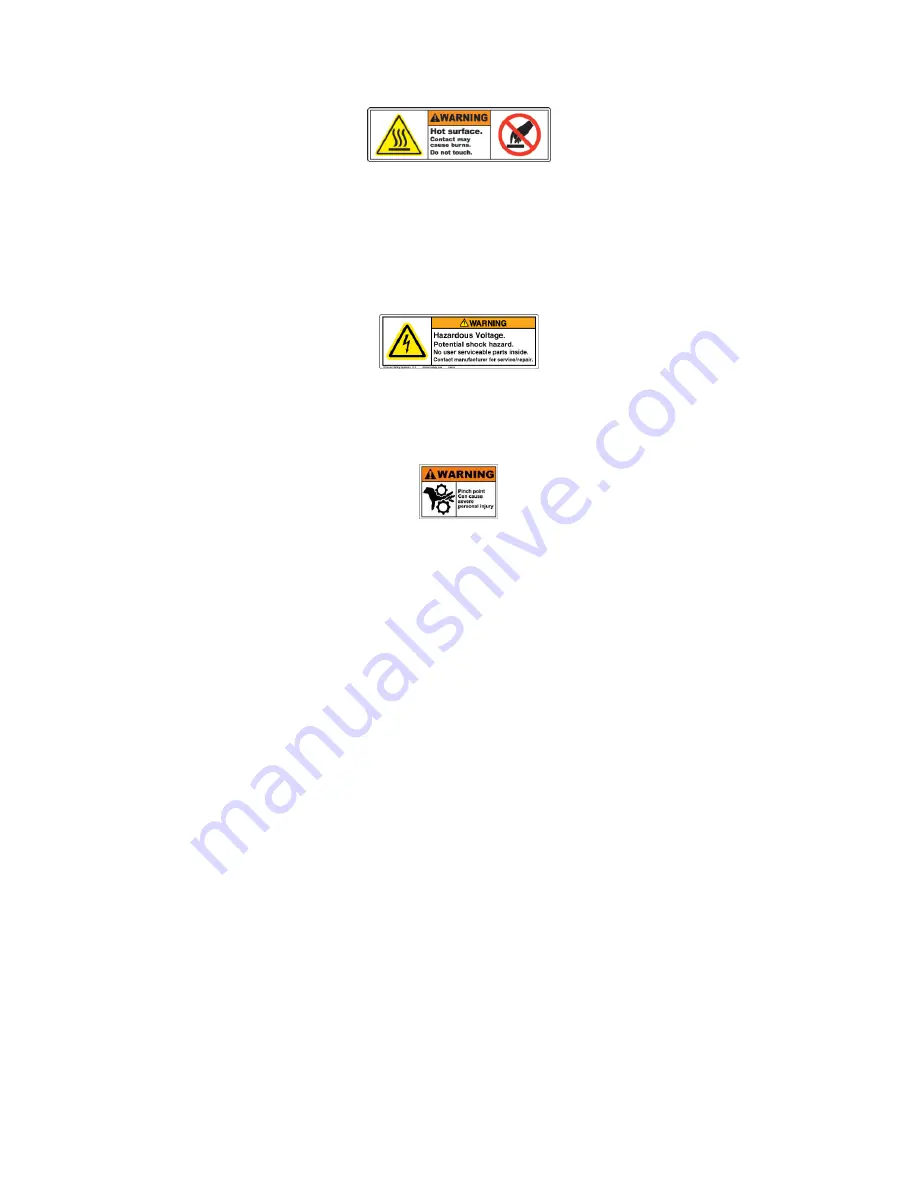
Your F306 contains components that operate at 110VAC. These components have been shielded to prevent
accidental access. These guards are marked with the warning below. Do not remove these guards while your
machine is in operation, or plugged into the wall.
Your F306 also contains components that pose a pinch hazard while in operation, such as the linear motion
carriages and the extruder feed system. Take care to keep fingers, hair, other body parts, and clothing away from
these components while your F306 is in operation.
Your F306 is a high-precision piece of equipment that is precisely constructed, aligned, and calibrated at our
factory. Refrain from subjecting your printer to shocks, drops, or heavy forces that may cause misalignment of the
components.
2.
Your First Print
This section will guide you through the steps to get your F306 printing for the first time. We highly recommend
using the included roll of PLA filament, and printing the pre-prepared file on your SD card. These instructions will
walk you through how to accomplish this.
2.1.
Inspect Your System
If you had your F306 system shipped to you, see Appendix A for inspection instructions. If anything has been
damaged in shipping, it’s important to catch it now before it might damage something else!
2.2.
Level the Print Bed
See section 5.2 for instructions on how to level the print bed.
2.3.
Load Filament & Prepare to Print
Every F306 comes with a free roll of high-quality PLA. We
highly
recommend using this included material for your
first print. Not only is PLA an easy material to work with for beginners, but your SD card includes a pre-prepared
print file that is configured to be run with PLA.
Load the filament into your F306 using the “Load filament” script in the “Prepare” menu. See section 5.3 for more
information.
First, we need to prepare the print bed for printing.
Summary of Contents for F306 Generation I
Page 7: ...7 4 General Info Hardware 4 1 Machine Overview Figure 5 Front View Figure 6 Side View...
Page 8: ...8 Figure 7 Axes Layout Figure 8 Control Board Detail...
Page 9: ...9 Figure 9 Print Head Detail Figure 10 Extruder Cold End Detail...
Page 18: ...18 Figure 20 Filament Fed Across Hobbed Gear Figure 21 Disengaging the Idler Bar Springs...
Page 57: ...57 In general you should be able to get within 1 of the correct flow rate with 3 trials...


