background image

Appendix IV  Wireless Zero Configuration Utility 


78 


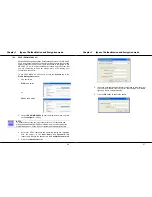
When the Wireless Zero Configuration Utility is in use, a pop-up message 
is displayed on the Utility when you attempt to create or edit a 
configuration profile from the 

Profile Management

 tab of the utility. 


CAUTION 

If you activate BOTH (not recommended) the Wireless Zero 
Configuration Utility and the Atheros Utility simultaneously, the Profile 
setting configured by the Atheros Utility will be overridden by those of 
the Wireless Zero Configuration Utility. 


AIV.2    Disable Wireless Zero Configuration Utility 

 
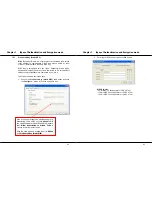
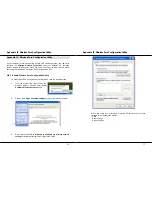
To turn Wireless Zero Configuration Utility off on Windows XP, 
 

1.

 Open 

the 

Wireless Zero Configuration

 Properties dialog box. 


2.


Clear the check box

 Use Windows to configure my wireless network


settings. 


3.


When this check box is cleared, all profile settings will be controlled by the 
USB adapter’s utility. 


Appendix V  Panel Views and Descriptions 


79 

Appendix V  Panel Views and Descriptions 


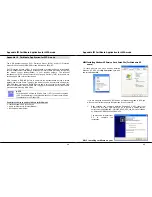
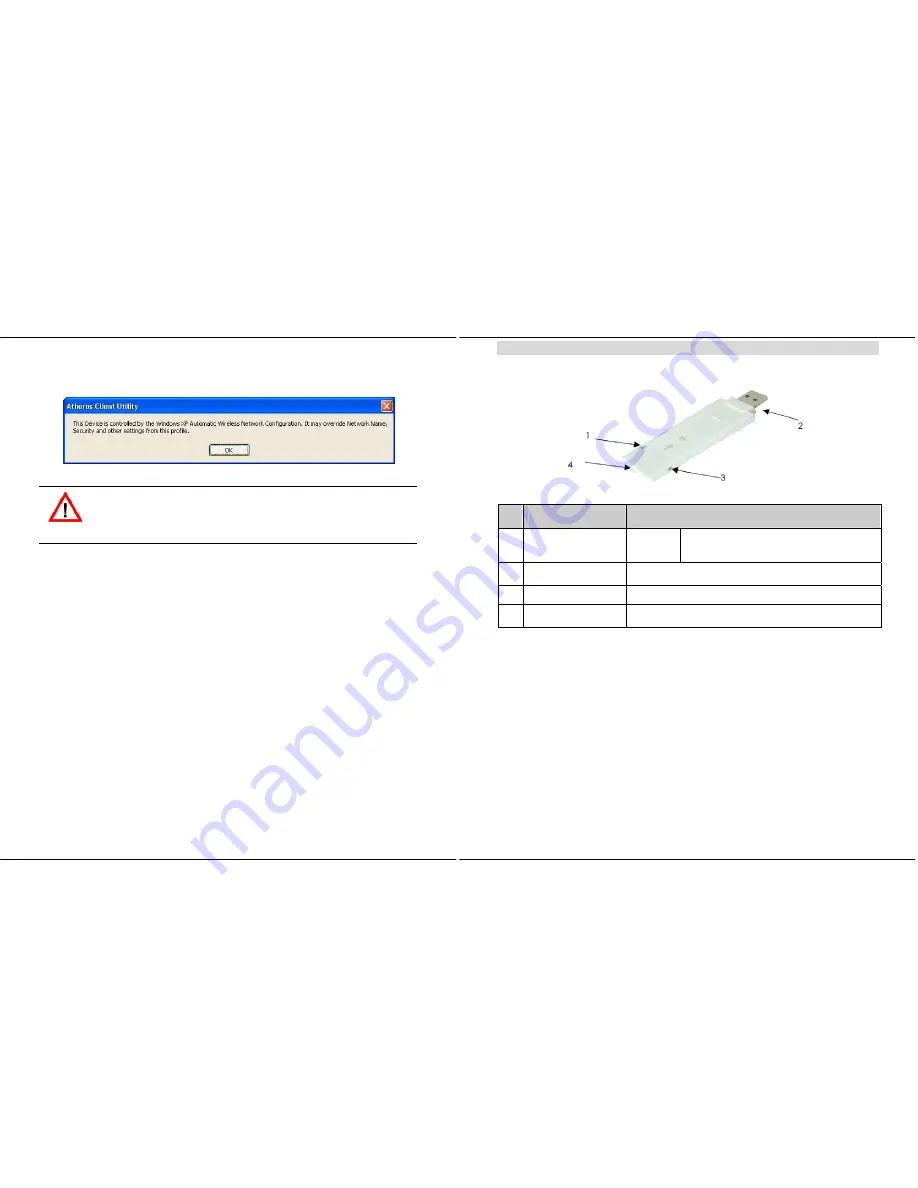
Components 

Indications & Descriptions 

Power  

Green 

Indicates that power is being supplied to 
the USB adapter. 
 

USB Connector 

Connect this end to the USB port of your PC/notebook. 
 

MC Connector  

Connect the external antenna to the MC connector. 

Hook 

As a strap holder to prevent the USB adapter form 
being lost or carelessly dropped. 


Summary of Contents for W-Client

Page 1: ...ELESS ADAPTER UTILITY CONFIGURATION 32 6 1 Ad hoc Mode 32 6 1 1 When to set up Ad hoc Mode 32 6 2 Infrastructure Mode 42 6 2 1 Configuration on Infrastructure Mode 43 CHAPTER 7 TYPES OF AUTHENTICATION...

Page 2: ...is big on features compatibility with wireless 802 11 networks ensures that you can be connected easily Bandwidth needs in the home are increasing rapidly with the introduction of new devices and ser...

Page 3: ...of your PC notebook It is also backwards compatible with USB1 1 though the throughput will then be limited to the 12Mbps of the USB1 1 standard Easy Set up Using your wireless USB adapter is quick an...

Page 4: ...3 Wireless Adapter Installation 5 4 When the License Agreement screen appears you are required to read and accept the agreement to continue Click on the Next button to proceed 5 Select your preferred...

Page 5: ...Wireless Zero Configuration Utility to configure your wireless device Installing this tool will only allow you to view the status of the connected wireless device s through the USB adapter s utility...

Page 6: ...nd select Properties 2 Select the Hardware tab and click on Device Manager Chapter 3 Wireless Adapter Installation 9 The folder name Atheros USB 2 0 Wireless Network Adapter will appear in the Network...

Page 7: ...g the System Tray Utility This chapter will elaborate on the Atheros system tray utility found at the right bottom corner of your screen Right click on the utility icon and the menu will appear The fo...

Page 8: ...successfully enabled Click on the OK button to proceed Chapter 4 Using the System Tray Utility 13 Manual LEAP Login If you select this option you will have to manually start the LEAP authentication p...

Page 9: ...nt the wireless adapter is connected to if any Link Speed States the speed of the link connection Client Adapter IP Address Displays the IP address of the wireless adapter Chapter 5 Wireless Adapter U...

Page 10: ...name and the SSID of the wireless network to connect to Note that the Client name refers to the name that is registered to your PC notebook You can enter up to 3 different SSIDs in order of preference...

Page 11: ...lete and click on this button We are using profile default as an example Note that the active profile the profile that you are currently using cannot be deleted Active profile indicated by this icon c...

Page 12: ...e to enter the name under which to save the profile and click on the Save button Now your profile is saved to your selected folder Chapter 5 Wireless Adapter Utility Features 21 This function allows y...

Page 13: ...D indicate the type of WLAN detected Infrastructure AP Network Connected to Infrastructure AP Network Ad hoc Network Connected to Ad hoc Network Encryption Active Notice that if there is a icon appear...

Page 14: ...the Add button from the Available Profiles list Refer to the screen shown below Please note that you need AT LEAST TWO profiles to activate the Auto Select Profiles function and that each of your pro...

Page 15: ...for this mode Off The power management is disabled and the card consumes full power from the computer Normal The driver turns off the power to the adapter for brief periods over briefly spaced time i...

Page 16: ...network The wireless adapter must match the wireless mode and channel of the other wireless clients it associates to 802 11 Authentication Mode Only applicable to Infrastructure mode after you have en...

Page 17: ...AC Address The MAC address of the USB adapter Driver The driver name and path of the USB adapter s driver Driver version The version of the USB adapter s driver Driver date The creation date of the US...

Page 18: ...wish to you can also set a common channel for all Ad hoc clients to use This will be illustrated in the following section 6 1 1 When to set up Ad hoc Mode Wireless client Wireless client Wireless clie...

Page 19: ...nced tab Set your Network Type to AdHoc and 802 11b Preamble to Short Long 6 You may leave the Transmit Power Level at their default values 7 In the Wireless Mode section check and confirm whether all...

Page 20: ...n the type of encryption key that you have selected For 64 bit WEP 10 hexadecimal or 5 ASCII Text Chapter 6 Wireless Adapter Utility Configuration 37 For 128 bit WEP 26 hexadecimal or 13 ASCII Text Fo...

Page 21: ...ame SSID as PC1 and that Client Name is pre configured to the name registered to PC2 You need to give a name to your profile e g Daddy Chapter 6 Wireless Adapter Utility Configuration 39 4 Next procee...

Page 22: ...me 2ms TTL 128 Pinging 192 168 168 11 bytes 32 time 2ms TTL 128 This indicates that the connection between PC1 and PC2 has been established successfully You can now access to one another wirelessly Fo...

Page 23: ...6 Wireless Adapter Utility Configuration 43 6 2 1 Configuration on Infrastructure Mode In this example two notebooks and PC2 act as wireless clients to communicate with the wireless AP Once all config...

Page 24: ...and click on the Activate button to add it to your profile list Chapter 6 Wireless Adapter Utility Configuration 45 Notice that the SSID has already been pre configured in this profile The SSID of bo...

Page 25: ...S DOS Prompt window type ping 192 168 168 1 t whereby this IP address belongs to your access point When the screen appears Pinging 192 168 168 1 bytes 32 time 2ms TTL 128 Pinging 192 168 168 1 bytes 3...

Page 26: ...CII Text Enter any character that can be found on the keyboard WEP Key 1 4 Defines a set of shared keys for network security You must enter at least one WEP key to enable security using a shared key I...

Page 27: ...r 7 Types of Authentication and Encryption mode 51 2 Choose EAP TLS from the drop down menu and click on the Configure button NOTE To enable this security you must ensure that your PC notebook has alr...

Page 28: ...ot Certification Authorities drop down list 4 The EAP username is pre defined in the User Name field IF not specify your username which is registered with the server for EAP authentication Enter your...

Page 29: ...e authority CA from which the server certificate is downloaded from the drop down list Chapter 7 Types of Authentication and Encryption mode 55 4 Enter your PEAP username which is registered with the...

Page 30: ...io button 2 Choose PEAP MS CHAPV2 from the drop down menu and click on the Configure button NOTE To enable this security you must ensure that your PC notebook has already downloaded WPA PEAP certifica...

Page 31: ...e and password to Use Temporary User Name and Password Each time your PC reboots you will be require to enter your LEAP username and password in order to be authenticated and obtain access to the netw...

Page 32: ...th User Name option to automatically send your Windows login domain together with your user name to the RADIUS server Default Check the No Network Connection Unless User Is Logged In option to force t...

Page 33: ...red encryption keys 1 Choose the Pre shared Key Static WEP radio button and click the Configure button to fill in the encryption key If the access point that the wireless adapter is associating to has...

Page 34: ...re 2 Select Atheros USB 2 0 Wireless Network Adapter and click on the Stop button to terminate all activities Appendix I Remove USB Adapter from the System 65 3 Next select Atheros USB 2 0 Wireless Ne...

Page 35: ...move Programs icon 2 Highlight the Atheros Client Installation Program and click on the Change Remove button 3 Wait until you see the Atheros Client Installation Program screen Select Uninstall the pr...

Page 36: ...n order to access to a wireless network using WPA mode NOTE For Windows XP users with Service Pack 1 SP1 you need to upgrade to SP2 available from the Microsoft website or to install the two patch fil...

Page 37: ...have installed Microsoft SP2 or Microsoft XP SP1 with the 2 patch files provided on the Product CD you are now ready to apply for a certificate for your wireless client At this stage ensure that your...

Page 38: ...listing This shows that the certificate has been issued to you Appendix III Certificate Application for WPA mode 73 AIII 4 Becoming a domain member Next you need to add your username in the domain so...

Page 39: ...rd again for verification Please note that your system administrator provides this information 5 Click on the OK button to proceed 6 When done a message will appear as shown below You may need to rest...

Page 40: ...Wireless Zero Configuration Utility To set Wireless Zero Configuration on Windows XP take the following steps 1 From the system tray right click on the Wireless Network icon and select View Available...

Page 41: ...onfiguration Utility To turn Wireless Zero Configuration Utility off on Windows XP 1 Open the Wireless Zero Configuration Properties dialog box 2 Clear the check box Use Windows to configure my wirele...

Page 42: ...ogonal Frequency Division Multiplexing Antenna internal or external antenna Appendix VI Technical Specifications 81 Operating Channels IEEE 802 11b g IEEE 802 11a 11 Channels North America 13 Channels...

Page 43: ...Environment Environmental Requirements Operating temperature Storage temperature Operating humidity Non operating humidity 0 C to 55 C 20 C to 70 C 10 to 70 RH 5 to 90 RH Power Consumption 5 V DC 500...

Reviews: