Chapter 6
Wireless Adapter Utility Configuration
46
6.
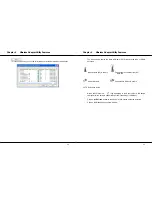
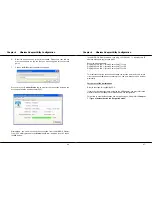
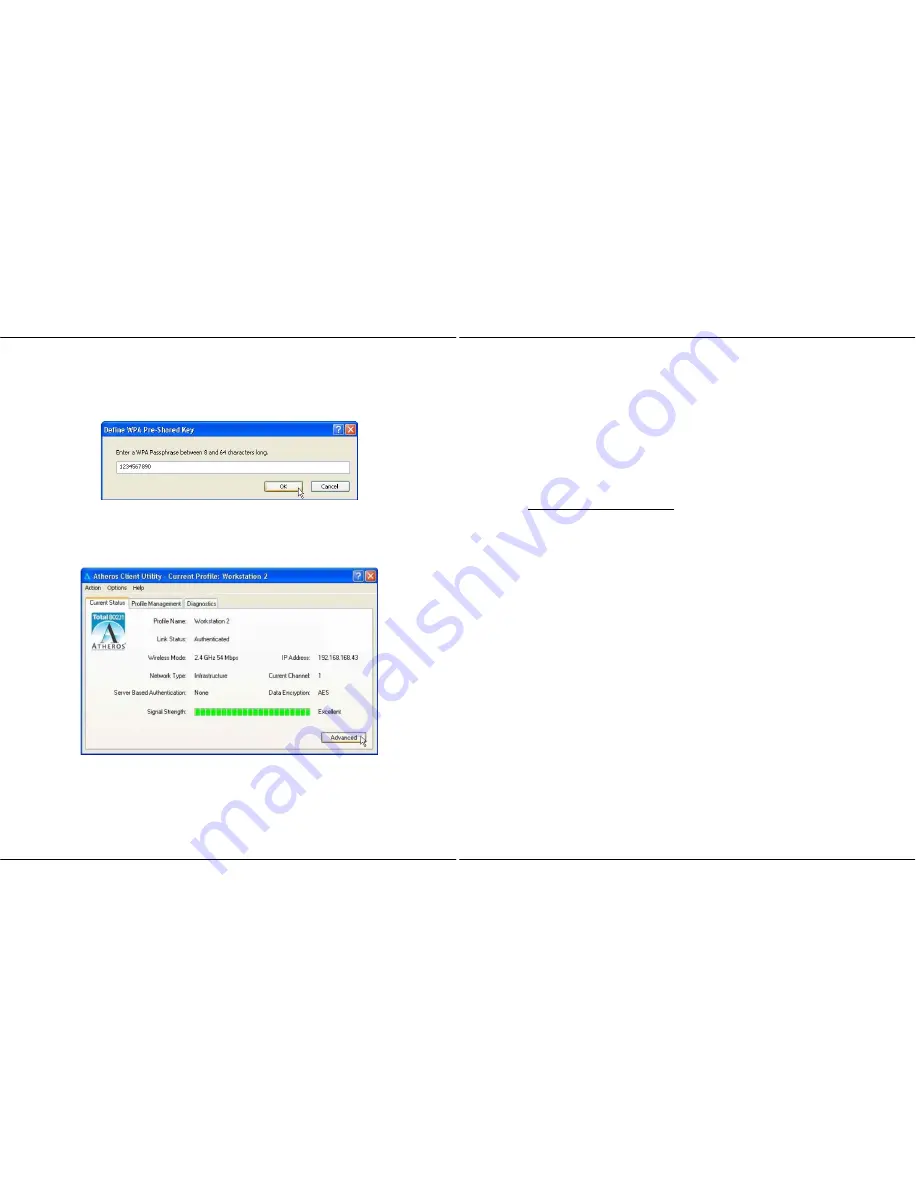
Enter the encryption key in the field provided. Please note that this key
must be the same as the one that you had configured for your access
point.
7.
Click on the
OK
button to update the changes.
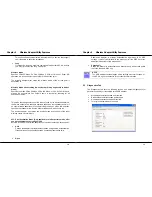
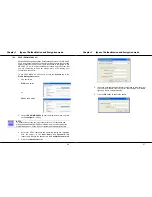
Proceed to your
Current Status
tab to monitor the connection between the
access point and the wireless client (PC2).
Alternatively, you can also check the connection from the MS-DOS Prompt.
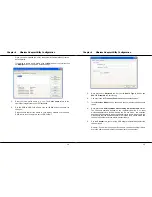
From PC2, simply proceed to the
Start
Menu,
Run…
and type in
cmd
. Click on
the
OK
button.
Chapter 6
Wireless Adapter Utility Configuration
47
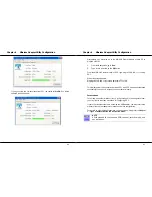
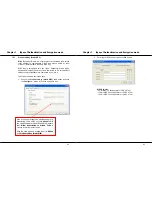
In the MS-DOS Prompt window, type
ping 192.168.168.1 –t
, whereby this IP
address belongs to your access point.
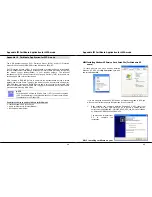
When the screen appears:
Pinging 192.168.168.1: bytes=32 time=2ms TTL=128
Pinging 192.168.168.1: bytes=32 time=2ms TTL=128
Pinging 192.168.168.1: bytes=32 time=2ms TTL=128
…….
This indicates that the connection between the access point and the wireless
client has been established successfully! You can now access to one another
wirelessly!
For the rest of the workstations
Refer to the steps for configuring PC2.
If your other wireless clients are not using the USB adapter, you may refer to the
manual of these other adapters for details on Ad-hoc configuration.
For details on other authentication and encryption types, kindly refer to
Chapter
7 “Types of Authentication and Encryption mode”


