Chapter 6
Wireless Adapter Utility Configuration
38
For PC2
1.
Set your PC’s IP address to
192.168.168.12
; subnet mask to
255.255.255.0
.
2.
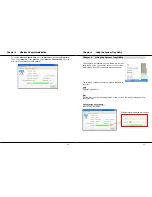
Go
to
the
Profile Management
tab and click on the
Scan
button to look
for
USB-CLIENT
(the SSID that you had previously created in PC1).
3.
Once detected, highlight this profile and click on the
Activate
button.
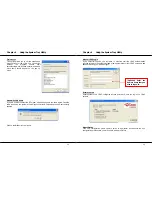
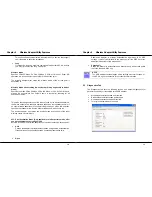
Notice that there is a key beside the Network name (SSID). This shows that you
need the encryption key to connect to this network.
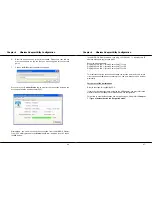
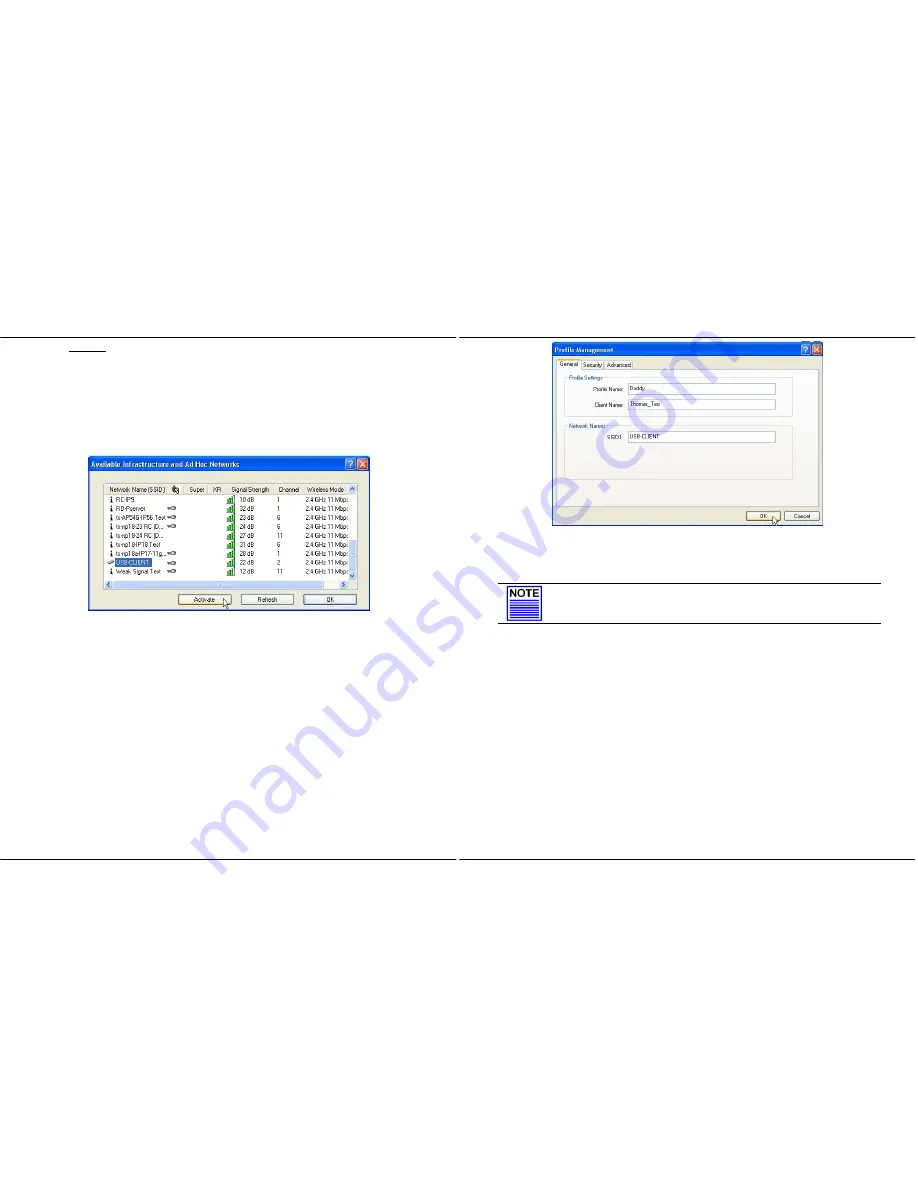
Next, you can see that the
SSID
is set to the same SSID as PC1 and that
Client
Name
is pre-configured to the name registered to PC2. You need to give a
name to your profile, e.g.
Daddy
.
Chapter 6
Wireless Adapter Utility Configuration
39
4.
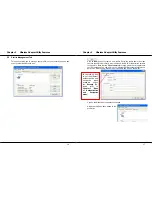
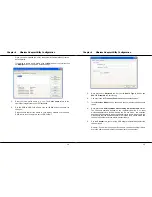
Next, proceed to the
Security
tab and set the same security settings as for
PC1.
NOTE
The SSID and encryption key for PC1, PC2 and the notebook must be
the same in order to communicate with one another.
Also, if you are using a specific channel instead of Auto, PC1, PC2 and
notebook must be set with the same channel.
5.
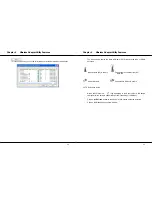
Click on the
OK
button and go to the
Current Status
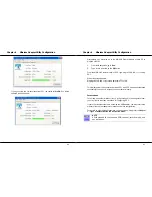
tab. Notice that once
the connection has been successfully established, the link status will
display <associated> and the signal strength will appear as a green bar.

