23
EN
DVD Setup
In Setup menu, QUICK mode, CUSTOM mode and INIT. mode (refer to pages 23-25) are available. QUICK mode consists
of the setting menus often needed, and you can make all settings required in CUSTOM mode. You can make the settings of the
items with
mark in QUICK mode.
Language Setting
Language setting can be varied with some DVDs or DivX
®
Subtitles recorded in CD-R/RW.
1)
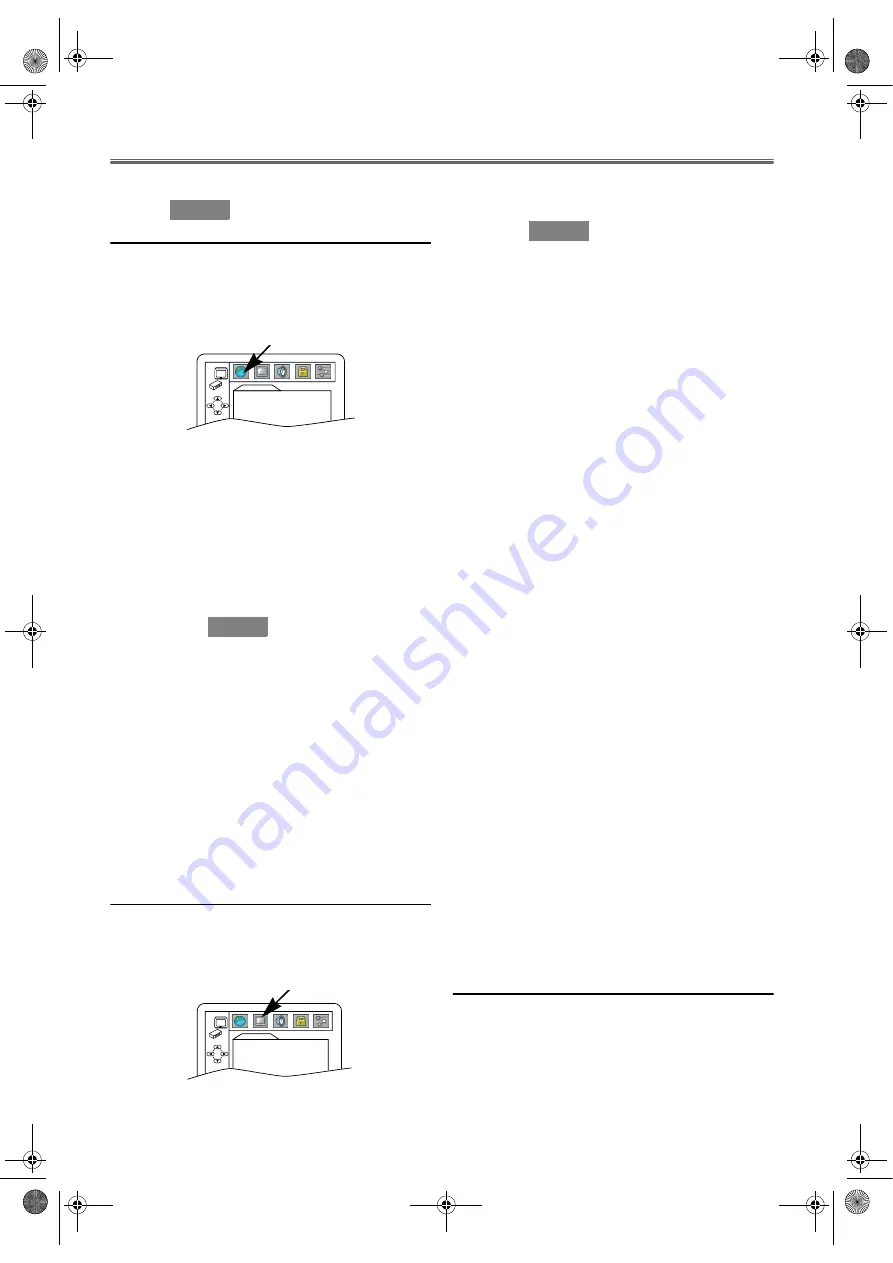
In Stop mode, press
SETUP
.
2)
Press
s
or
B
to select “CUSTOM”, then press
ENTER
.
•CUSTOM mode screen will appear.
3)
Press
s
or
B
to select “LANGUAGE”, then press
ENTER
to confirm.
4)
Press
K
or
L
to select the below items, then press
ENTER
.
5)
Press
K
or
L
to select an option, then press
ENTER
.
6)
Press
SETUP
to exit.
AUDIO (*1, 2, 3) :
• Sets the audio language.
• The default setting is “ORIGINAL” (original audio
language of the disc).
SUBTITLE (*1, 2, 3) :
• Sets the subtitle language.
• The default setting is “OFF”.
DISC MENU (*1, 2) :
• Sets the language for the DVD menu.
• The default setting is “ENGLISH”.
PLAYER MENU :
• Sets the language for the On-Screen display.
• The default setting is “ENGLISH”.
DivX SUBTITLE (*4) :
• Sets the DivX
®
subtitle language.
• The default setting is “OFF”.
Note:
*1 : If “OTHER” is selected in the “AUDIO”, “SUBTITLE”
or “DISC MENU” screen, press 4-digit number to enter
the code for a language you choose. (Refer to “Language
Code” on page 25.)
*2 : Only the languages supported by the disc can be selected.
*3 : Even if DVDs contain multiple audio or subtitle
languages, “LANGUAGE” setting screen for “AUDIO”
or “SUBTITLE” may not be available with some discs.
Then, use
AUDIO
or
SUBTITLE
. (Refer to page 19.)
*4 : If you want to display the Russian or Bulgarian subtitle,
you can select either “RUSSIAN1” or “RUSSIAN2”
which depends on type of the subtitle files.
Display Setting
You can change the display functions.
1)
In Stop mode, press
SETUP
.
2)
Press
s
or
B
to select “CUSTOM”, then press
ENTER
.
•CUSTOM mode screen will appear.
3)
Press
s
or
B
to select “DISPLAY”, then press
ENTER
to
confirm.
4)
Press
K
or
L
to select the below items, then press
ENTER
.
Select options following instructions below.
5)
Press
SETUP
to exit.
TV ASPECT :
4:3 LETTER BOX : When viewing a 16:9 picture on a 4:3
aspect TV screen, black bars appear on
the top and bottom of the screen.
4:3 PAN & SCAN : When viewing a 16:9 on a 4:3 aspect TV
screen, a full height picture with both
sides trimmed is presented.
16:9 WIDE
: If a wide-screen TV is connected to this
unit, select this setting.
• Press
K
or
L
to select a setting, then press
ENTER
.
• The default setting is “4:3 LETTER BOX”.
STILL MODE :
AUTO : Automatically select the best resolution setting
(“FRAME” or “FIELD”) based on the data
characteristics of the pictures.
FIELD : Select “FIELD” when the pictures are still unstable
even if “AUTO” is selected. “FIELD” stabilizes the
pictures, although the picture quality may become
coarse due to the limited amount of data.
FRAME : Select “FRAME” to display relatively motionless
pictures in higher resolution. “FRAME” improves
the picture quality, although it may unstabilize the
pictures due to simultaneous output of two FIELD
data.
Note: •
An individual picture on TV screen is called as
FRAME, which consists of two separate images called
as FIELD. Some pictures may be blurred at the
“AUTO” setting in Still mode due to their data
characteristics.
• Press
K
or
L
to select an option, then press
ENTER
.
• The default setting is “AUTO”.
TV TYPE :
• Select a video system setting between “AUTO” and “PAL”.
AUTO : Changes the video system (PAL / NTSC)
automatically according to the format of the
inserted disc.
PAL
: Outputs a modified PAL signal for viewing discs
recorded with the NTSC system on a PAL system
TV.
• Press
ENTER
repeatedly to select “AUTO” or “PAL”.
• The default setting is “AUTO”.
VIDEO OUT :
• Press
K
or
L
to select an option, then press
ENTER
.
• The default setting is “SCART”.
Audio Setting
Choose the appropriate audio settings for your equipment. It
only affects during the playback of DVDs.
1)
In Stop mode, press
SETUP
.
2)
Press
s
or
B
to select “CUSTOM”, then press
ENTER
.
•CUSTOM mode screen will appear.
QUICK
LANGUAGE
AUDIO
ORIGINAL
SUBTITLE
OFF
DISC MENU
ENGLISH
PLAYER MENU
ENGLISH
DivX SUBTITLE
OFF
QUICK
DISPLAY
TV ASPECT
4:3 LETTER BOX
STILL MODE
AUTO
TV TYPE
AUTO
VIDEO OUT
SCART
SCART
: If your TV has a SCART terminal and
is connected to it, select this setting.
COMPONENT
INTERLACE
(Component (I))
: If your TV has component jacks and is
connected to them, select this setting.
COMPONENT
PROGRESSIVE
(Component (P))
: If your TV is compatible with
progressive scanning and connected to
it, select this setting. “P.SCAN” will
appear on the front panel display.
QUICK
E8G06ED(EN).fm Page 23 Friday, July 27, 2007 8:51 PM