U41057-J19-Z146-1-76
July 2004
02
–
TX150S2
–
91
Removal/installation routines
Hard disk subsystem
©
S
iem
en
s
N
ix
d
or
f I
n
fo
rm
a
ti
ons
s
y
s
tem
e A
G
19
95
P
fa
d
: P
:\
0
2
-s
y
s
tem
e
in
h
e
it
e
n\
T
X
15
0S
2\
T
X
15
0S
2-
e\
T
X
15
0S
2-
e.
k
0
4
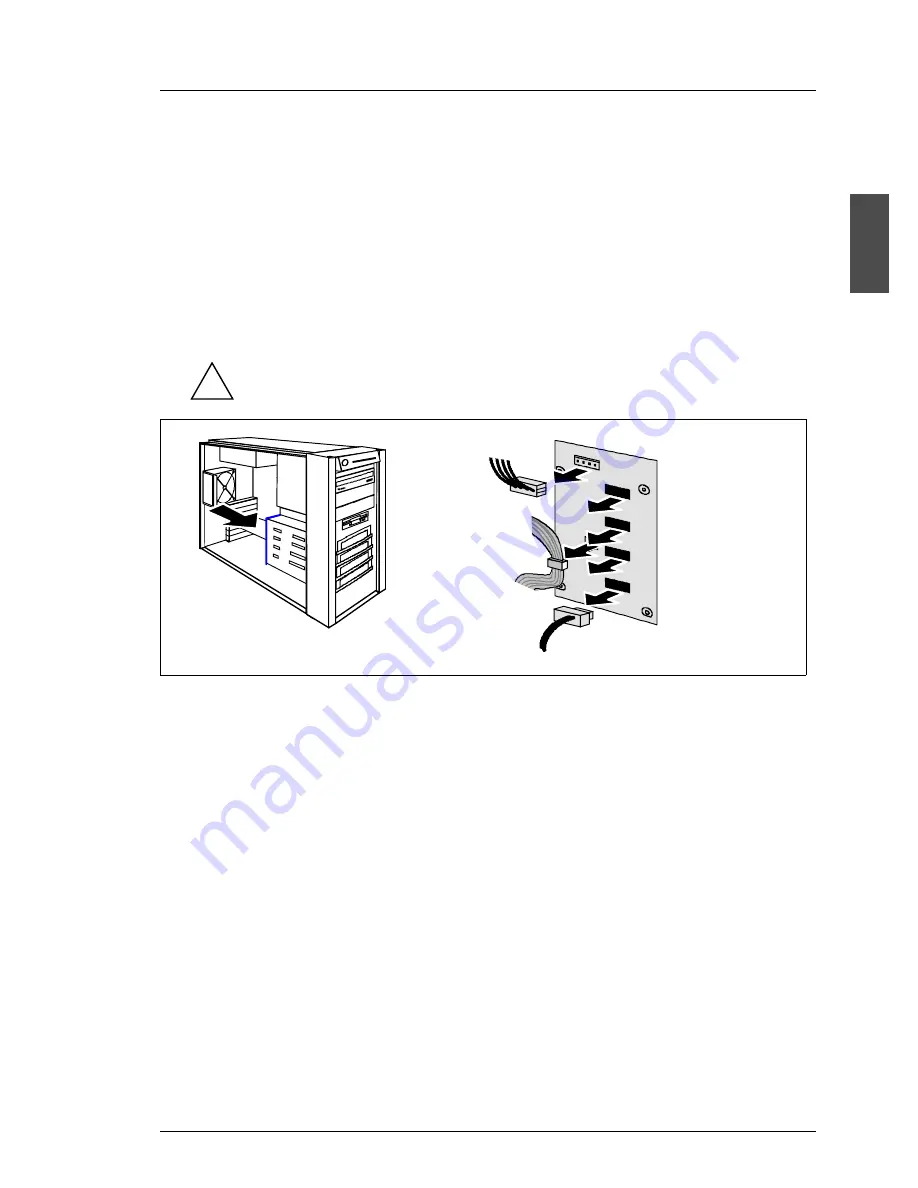
Replacing the SATA backplane
The SATA backplane is mounted on the hard disk cage. It is not necessary to
remove the hard disk cage before replacing the SATA backplane.
Requirements
–
server has been switched off
–
power cords have been disconnected
–
left side cover has been removed
–
all SATA hard disk drives have been removed
Check if all hard disk drives are uniquely identified so that you can
reinsert them into their original bays.
Ê
Disconnect the power cable (1), the four SATA data cables (2), and the I2C
connector (3) from the SCSI backplane.
Ê
Remove the four screws (two at each side) that fasten the SATA backplane
holder to the hard disk cage.
Ê
Take the SATA backplane together with the holder out of the server. Be
carefully with the isolation foil.
Ê
Press down the rear side of the body-bound rivets which fasten the SATA
backplane to the holder and lift the SATA backplane from the holder.
Installation of the new SATA backplane is performed in reverse order.
!
1
2
1
3
4 x


