51
4
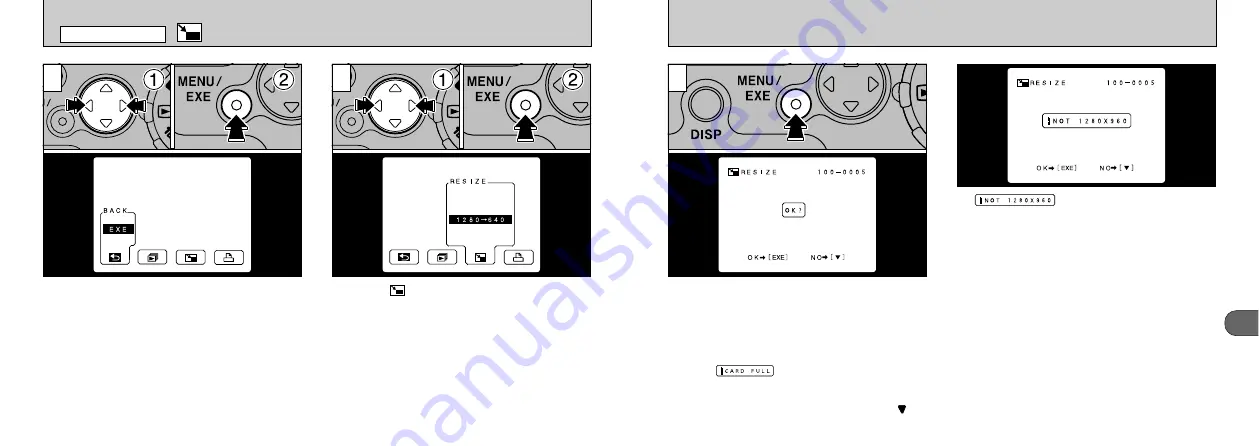
A confirmation screen appears. To proceed,
press the “MENU / EXE” button. The resized
image is recorded as a separate file.
If “
” is displayed, the size of the
photographed image is not 1280
✕
960 pixels.
Only images shot with the FILE SIZE set to
[1280
✕
960] can be resized.
●
!
If the “
” message appears, the image
cannot be recorded. Erase some of the images on
the SmartMedia to create more space.
●
!
If you do not want to resize the image, press “
” on
the 4-way button.
3
50
➀
Display the image you want to resize on the
LCD monitor.
➁
Press the “MENU/EXE” button to display the
menu.
➀
Select “
RESIZE” (resize).
➁
Press the “MENU/EXE” button.
RESIZE
2
1
PLAYBACK MENU


