background image

2

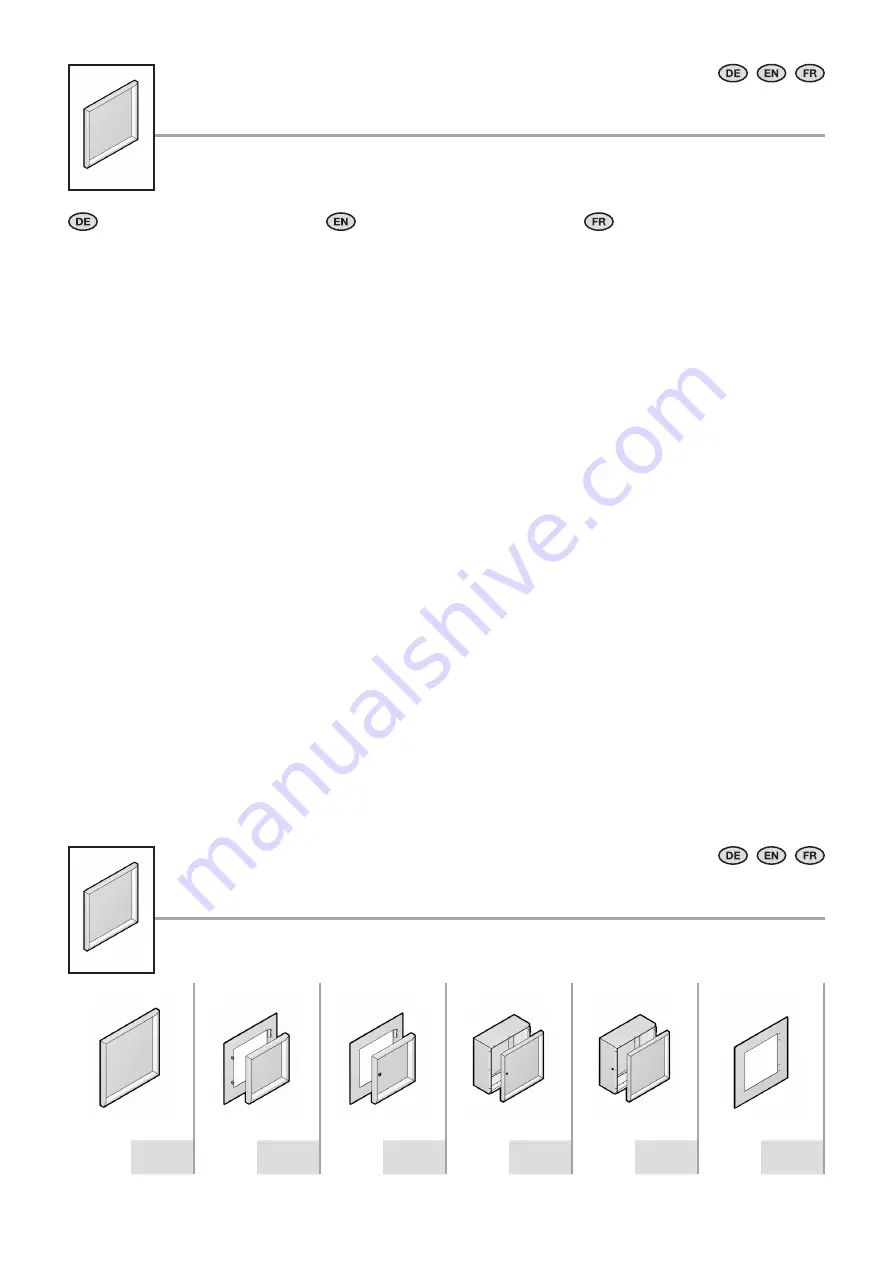
                                                                                  Bedientableau FT / Operating panel FT / Tableau de commande FT

Inhaltsverzeichnis

Contents

Sommaire


Seite

1.


Hinweise zur Dokumentation 

3

1.1   CE-Kennzeichnung 

3

1.2   Aufbewahrung der Unterlagen 

3

1.3    Verwendete  Symbole 

3

1.4    Mitgeltende  Unterlagen 

3

1.5   Normative  Verweise 

3

2.


Sicherheitshinweise 

4 – 14

3.


Gerätebeschreibung 

14 – 15

3.1   Funktionsbeschreibung   

und Bestandteile 

14

3.2   Lieferumfang 

15

4.


Montage und Aufstellung 

16 – 26

4.1   Anforderungen an den Aufstellort 

16

4.2   Bedientableau an Fläche mit max.  

Ausschnitt montieren 

17 – 18

4.3   Bedientableau mit Vorreiberverschluss 

an Fläche mit max. Ausschnitt  

montieren 

19 – 20

4.4   Bedientableau mit Vorreiberverschluss 

als Türersatz montieren –  

Verschluss frontseitig 

21 – 22

4.5   Bedientableau mit Vorreiberverschluss 

als Türersatz montieren –  

Verschluss seitlich am Gehäuse  23 – 24

4.6  Bohrschablonen 

25 – 26

5. Transport 

27

6. 

Inspektion / Wartung 27

7. Lagerung 

28

8.


Technische Daten 

28

9.


Ersatzteile 29

10.


Garantie 29

11.


Kundendienstadressen 29


Page

1.


 Notes on documentation 

3

1.1   CE  labelling 

3

1.2  Storing the documents 

3

1.3  Symbols used 

3

1.4    Other  applicable  documents 

3

1.5   Normative  references 

3

2.


Safety instructions 

4 – 14

3.


 Device description 

14 – 15

3.1  Function description and  

         components 

14

3.2  Scope of delivery 

15

4. 

Assembly and siting 

16 – 26

4.1  Site requirements 

16

4.2  Mounting the operating panel  

         on a surface with max. cut-out  17 – 18
4.3   Mounting the operating panel  

with cam lock on a surface  

with max. cut-out 

19 – 20

4.4   Mounting the operating panel with  

cam lock as a door replacement  

– cam lock at the front 

21 – 22

4.5   Mounting the operating panel  

with cam lock as a door replacement  

– cam lock at the side  

of the enclosure 

23 – 24

4.6  Drilling templates 

25 – 26

5. Transport 

27

6. 

Inspection and maintenance 27

7. Storage 

28

8.


Technical specifications 

28

9. 

Spare parts 

29

10.   Warranty 

29

11.  Customer services addresses 

29


Page

1.


 Remarques  relatives   

à la documentation 

3

1.1   Certification  CE 

3

1.2  Conservation des documents 

3

1.3    Symboles  utilisés 

3

1.4  Autres documents applicables 

3

1.5   Renvois à la norme 

3

2.


Consignes de sécurité 

4 – 14

3.


 Description du tableau de 

commande  

14 – 15

3.1  Description fonctionelle et éléments  14
3.2   Composition de la livraison 

15

4.


 Montage et implantation 

16 – 26

4.1  Exigences concernant le lieu 

         d’implantation 

16

4.2   Monter le tableau de commande  

sur une surface avec  

une découpe max. 

17 – 18

4.3  Monter le tableau de commande avec 

         serrure à came sur une surface avec  

         une découpe max. 

19 – 20

4.4   Monter le tableau de commande  

avec serrure à came en remplace- 

ment d’une porte  

– serrure à came à l’avant 

21 – 22

4.5   Monter le tableau de commande avec 

serrure à came en remplacement d’une 

porte – serrure à came sur le côté  

du coffret 

23 – 24

4.6  Gabarits de perçage 

25 – 26

5. Transport 

27

6. 

Inspection et entretien 27

7. Stockage 

28

8.


Caractéristiques techniques 

28

9.


 Pièces de rechange 

29

10.   Garantie 

29

11.  Coordonnées des services 

         après-vente 

29

Inhaltsverzeichnis

Contents

Sommaire

3 – 16, 

27 – 29

17 – 18

19 – 20

21 – 22

23 – 24

25 – 26

Summary of Contents for Rittal FT 2740.010

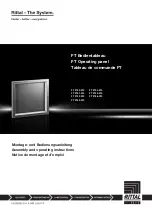
Page 1: ...Operating panel Tableau de commande FT Montage und Bedienungsanleitung Assembly and operating instructions Notice de montage et d emploi FT 2740 010 FT 2741 010 FT 2742 010 FT 2743 010 FT 2744 010 FT...

Page 2: ...3 Mounting the operating panel with cam lock on a surface with max cut out 19 20 4 4 Mounting the operating panel with cam lock as a door replacement cam lock at the front 21 22 4 5 Mounting the opera...

Page 3: ...product They must be given to the plant operator who is then responsible for the storage of the documents so that they are readily available when needed 1 3 Symbols used Please observe the following...

Page 4: ...onal protective equipment must be worn during all assembly work Utilisation correcte Le produit d crit dans cette notice convient en remplacement de la porte des coffrets lectriques AX ou se monte aus...

Page 5: ...per le relative applicazioni Prima di montare il prodotto descritto nelle istruzioni assicurarsi che l armadio non sia collegato all alimentazione elettrica I dispositivi di protezione individuale de...

Page 6: ...elu oceny i zapobiegania elementom krytycznym dla bezpiecze stwa Poniewa nie mo na wykluczy niekt rych pozosta ych zagro e nale y przestrzega poni szych wskaz wek Nieprzestrzeganie wskaz wek bezpiecze...

Page 7: ...lunec rii La utilizare verifica i gradul de protec ie IP al accesoriilor Anterior mont rii produsului descris in aceste instruc iuni asigura i v c a i scos cutia echipamentele de sub tensiune n cazul...

Page 8: ...os klas s IP Montuojant instrukcijose apra yt produkt reikia u tikrinti kad r mu netek t tampa Atliekant bet kokius montavimo darbus b tina naudoti asmenines apsaugines priemones Sihtotstarbeline kasu...

Page 9: ...redi lo ich v skytu Ke e nie je mo n vyl i v skyt mal ho po tu zvy kov ch riz k je nutn dodr iava nasledovn pokyny V pr pade nere pektovania bezpe nostn ch pokynov m e d js k ohrozeniu zdravia a ivota...

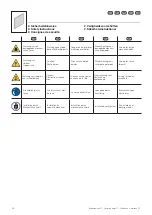
Page 10: ...enstand Caution Sharp object Attention aux objets pointus Waarschuwing voor scherpe voorwerpen Varning f r vassa f rem l Warnung vor Hindernis sen im Kopfbereich Caution Obstructions in head area Atte...

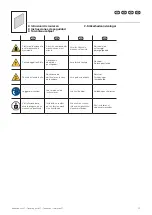
Page 11: ...oggetto affilato Advertencia de objetos puntiagudos Varo ter vi reunoja Advarsel Spidse genstande Pericolo ostacolo in alto Advertencia de obst culos en la zona de la cabeza Varo putoavia esineit Adv...

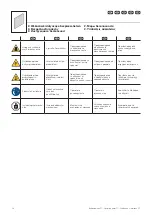
Page 12: ...waga na ruchome cz ci mechaniczne V straha Rozma k n Ostrze enie przed ostrym przedmiotem Varov n p ed ostr m p edm tem Ostrze enie przed przeszkodami w pobli u g owy Varov n p ed p ek kami v oblasti...

Page 13: ...gyelmeztet s hegyes t rgyak vesz ly re sp jimas apie a tr daikt Hoiatus terava eseme eest Avertizare privind obstacole n zona capului Upozorenje na zapreke u podru ju glave Figyelmeztet s fejma gass g...

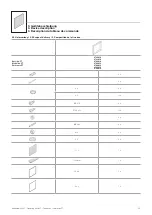
Page 14: ...bis 3 mm Wandst rke unter Beachtung der nutzbaren Freifl chen und der erforderlichen Schutzart geeignet 1 FT Bedientableau 1 Dichtung f r T rersatz 1 Dichtung f r Aufbau an Fl chen 1 Bohrschablone 1...

Page 15: ...la livraison 3 Ger tebeschreibung 3 Device description 3 Description du tableau de commande Best Nr FT Model No FT R f rence FT 2740 010 2741 010 2742 010 2743 010 2744 010 2745 010 2746 010 2 x 2 x...

Page 16: ...dity at 20 C Suitable measures should be taken to prevent the formation of condensation If used under special operating conditions their suitability must be confirmed by Rittal Assembly instructions W...

Page 17: ...operating panel on a surface with max cut out 4 2 Monter le tableau de commande sur une surface avec une d coupe max 1 2 1 2 4 4 3 1 4 2 4 1 5 1 5 4 3 1 1 M5 x 10 5 3 MA 2 5 0 5 Nm SW 8 2 3 5 1 1 1 1...

Page 18: ...Assembly and siting 4 Montage et implantation 1 1 1 1 1 1 1 1 1 MA 2 5 0 5 Nm 1 R F M 5 5 3 SW 8 4 2 Bedientableau an Fl che mit max Ausschnitt montieren 4 2 Mounting the operating panel on a surface...

Page 19: ...13 4 3 3 37 22 3 4 3 Bedientableau mit Vorreiberverschluss an Fl che mit max Ausschnitt montieren 4 3 Mounting the operating panel with cam lock on a surface with max cut out 4 3 Monter le tableau de...

Page 20: ...Montage et implantation 1 1 1 1 R F 1 2 2 R F FT 2749 100 4 3 Bedientableau mit Vorreiberverschluss an Fl che mit max Ausschnitt montieren 4 3 Mounting the operating panel with cam lock on a surface w...

Page 21: ...2 3 4 MA 1 0 0 5 Nm ST 4 2 x 13 4 3 3 37 22 3 1 1 1 4 1 4 4 Bedientableau mit Vorreiberverschluss als T rersatz montieren Verschluss frontseitig 4 4 Mounting the operating panel with cam lock as a do...

Page 22: ...on 1 2 1 3 1 R F 1 2 2 1 1 1 FT 2749 100 4 4 Bedientableau mit Vorreiberverschluss als T rersatz montieren Verschluss frontseitig 4 4 Mounting the operating panel with cam lock as a door replacement c...

Page 23: ...1 1 1 3 1 1 1 22 3 31 5 4 5 Bedientableau mit Vorreiberverschluss als T rersatz montieren Verschluss seitlich am Geh use 4 5 Mounting the operating panel with cam lock as a door replacement cam lock a...

Page 24: ...FT 2749 100 4 5 Bedientableau mit Vorreiberverschluss als T rersatz montieren Verschluss seitlich am Geh use 4 5 Mounting the operating panel with cam lock as a door replacement cam lock at the side o...

Page 25: ...5 c t charni res pour tous les types Bohrung 5 5 1 scharniert verschraubter Aufbau an Fl chen 2 nicht erforderlich bei Verwendung mit Artikel 2749 100 Hole 5 5 1 Surface mounting using hinges and scr...

Page 26: ...Operating panel FT Tableau de commande FT 4 Montage und Aufstellung 4 Assembly and siting 4 Montage et implantation 4 6 Bohrschablonen 4 6 Drilling templates 4 6 Gabarits de per age mm 2743 010 2744 0...

Page 27: ...Sichtpr fung auf Besch digungen des FT Bedientableau Reinigung des Bedientableau Alu eloxiert mit geeigneten Reinigungsmitteln Inspection Maintenance Maintenance must be performed at regular intervals...

Page 28: ...at 20 C Suitable measures should be taken to prevent the formation of condensation If used under special operating conditions their suitability must be confirmed by Rittal Pour le stockage du coff re...

Page 29: ...Co KG Auf dem Stuetzelberg 35745 Herborn Germany Phone 49 0 2772 505 1855 Fax 49 0 2772 505 1850 E mail service rittal de Service HUB USA Service HUB USA Plateforme de service aux tats Unis RITTAL Cor...

Page 30: ...30 Bedientableau FT Operating panel FT Tableau de commande FT Notizen Notes...

Page 31: ...31 Bedientableau FT Operating panel FT Tableau de commande FT Notizen Notes...

Page 32: ...Services www rittal com contact You can find the contact details of all Rittal companies throughout the world here RITTAL GmbH Co KG Postfach 1662 35726 Herborn Germany Phone 49 2772 505 0 Fax 49 2772...

Reviews: