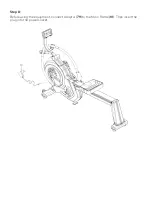
Step 4:
Connect Trunk Wire 1 (
8
) to Trunk Wire 2 (
83
). Insert the Computer Joint Tube (
9
) into the
Main Frame (
10
). Connect the Computer Joint Tube (
9
) and Rod Holder (
62
) on the Main
Frame (
10
) with Screws (
82
).
Loosen the pre-assembled Screw (
7
) and Washer (
47
) on the back of the Console (
1
) with
Spanner (
A
). Connect the Console cable (
1
) to Trunk Wire 1 (
8
). Insert the wire connector into
the square slot of Computer Joint Tube (
9
). Then secure the Console (
1
) onto the computer
supporting with Screws (
7
) and Washers (
47
) with Spanner (
A
).
Summary of Contents for FSAEMR500AA
Page 1: ...AUTOMATIC VARIABLE RESISTANCE MAGNETIC FLYWHEEL FULL MOTION ROWING MACHINE MR 500A FSAEMR500AA...
Page 2: ......
Page 6: ...OVERVIEW...
Page 7: ......
Page 12: ...Step 2 Attach the Foot Pad 19 to the Front Stabilizer 11 and Rear Stabilizer 74...
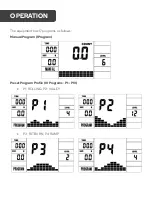
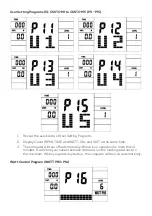
Page 22: ...P5 MOUNTAIN P6 INTERVAL P7 CARDIO P8 ENDURANCE P9 SLOPE P10 RALLY...
Page 27: ...Adaptor Input Voltage AC 100 240V Output Power DC 9V 1A SPECIFICATIONS...


