background image

EN
GLISH

6

7

AQUARIUM GLASS TANK INSTRUCTIONS

Read thoroughly prior to installation

The Fluval Aquarium glass tank comes complete with bottom and top plastic frames glued to it. 

Do not try to 

remove top and bottom frames.

Although the glass tank was manufactured with the maximum care and the most advanced techniques, we still 

recommend making a simple inspection prior to the installation to verify that unexpected events during handling 

and transportation have not damaged the tank or impaired its water-tightness.
1.  Make an initial visual inspection of the glass tank to check for damage or cracks.
2.  If the visual inspection does not show any damage, fill the tank with 5cm (2”) of water, wait 10 minutes and 

check for leaks.

3.  Add another 5cm (2”) and repeat this process until you are sure there is no sign of any leak.
4.  If no leak is detected, proceed with the normal aquarium set up.

The tank is made of glass, always handle it with the utmost care. Make sure to lift it by the base, never 

by the top frame.
Never attempt to move or transport the tank if it is not completely empty of water or any other material.
Before handling the Aquarium tank and cabinet, ensure you have sufficient manpower to move them 

without any risk.

Always take care not to damage the seals at the edges of the glass panels while maintaining your 

aquarium, ie; with planters or algae scrapers.
Never use toxic or aggressive substances to clean your aquarium, such as household detergents.

SETTING UP YOUR FLUVAL AQUARIUM

For proper installation and start-up of your aquarium, please follow these 

guidelines, after thoroughly reading this manual and the ones supplied with 

the other products included in this aquarium kit:

A.  PREPARING THE AQUARIUM KIT FOR START-UP

1 Assemble the aquarium cabinet

refer to pag. 7 of this instruction manual 

and to the separate instruction manual which is 

found in the cabinet box.

2 After verification, place the cabinet and the aquarium 

tank in their final location

refer to pag. 7 of this instruction manual

3 Install the water intake/output systems (where appli-

cable)

refer to pag. 8 of this instruction manual

4 Set up the filter unit and install it to the aquarium

refer to the Fluval filter instruction manual

5 Position the heater in the tank

refer to the Fluval heater instruction manual

6 Decorate your aquarium with backgrounds, rocks, 

gravel and plants

7 Fill the aquarium with water up to “max water level” 

line

8 Prepare the LED Strip Light for start-up and place the 

canopy on the aquarium top

refer to pag. 10 of this instruction manual

B.  AQUARIUM START-UP

9 Plug in the filter

refer to the Fluval filter instruction manual

10 Plug in the heater

refer to the Fluval heater instruction manual

11 Plug in the LED Strip Light

refer to pag. 10 of this instruction manual

12 Add the fish after the aquarium has matured

Maintenance

For LED Strip Light and tank, refer to LED Strip Light  and tank maintenance on page 11. For any mainte-

nance of the other devices, please refer to their respective manuals.

AQUARIUM CABINET INSTALLATION AND PREPARATION

Placing the aquarium with its cabinet in the final location

Please refer to the instruction manual of the aquarium cabinet. Do not attempt to set up the cabinet without 

reading and following the instruction manual. If it is missing or unusable, contact the store or Hagen Customer 

Service.
Location of the aquarium is very important. Place the aquarium away from direct sunlight. This will reduce 

the risks of excessive algae build-up and avoid overheating the aquarium by the sun’s rays. Keep your Fluval 

Aquarium away from other sources of heat (air ducts, radiators, etc.) for proper temperature maintenance. Drafts 

should also be avoided. Do not locate your Fluval Aquarium where water spills will cause damage.

You MUST place the Fluval aquarium on the appropriate Fluval cabinet which was designed with the 

correct dimensions and structure to bear the weight of the aquarium full of water. The use of different 

cabinets, articles of furniture, TV stands, etc. WILL invalidate your guarantee and will compromise the 

product safety.

IMPORTANT

: Fluval cabinets are designed to support the total weight of the aquarium. The table below shows 

the approx. height of filling of the tank and approx. weight of the aquarium full of water (rocks, decorations or 

gravel have not been considered).

FLUVAL ROMA LED

MODEL

TANK DIMENSIONS

HEIGHT OF FILLING (up to the 

max water level line)

WEIGHT OF AQUARIUM 

FULL WITH WATER

Fluval Roma 90

60 x 35 x 45 cm (23.6 x 13.8 x 17.7”)

41.5 cm (16.3”)

105 kg (231 lb)

Fluval Roma 125

80 x 35 x 45 cm (31.5 x 13.8 x 17.7”)

41.5 cm (16.3”)

138 kg (304 lb)

Fluval Roma 200

100 x 40 x 50 cm (39.4 x 15.7 x 19.7”)

46 cm (18.1”)

222 kg (489 lb)

Fluval Roma 240

120 x 40 x 50 cm (47.2 x 15.7 x 19.7”)

46 cm (18.1”)

265 kg (584 lb)

FLUVAL VICENZA and VENEZIA LED

MODEL

TANK DIMENSIONS

HEIGHT OF FILLING (up to the 

max water level line)

WEIGHT OF AQUARIUM 

FULL WITH WATER

Fluval Vicenza 180

92 x 41 x 55 cm (36.2 x 16.1 x 21.6”)

45 cm (17.7”)

225 kg (495 lb)

Fluval Vicenza 260

121 x 46 x 64 cm (47.6 x 18.1 x 25.1”)

54 cm (21.2”)

370 kg (815 lb)

Fluval Venezia 190

98 x 70 x 60 cm (38.5 x 27.5 x 23.6”)

50 cm (19.6”)

265 kg (584 lb)

Fluval Venezia 350

122 x 87 x 65 cm (48 x 34.2 x 25.5”)

55 cm (21.6”)

440 kg (970 lb)

WARNING

: Assure that the selected position has an even and level surface which is able to support the 

total weight of the aquarium full of water and the cabinet. Place your new Fluval Aquarium and cabinet 

close to an electrical outlet. After placing the cabinet, assure that it is perfectly level by using an  

adequate level.

IMPORTANT

:


Place the aquarium tank directly on the cabinet without any additional support or damper 

in between. NEVER insert any lining (e.g. Polystyrene) between cabinet and aquarium.
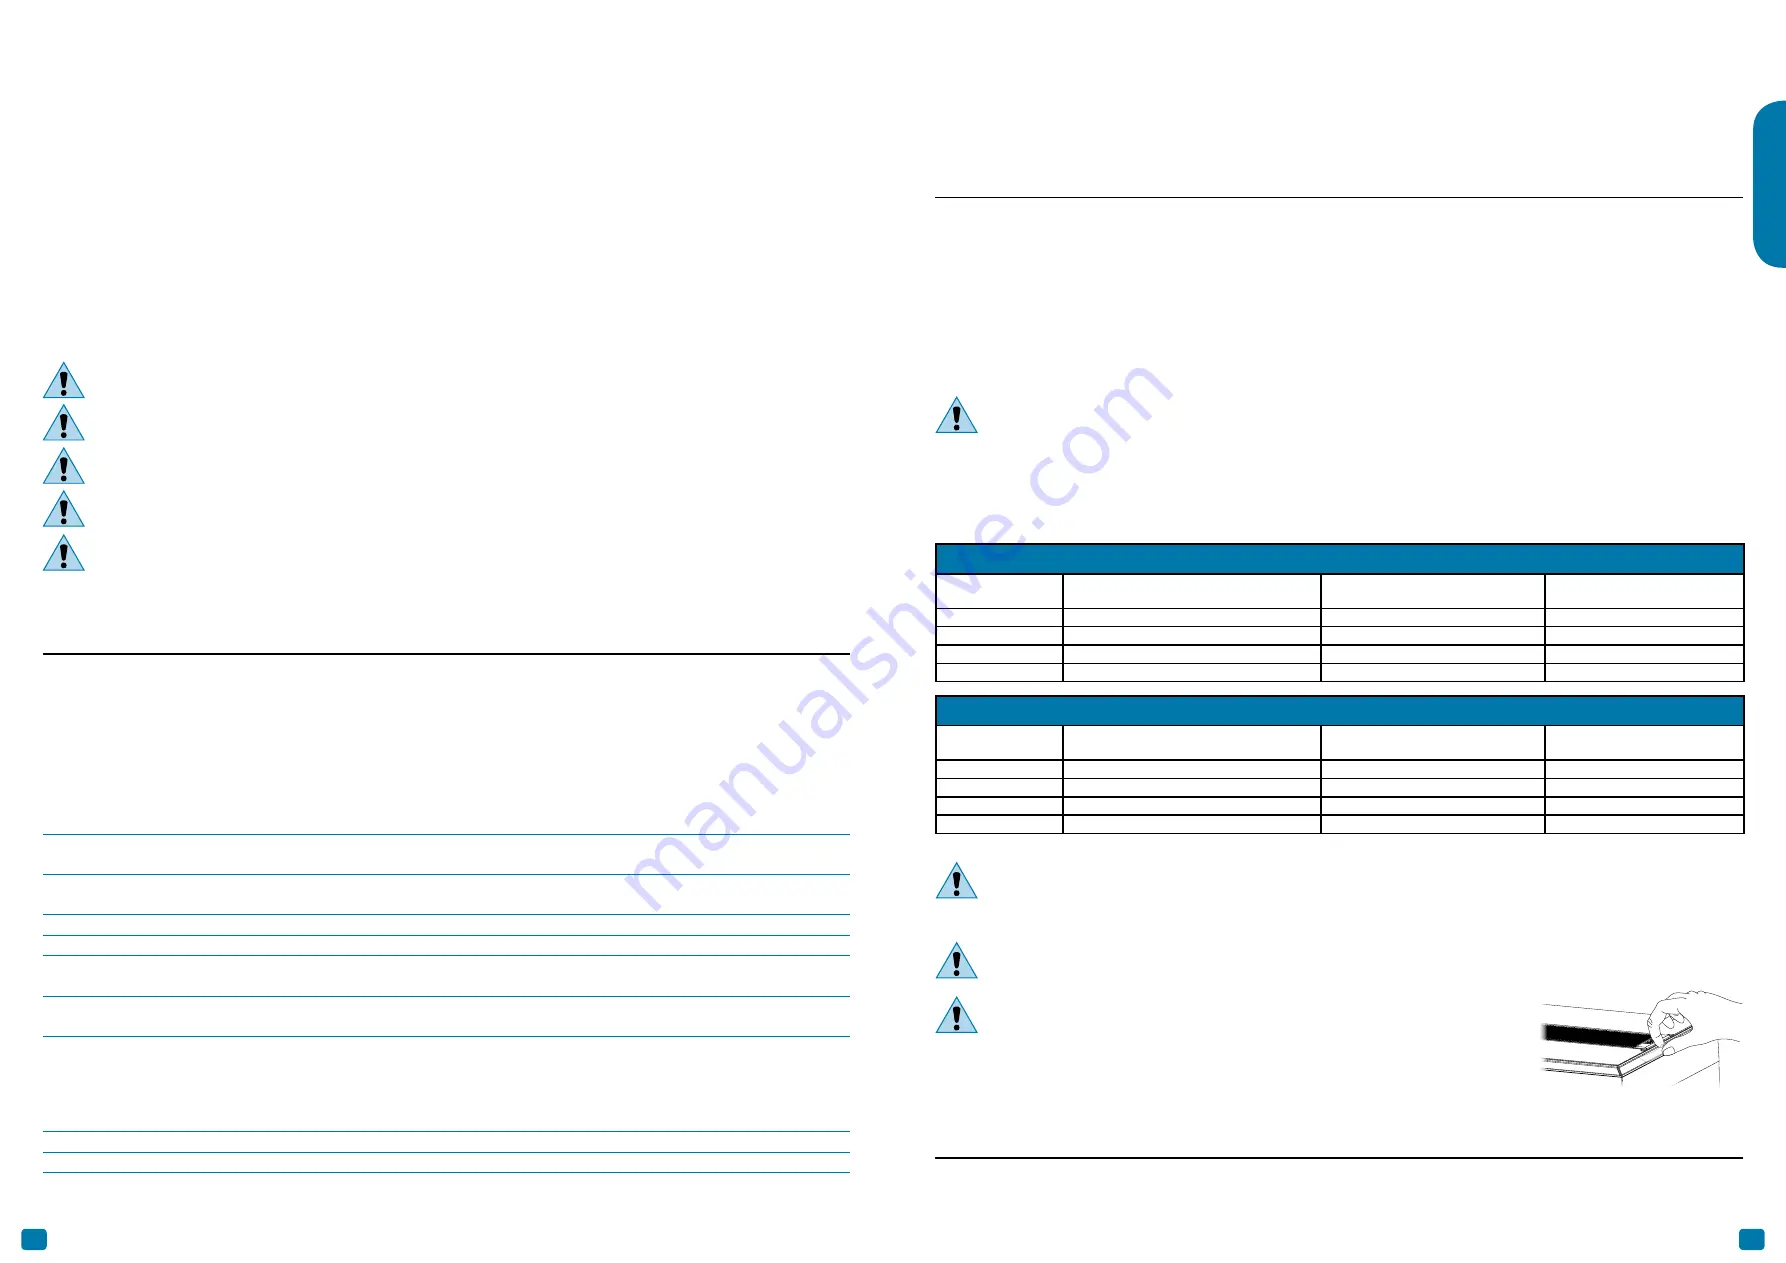
Never attempt to move or transport the cabinet with the glass tank or any 

other load on top of it.

Peel off the protective film on the decor strip (only applies to gloss black décor 

strips).

AQUARIUM WARRANTY

Please refer to guarantee section at the end of this manual for warranty and registration details.

Summary of Contents for Roma

Page 1: ...and Aquarium Mode d emploi Rampe d éclairage à DEL et bac d aquarium Manual de instrucciones Tanque de acuario con luminaria LED Gebrauchsanleitung LED Strip Light und Aquarium Roma Aquarium LED Vicenza Aquarium LED Venezia Aquarium LED ...

Page 2: ..._________ 21 SERVICE À LA CLIENTÈLE_____________________________________________________________________ 40 EN FR Índice LUZ LED PARA ACUARIOS FLUVAL PIEZAS_____________________________________________________ 22 INSTRUCCIONES DE SEGURIDAD IMPORTANTES________________________________________________ 22 INSTRUCCIONES PARA EL TANQUE DE VIDRIO PARA ACUARIOS_________________________________ 24 MONTAJE ...

Page 3: ... above and persons with reduced physical sensory or mental capabilities or lack of experience and knowledge if they have been given supervision or instruction concerning use of the appliance in a safe way and understand the hazards involved Children shall not play with the appliance Cleaning and user maintenance shall not be made by children without supervision This product is not a toy 4 To avoid...

Page 4: ...e on page 11 For any mainte nance of the other devices please refer to their respective manuals AQUARIUM CABINET INSTALLATION AND PREPARATION Placing the aquarium with its cabinet in the final location Please refer to the instruction manual of the aquarium cabinet Do not attempt to set up the cabinet without reading and following the instruction manual If it is missing or unusable contact the stor...

Page 5: ...w and tighten the ring nut R onto the bottom end of stem A Pict 3 4 Insert the ouput nozzle N into one end of output stem B 5 Insert output stem B onto connector stem A Pict 4 6 Regulate the height of output nozzles according to your requirement by sliding outlet stem B along connector stem A INTAKE GROUP OUTPUT GROUP Output Nozzle N Output Stem B Intake Strainer S Connector Stem A Ring Nut R TANK...

Page 6: ...let Missing connection of the lighting unit to the LED Driver Connect the lighting unit to the LED Driver with its con nector If the problem is not solved after following the above please contact your Hagen retailer ROMA LED STRIP LIGHT IDENTIFICATION CODES AQUARIUM MODEL ROMA 90 ROMA 125 ROMA 200 ROMA 240 LED STRIP LIGHT MODEL Roma Led Unit 90 Roma Led Unit 125 Roma Led Unit 200 Roma Led Unit 240...

Page 7: ...y queries or comments about the operation of this product please let us try to help you before you return the product to your retailer Most queries can be handled promptly with a phone call When you call or write please have all relevant information such as model number age of product details of aquarium set up as well as the nature of the problem If you have any queries or comments about the oper...

Page 8: ...pas trop remplir le bac Un remplissage excessif peut causer un débordement de l eau sous le rebord supérieur puis à l extérieur de l aquarium AVERTISSEMENT Ne pas brancher la rampe d éclairage s il y a de l eau sur des pièces qui ne doivent pas être mouillées AVERTISSEMENT Ne pas placer des objets sur la rampe d éclairage à DEL C ni sur le couvercle B S assurer qu il y a suffisamment d espace libr...

Page 9: ... décoratives seulement pour les bandes décoratives noir lustré GARANTIE DE L AQUARIUM Consulter la section de la garantie à la fin du présent mode d emploi pour obtenir tous les détails sur la garantie et l enregistrement du produit INSTALLATION DU SYSTÈME DE FILTRATION À CONNEXION RAPIDE Cette section s applique seulement aux aquariums Fluval munis d un filtre extérieur Fluval et du système à con...

Page 10: ... 7 Tubes de raccordement A INSTALLATION UTILISATION ET ENTRETIEN DES FILTRES EXTÉRIEUR ET SUBMERSIBLE FLUVAL Consulter le mode d emploi du filtre Fluval Ne pas essayer d installer le filtre Fluval sans lire et suivre les directives du mode d emploi Si ce dernier est manquant ou inutilisable contacter un détaillant en aquariophilie ou le Service à la clientèle de Hagen INSTALLATION UTILISATION ET E...

Page 11: ...liser de produits ni de détergents chimiques nocifs Employer tout simplement du jus de citron pour enlever les accumulations de sel Ensuite rincer soigneusement afin d éliminer tout résidu acide PIÈCES DE RECHANGE Toujours utiliser des pièces de rechange Fluval originales afin de garantir le rendement et la sûreté de l aquarium Pour consulter la liste complète des pièces de rechange visiter le www...

Page 12: ...conocimiento siempre que sean super visados o que hayan recibido instrucciones sobre el uso del aparato de manera segura y comprendan los peligros que implican Los niños no deben jugar con el aparato La limpieza y el mantenimiento del usuario no deben ser realizados por niños sin supervisión Este producto no es un juguete 4 Para evitar lesiones no toque las piezas móviles ni calientes como calenta...

Page 13: ...te el mantenimiento de las luces LED en hilera y el tanque en la página 11 Para cualquier mantenimiento de los otros dispositivos consulte los manuales respectivos INSTALACIÓN Y PREPARACIÓN DEL MUEBLE DEL ACUARIO Ubicación definitiva del acuario con su mueble Consulte el manual de instrucciones del mueble del acuario No intente ensamblar el pedestal sin leer y seguir las indicaciones del manual de...

Page 14: ... 4 Inserte la boquilla de salida N en uno de los extremos del tubo de salida B 5 Inserte el tubo de salida B en el tubo de conexión A Fig 4 6 Regule la altura de las boquillas de salida según sea necesario deslizando el tubo de salida B a lo largo del tubo de conexión A GRUPO DE ENTRADA GRUPO DE SALIDA Boquilla de salida N Tubo de salida B Filtro de alimentación S Tubo de conexión A Tuerca anular ...

Page 15: ... modelos Roma Vicenza y Venezia que aparecen a continuación Localización y corrección de problemas Si las luces LED en hilera no encienden proceda como sigue PROBLEMA CAUSA SOLUCIÓN La iluminación no funciona Falta la conexión de la unidad LED al tomacorriente Conecte la unidad LED al tomacorriente Falta la conexión de la unidad de iluminación a la unidad LED Conecte la unidad de iluminación a la ...

Page 16: ...Rolf C Hagen Inc le desea muchas horas de entretenimiento con su acuario Fluval SPEC PARA OBTENER EL SERVICIO DE REPARACIÓN AUTORIZADO CON GARANTÍA Para acceder al servicio de garantía autorizado devuelva el aparato bien envuelto y por correo certificado a la siguiente dirección con la factura fechada y el motivo de la devolución Si tiene alguna consulta o comentarios acerca del funcionamiento de ...

Page 17: ...netz wenn sich Wasser auf Teilen befindet die nicht nass werden dürfen WARNUNG Stellen Sie keine Gegenstände auf der LED Strip Light C oder der Abdeckung B ab Achten Sie darauf dass ausreichend Raum um die LED Strip Light vorhanden ist Die Sicherheit dieses Gerätes ist nur gewährleistet wenn es ordnungsgemäß installiert wurde 9 Lesen und befolgen Sie alle wichtigen Hinweise auf dem Gerät 10 Wenn e...

Page 18: ...as Aquarium oder ein anderer Gegenstand darauf steht Ziehen Sie die Schutzfolie von dem Dekorationsstreifen ab nur bei den schwarz glänzenden Dekorationsstreifen GEWÄHRLEISTUNGSHINWEISE ZU DEM AQUARIUM Die Gewährleistungshinweise finden Sie am Ende dieses Benutzerhandbuches ANLEITUNGEN ZUM VERBINDUNGSSYSTEM Dieser Abschnitt bezieht sich nur auf Fluval Aquarien mit EasyConnect System und einem Fluv...

Page 19: ...TUNG DES FLUVAL AUSSEN INNENFILTERS Bitte beziehen Sie sich auf die Bedienungsanleitung des Fluval Filters Versuchen Sie nicht den Fluval Filter in Betrieb zu nehmen ohne die Anleitungen gelesen und befolgt zu haben Sollte die Bedienungsanleitung in der Verpackung fehlen kontaktieren Sie Ihren Fachhändler oder den HAGEN Kundendienst INSTALLATION VORBEREITUNG BETRIEB UND WARTUNG DES FLUVAL HEIZERS ...

Page 20: ... Wasseroberfläche sodass noch eine Oberflächenbewegung trägt zur Sauerstoffanreicherung bei möglich ist 2 Wenn eine Durchlüfterpumpe benutzt wird müssen die Salzablagerungen regelmäßig entfernt werden 3 Achten Sie darauf dass der Wasserstand so konstant wie möglich bleibt regelmäßiges Auffüllen aufgrund von Verdunstung ist nötig Dies ist nützlich um einen stabilen Salzgehalt beizubehalten und hilf...

Page 21: ...ustomer Services Rolf C Hagen UK Ltd California Drive Whitwood Ind Est Castleford West Yorkshire WF10 5QH Help Line Number 01977 521015 between 9 00am and 5 00pm Monday to Thursday and 9am and 4pm on Friday excluding Bank Holidays SERVICE À LA CLIENTÈLE CANADA Service à la clientèle Rolf C Hagen inc 20500 aut Transcanadienne Baie D Urfé Québec H9X 0A2 Numéro sans frais 1 800 55HAGEN 1 800 554 2436...

Reviews: