


- 11 -
How to Set Up the Camera Menu
Use the camera menu to configure image quality and other camera settings.
To access the camera menu:
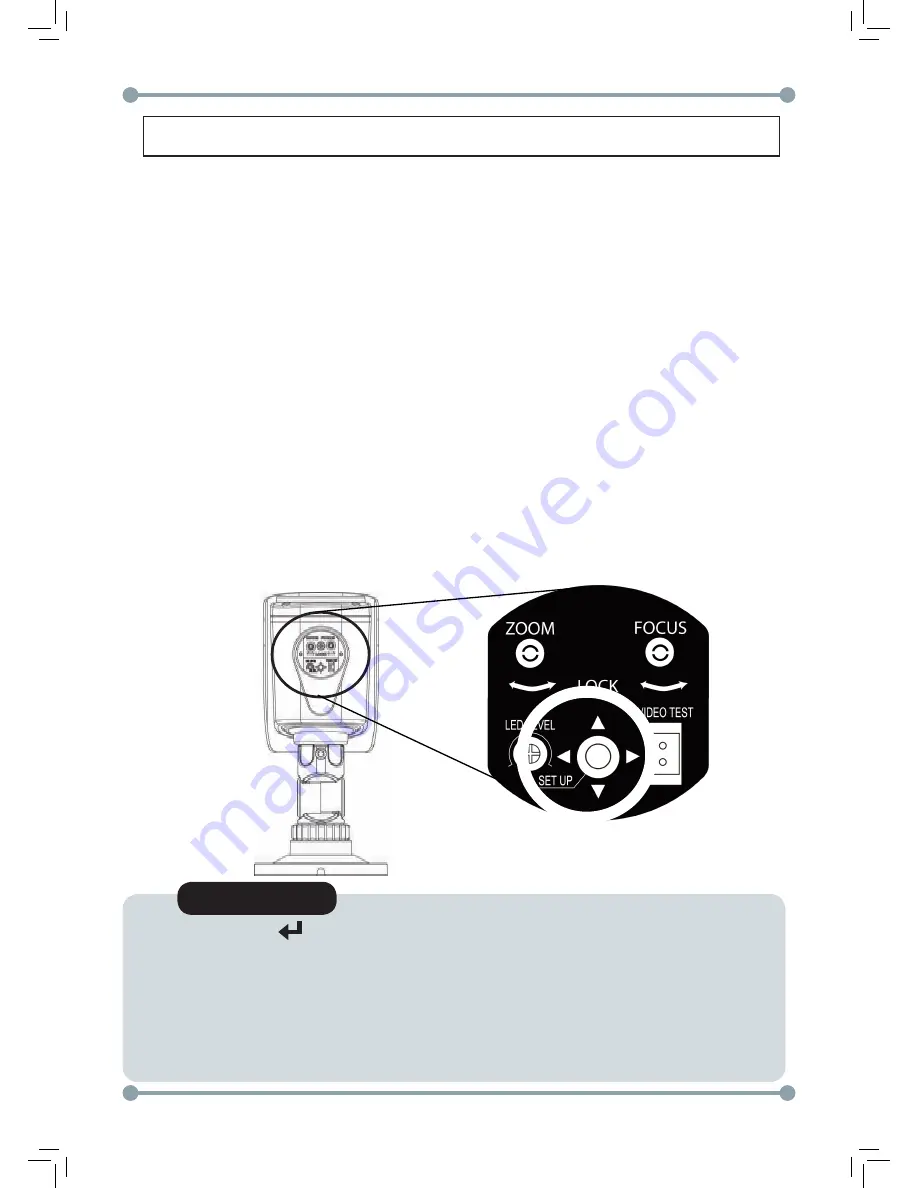
1. Open the service compartment on the bottom of the camera.
OR
Connect a UTC controller (Pelco C protocol) to the video cable and continue running the
cable to the DVR or monitor.
NOTE:
Use the included allen key to lock/unlock the service compartment.
2. Press and hold the
Set Up
(middle) button to open the OSD menu.
•
Press
Up/Down
to move the menu cursor up and down and select menu items.
•
Press
Left/Right
to move the menu cursor left and right and adjust the selected menu
item.
•
Press the
Set Up
button to open sub-menus or confirm selections.
3. When you are finished making changes to the menu, select
Exit
and press
Set Up
.
NOTE
•
Arrow icon ( ) indicates sub-menu is available.
•
You must Exit the OSD menu to save menu changes. Otherwise,
changes will not be saved if there is a power failure.
•
To save changes, return to the main OSD menu, select
EXIT
, and press the
Set Up
button. Or, in sub-menus, select
SAVE&END
and press
Set Up
to save changes
and exit the OSD menu.
Summary of Contents for DPB74TLUX
Page 2: ...2...
Page 3: ...3...
Page 13: ...12 Menu Tree...
Page 14: ...13 Menu Tree Continued...
Page 15: ...14 Menu Tree...


