Step 2: Turn on the HDMI receiver
Step 1: Register your unit
Step 3: Select the input source
1. Plug the HDMI end into the HDMI port on your
television or projector.
2. Plug the USB lead into the USB port on your
television or projector.
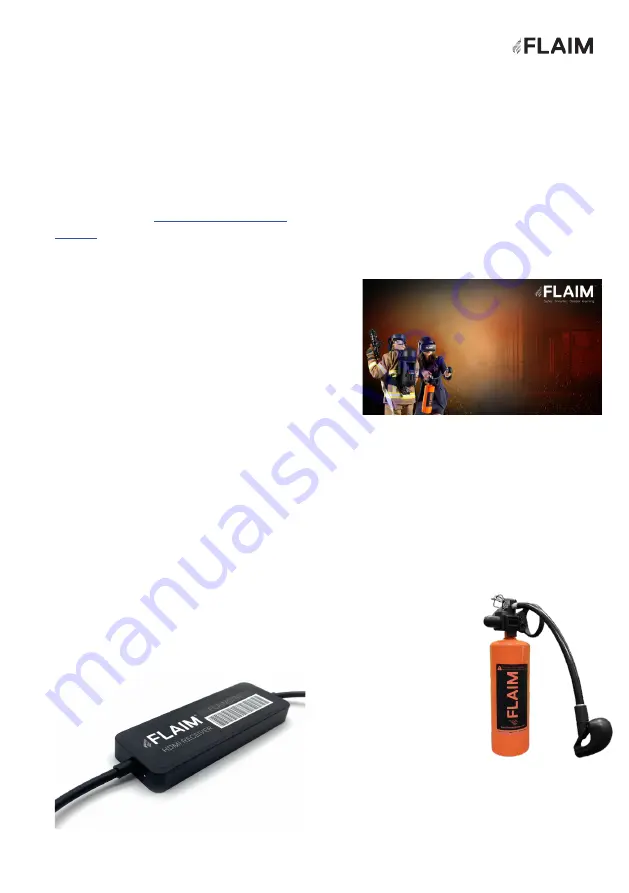
3. When powered, the receiver power light will
glow white (see Figure 4). The USB Power
supply delivers power to the HDMI receiver.
Some TVs/Monitors/Projectors cannot supply
enough power from their in-built USB port.
If there is no light on, it is likely that your
system cannot supply enough power from its
in-built USB port. If this occurs, please use the
included international adaptor connected to a
power outlet. You should now see a white light
on the HDMI receiver (see Figure 4).
1. You can do this by scanning the QR code
on the packaging box that your extinguisher
comes in or go to
www.flaimsystems.com/
register
. This will assist with warranty/
support and ensure that you receive
notification of any updates and access to all
of the latest scenarios (while your unit is in
subscription).
1. Select the source on your television or
projector. You will now see the “is ready
to connect” screen (Figure 5) on your
television or projector.
Figure 4:
Ensure HDMI receiver is powered (white light)
– top right
Figure 5:
HDMI Receiver “is ready to connect” screen
How to setup the system
1. Remove the extinguisher bottle and
trigger assembly from the case.
2. Screw the trigger assembly onto the
bottle. Take care when assembling to
prevent cross-threading.
3. Remove the hose tracker from the case.
4. Clip the hose
tracker onto the
end of the trigger
assembly.
Orientate the hose
tracker with the
bulb facing upwards
(vertical).
Step 4: Set up the Extinguisher bottle
8
Summary of Contents for Extinguisher V3
Page 11: ...10 ...


