5
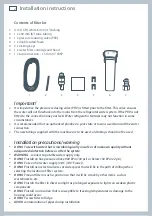
Installation instructions
Important!
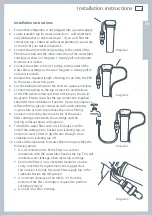
All connections must be checked for leaks.
If unsure of connection process and/or leaks then contact your local plumber to install and check
the system for you.
Ensure white 6 mm (¼”) tubing is routed away from sharp objects, sharp corners (beware of
kinking tube as this will stop water flow), clear of the refrigerator unit compartment and not in a
location where it can be squashed.
Ensure all push-fit connections are firmly pushed into place. The tube should push in 20 mm (¾”)
before reaching the stop.
If tubing is removed at any point, re-cut the end and re-insert. Tubing must be fully inserted to
avoid leaks.
To remove tube from connection points, turn off the isolating tap, push in the collet and gently
pull tubing at the same time.
Diagram 9
System tested and certified by NSF International against NSF/ANSI Standard 53 for the reduction
of Asbestos, Atrazine, Benzene, Cyst, Carbofuran, Lead, Lindane, Mercury, P-Dichlorobenzene,
Toxaphene & Turbidity; against Standard NSF/ANSI 42 for the reduction of Chlorine Taste and
Odour and Nominal Particulate Class I to a capacity of 2,838 Litres (750 gallons).
EN
Summary of Contents for E402BLX
Page 25: ...23 ...
Page 26: ......
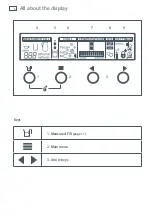
Page 98: ...96 Alt om skjermen 4 5 6 7 8 9 1 3 2 Taster 1 Oppmålt volum side 101 2 Hovedmeny 3 Piltaster ...

