English
- 16 -
Record, Play, Pause, Display (for PlayListDialog)
keys can not be used when teletext is ON. If a
recording starts from timer when teletext is ON,
teletext is automatically turned off. Also teletext usage
is disabled when there is an ongoing recording or
playback.
Timeshift Recording
Press
(PAUSE) button while watching a broadcast
to activate timeshifting mode. In timeshifting mode,
the programme is paused and simultaneously
recorded to the connected USB disk. Press (PLAY)
button again to resume the paused programme from
where you stopped. You will see the timeshift gap
between the real and the timeshifted programme in
the info bar.
Instant Recording
Press
(RECORD) button to start recording an
event instantly while watching a programme. You can
press
(RECORD) button on the remote control
again to record the next event on the EPG. In this
case, OSD will display the programmed events for
recording. Press (STOP) button to cancel instant
recording.
Note
: You can not switch broadcasts or
view the Media Browser during the recording mode.
Watching Recorded Programmes
In the main menu, use “ ” or “ ” buttons to select
Media Browser
. Highlight the
Recordings Library
using “ ” or “ ” button and press the
OK
button to
enter the Recordings Library. Select a recorded item
from the list (if previously recorded) by using
“ ” / “ ”
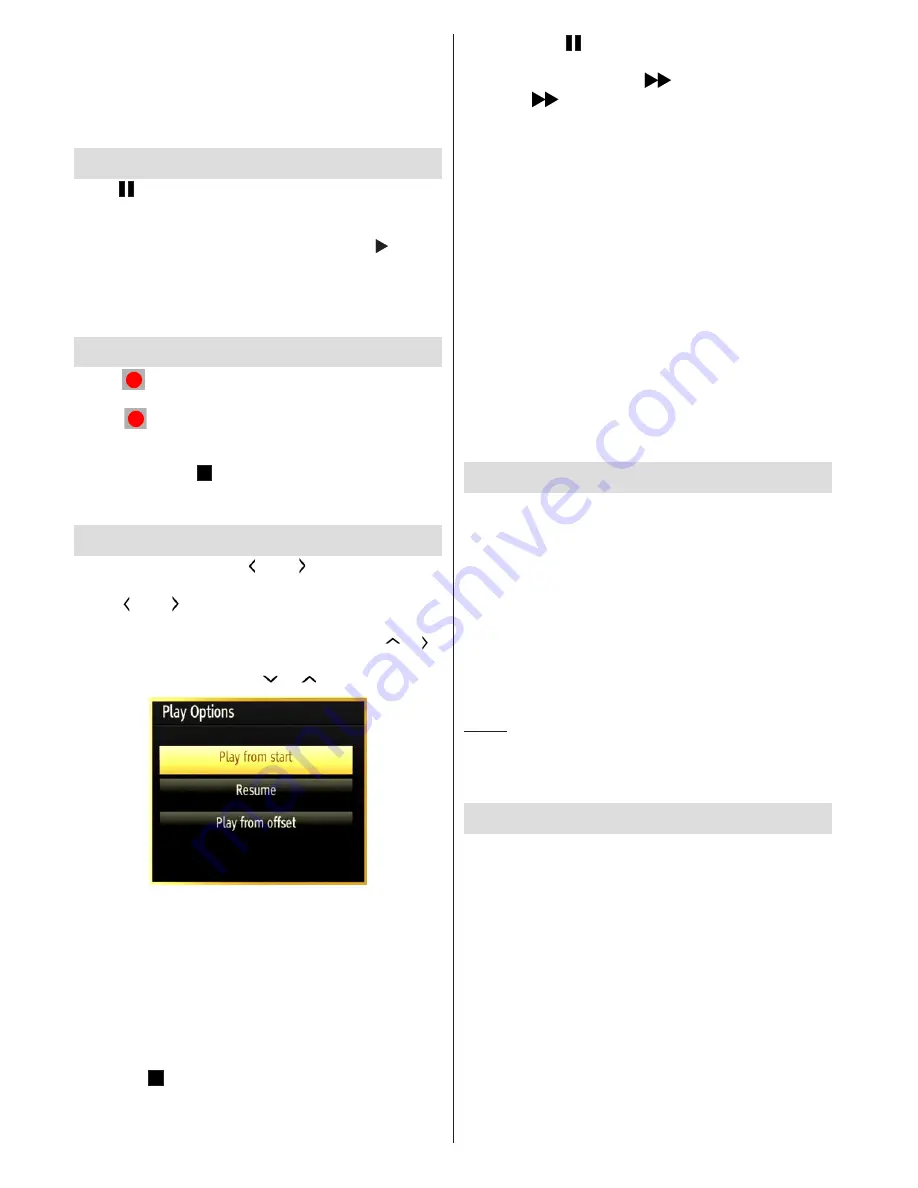
button. Press the
OK
button to view the
Play Options
.
Select an option by using
“ ” / “ ”
or OK buttons.
Available playback options:
• Play from start: Plays the recording from the
beginning.
• Resume: Resumes Playback from the point at which
you stopped playback previously.
• Play from offset: Specifies a playing point.
Note: Viewing main menu and menu items will not be available
during the playback.
Press the (STOP) button to stop a playback and
return to the Recordings Library.
Slow Forward
If you press (PAUSE) button while watching
recorded programmes, the slow forward feature will
be available. You can use
button to slow forward.
Pressing
button consecutively will change slow
forwarding speed.
Recordings Library
To view the list of recordings, select “
Recordings
Library
” and press the
OK
button. The Recordings
Library will then be displayed with available recordings.
All the recordings are kept in a list in the recordings
library.
RED button (Delete)
:Erases the selected recording.
GREEN button (Edit)
: Makes changes on the
selected recording.
BLUE button (Sort)
: Changes the order of the
recordings. You can select from a wide range of
sorting options.
OK button:
(Resume)
: Resume playback.
INFO (Details)
: Displays the programme information
details.
Recording Configuration
Select the Recording Configuration item in the
Settings menu to configure the recording settings.
Format Disk
: You can use the Format Disk feature
for formatting the connected USB disk. IMPORTANT:
Note that ALL the data stored on the USB disk will
be lost and the disk format will be converted to
FAT32 if you activate this feature. If your USB disk
malfunctions, you can try formatting the USB disk. In
most cases formatting the USB disk will restore normal
operation; however, ALL the data stored on the USB
disk will be lost in such a case.
Note:
If “USB is too slow” message is displayed on the
screen while starting a recording, try restarting the recording.
If you still get the same error, it is possible that your USB
disk does not meet the speed requirements. Try connecting
another USB disk.
Wired Connectivity
To Connect to a Wired Network
For connecting to a wired LAN, you should
perform the following steps:
• You must have a modem/router connected to an
active broadband connection.
• Ensure that Nero Media Home software is installed
to your PC (for DLNA function). See Appendix G for
more information on the installation process.
• Connect your PC to your modem/router. This can
be a wired or wireless connection.
• Connect your TV to your modem/router via an
ethernet cable. There is a LAN port at the rear
(back) of your TV.


