


17
1.
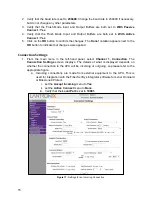
Configurable Pin Settings
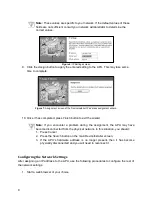
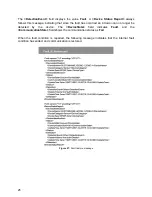
The final step is to set configurable pins. Select the
Configurable Pins
option from the main menu. The
Configurable Pin Settings
screen displays.
Figure 19:
The Configurable Pins Settings screen
2. Make sure all radio buttons for
Direction
and
Active Level
are set as shown above,
to ensure proper communication with the APU.
a.
CP 1
direction is set to
Output
b.
CP 1
Active Level is set to
High
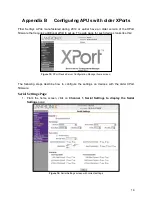
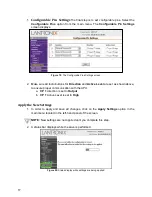
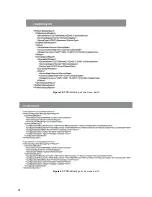
Apply the New Settings
1. In order to apply and save all changes, click on the
Apply Settings
option in the
main menu located in the left-hand panel of the screen.
NOTE:
New settings are not applied until you complete this step.
2. A status bar displays while the save is performed.
Figure 20:
Status display while settings are being applied.