


11
Note:
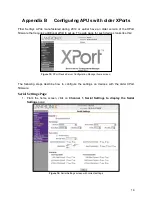
If the home screen does not look like this, the APU may be using an older
version of the XPort firmware. See the Appendix
for information on how to configure such APUs.
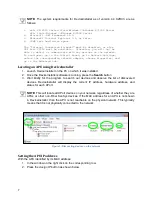
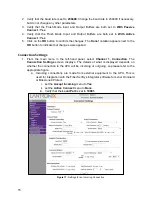
5. Determine whether the connection to the APU will be
incoming
or
outgoing
.
a.
Incoming
connections are made by the monitoring equipment to the APU. This is
used with for integration with the Fiber SenSys Integrator software for Lenel
OnGuard or Milestone XProtect.
b.
Outgoing
connections are made by the APU to external monitoring equipment.
This is used for integration with Fiber SenSys FiberCommander.
c. Other monitoring equipment can be designed for either incoming or outgoing
connections. You must contact the vendor of the monitoring equipment for
details.
6. For
incoming
connections, set the values as follows:
a.
Accept Incoming
menu to
Yes
b.
Active Connect
menu to
None
c.
Password Required
to
No
d.
Local Port
to
10001
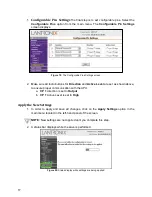
7. For
outgoing
connections to Fiber Commander, set the values as follows:
a.
Active Connect
menu to
Auto Start
b.
Remote Port
to
10000
c.
Remote Host
to the IP address of the PC running Fiber Commander.
Note:
For monitoring systems other than Fiber Commander, set Remote Port to
the port number of the monitoring system.
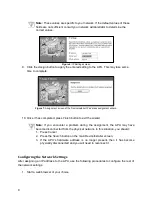
8. To apply the entered settings to the APU click on the
Apply Settings
located in the left-
hand panel of the screen. It may take a moment, but a status bar will display.
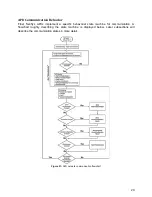
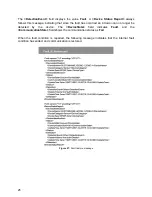
Figure 11:
Progress display while settings are being saved.