Use
24
Sanding
1. Attach a sanding sheet
17
to the sanding plate
2
/
3
/
4
as described in the
chapter “Attaching/replacing sanding sheet”. Make sure that the sanding sheet is
suitable for the respective workpiece. Alternatively, you can also use sandpaper.
Attach the sandpaper
4
as described in the chapter “Clamping the sandpaper”.
2. Insert a rechargeable battery
15
as described in the chapter “Inserting the
rechargeable battery”.
3. Switch the product on as described in the chapter “Switching the product on and off”.
The product will now run.
4. Bring the product up to the workpiece and place the sanding plate with its entire
surface on the workpiece.
12
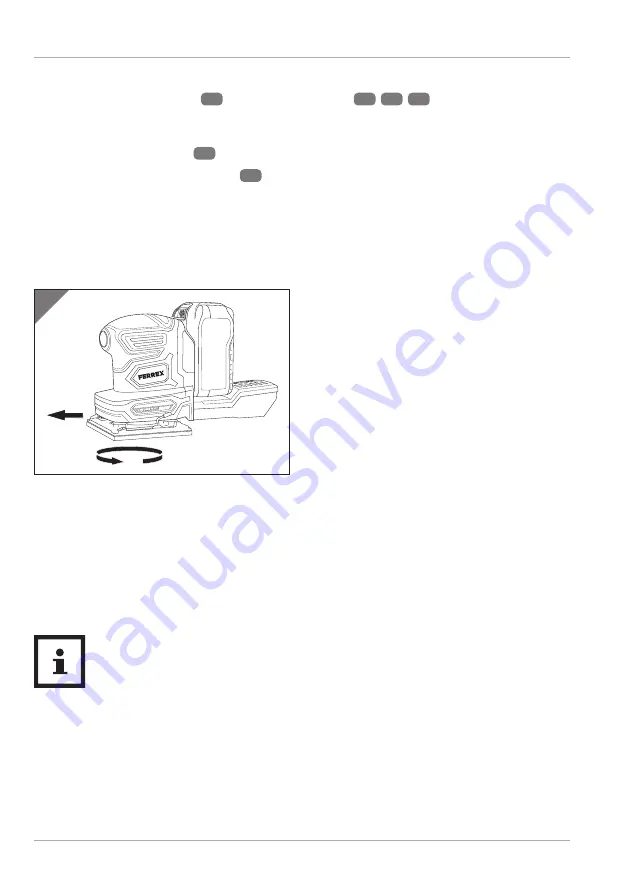
5. To sand the workpiece surface, run the
product over the workpiece in circular
motions. When doing so, move the
product alternately transversely and
longitudinally (see
Fig. 12
).
To achieve an even sanding pattern, be
sure to apply even contact pressure.
6. After finishing the sanding, switch off the product.
The product will continue to move. Do not put down the product while it is com-
ing to a stop. Hold the product steady and wait until the sanding plate comes to a
complete stop. Only then can you put the product down.
The sanding is now complete.
• Always start with the rough sanding. Use a coarser sanding sheet
for this purpose. Use increasingly finer sanding sheets for the fol-
lowing sanding cycles.
• The sanding result depends on the grit of the sanding sheet, the
speed of rotation, and the contact pressure. When using a fine-
grained sanding sheet and a lower speed of rotation, you will
achieve a finer sanding pattern, while a higher speed and a lower
contact pressure will result in a higher sanding removal.


