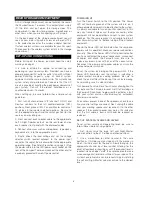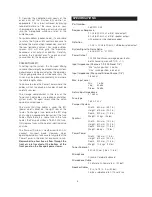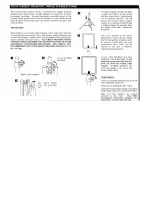
Operation
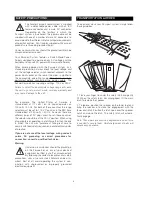
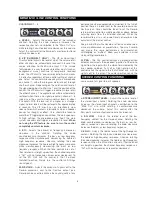
Once installed, the wireless system is automatically input to channel one of the Passport. The Wireless Systems come with “blanking plugs” (install
in the XLR and ¼” jacks for channel one) intended as a reminder that this input is in use.
Set-up your Passport system as you would for normal use. Confirm operation of the system with a CD or wired microphone source.
Make sure the input one level control is turned to its minimum setting.
(fully counter-clockwise).
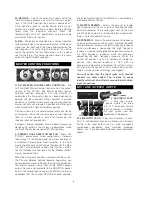
Turn the Passport main power on, open the storage compartment and confirm that the Red “Power” LED on the wireless-docking receiver is
illuminated.
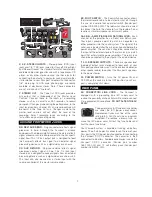
Turn on the handheld or belt pack transmitter. The Green LED on the docking receiver will illuminate - showing the receiver is “seeing” a radio
frequency carrier signal from your transmitter.
While using the microphone at a normal level, slowly bring up the input level control for channel one. You should be hearing yourself in a clear and
natural tone much the same as the wired microphone with which you checked the system. Adjust the EQ control to your requirements.
Note:
The front panel Mic/Line switch does not effect the level sensitivity for Wireless operation. Fender has “normalized” the docking receiver’s
output to the system-input section. No additional adjustments are required of the operator.
Congratulations you have successfully set-up the wireless system!
From this point onwards, you should need only to change batteries in your transmitter for continued operation.
If your wireless system fails to work properly, consult your authorized Fender Service Center.
Frequencies
Passport Wireless Systems are available in a number of frequencies. The last three digits of the part number indicate the frequency of your system (or
component). If ordering an additional component for your existing system, be sure to order the component with the same frequency. The frequencies
and three digit numbers are identical for all Passport Wireless Accessories.
The most popular wireless frequencies are the Travel Frequencies. As their name implies, travel frequencies are “open channels” in all areas of North
America.
Wireless systems broadcast in the same way as radio and television stations broadcast (only a much weaker signal). It is easy to see why a wireless
system could pick up interference from a local television station broadcasting on the same frequency. You will notice that all frequencies except
“travel” frequencies have television channels associated with them. When selecting a wireless frequency, choose one that is a television channel NOT
broadcast
in your area (or the area where you will most typically use your Passport). Cable channels should not affect the performance of your
wireless.
The following list shows the available frequencies and their associated part numbers for Passport Wireless Systems.
Part Number:
Channel
Frequency
069-xxxx-001
Travel A
169.505 MHz
069-xxxx-002
Travel B
171.905 MHz
069-xxxx-004
Channel 7
174.8 MHz
069-xxxx-005
Channel 11
202.4 MHz
069-xxxx-006
Channel 12
206.4 MHz
069-xxxx-007
Channel 10
195.4 MHz
069-xxxx-008
Channel 13
208.2 MHz
Summary of Contents for Passport PD-250
Page 8: ......


