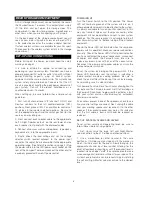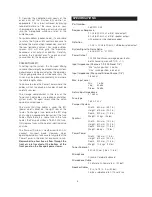
Setting Up
Unpacking
Your Passport Wireless System (or accessory) was packed with care at the factory. The shipping carton was designed to protect it during initial
shipment. Please retain this carton in the unlikely event that you need to return your Passport Wireless for servicing.
Remove the Docking Receiver and the transmitter (either Handheld or Belt pack) from their respective packaging and check that nothing is missing
and/ or damaged from shipping.
Confirm that the Receiver and Transmitter are of the same frequency. If you find the pieces are NOT the same frequency please contact the dealer
where you purchased the item(s).
Pre-Installation
The Passport Wireless Systems and accessories are custom designed to work with “wireless ready” Passport Sound Systems. “Wireless Ready”
Passport Sound Systems have a “docking connector” in their rear storage compartment. This is very easy to identify as “non-wireless ready”
Passports have nothing in their storage compartments.
If you have purchased a wireless system and find you’re Passport does not have the “wireless ready” feature, please contact your Authorized Fender
Pro Audio dealer or our Customer Service department for information and availability of a “wireless retro-fit kit”. This kit will need to be installed by
an Authorized Fender Pro Audio Service Center.
Safety Precauti
ons
Warning: To avoid the risk of shock or fire, do not expose this unit to moisture. Do not attempt to disassemble or alter any circuitry. There are no
user-serviceable parts inside. Refer all servicing to an Authorized Fender Pro Audio qualified service personnel.
Installation
Custom Docking Receiver
Disconnect power cable!
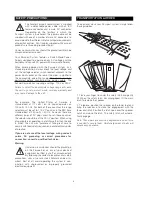
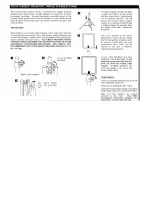
Identify the Docking Receiver module and familiarize yourself with the unit, noting the two locking screws and multi-pin connector.
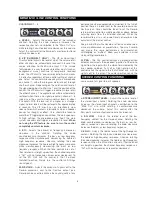
Place your Passport power tower facedown on a level and stable surface. Open the storage compartment door and identify the docking connector on
the rear wall of the storage compartment.
Locate the two small screws attaching the protective cover over the docking connector. Loosen these screws just enough to allow the cover to be
removed from the connector. Gently re-tighten the two screws.
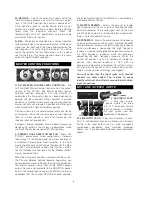
Holding the Docking Receiver with the logo in an upright position, place the male, multi-pin connector into engagement with the female connector on
the Passport storage compartment rear wall. When properly aligned, gently (but firmly) push the unit until it engages fully. Using the two screws on
the sides of the module, attach the module to the Passport. Do not over-tighten.
Identify the two “blanking plugs” and install these into the channel one, XLR and 1/4” connectors.
Transmitter (Handheld and belt pack)
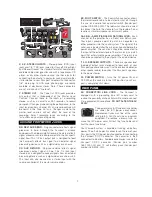
Identify the battery compartment on the transmitter and install a fresh 9V Alkaline Battery. If using the belt pack transmitter, select a microphone or
cable to use and attach to the transmitter.
You have now completed the installation, and all that remains is to confirm the proper operation of your system.
Summary of Contents for Passport PD-250
Page 8: ......


