14
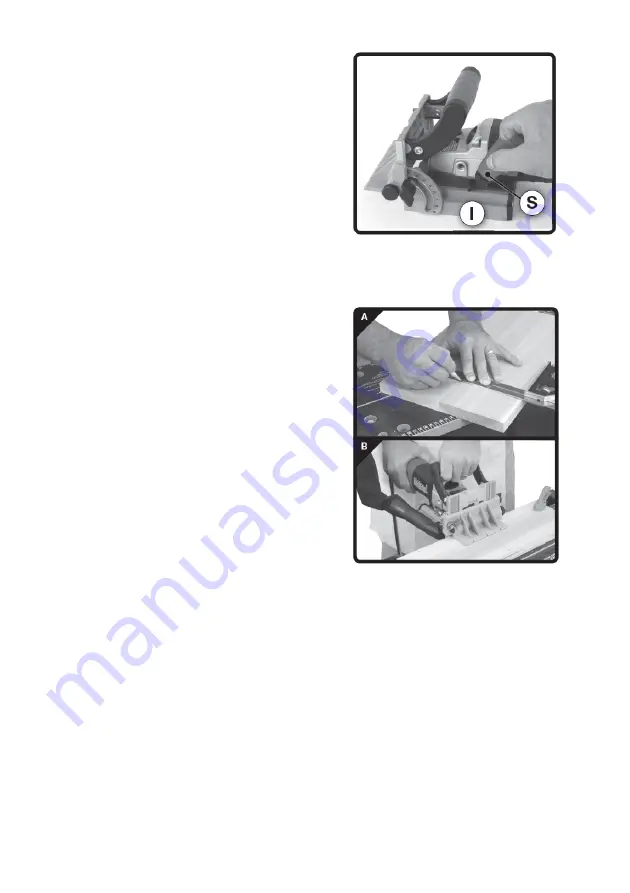
MACHINE MAINTENANCE – Fig. 8
1. From time to time, a small amount of oil should
be placed in each of the tracks of the Base (I) to
keep the mechanism sliding properly.
2. Insert the nozzle of the included Oil Bottle
(S) into the holes on each side of the base and
squeeze out two or three drops of oil.
3. During heavy use it may be necessary to
lubricate the machine a couple of times a week,
but not so often that the oil builds up too heavily
on the sliding assembly.
Fig. 8
APPLICATIONS
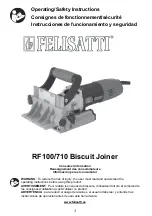
Edge To Edge Joint – Fig. 9
This is a very simple joint and is commonly
used when gluing up boards for projects such
as table tops.
1. Lay out the workpieces exactly like they will
be assembled.
2. Use a straight edge to mark layout marks on
each workpiece where a biscuit will be inserted
Be sure to locate biscuits at least 2” from the
end of the workpiece and space each biscuit
about 4”-6” apart
–Fig. 9A
3. Set the plunge depth setting on the biscuit
joiner to match the biscuits being used and
set the angle fence on the biscuit joiner to the
proper height.
4. Clamp the workpiece to a stable work
surface and align the center mark on the joiner
to the first layout mark Turn on the machine
and make the first plunge cut Retract the
plunge and turn off the machine Slide the
machine to the second layout mark and repeat
the process
–Fig. 9B
Fig. 9
5. Add glue and biscuits to each slot, assemble, and clamp until the glue is dry
NOTE: This machine is designed to cut into the center of a ¾” board without the use of the
angle plate In applications such as edge to edge joints where there are no mitered edges, the
joiner and material to be cut can sit flat on the work surface when making the cuts.
Summary of Contents for RF100/710
Page 53: ......


