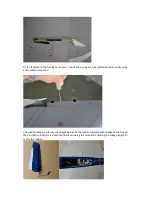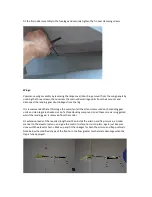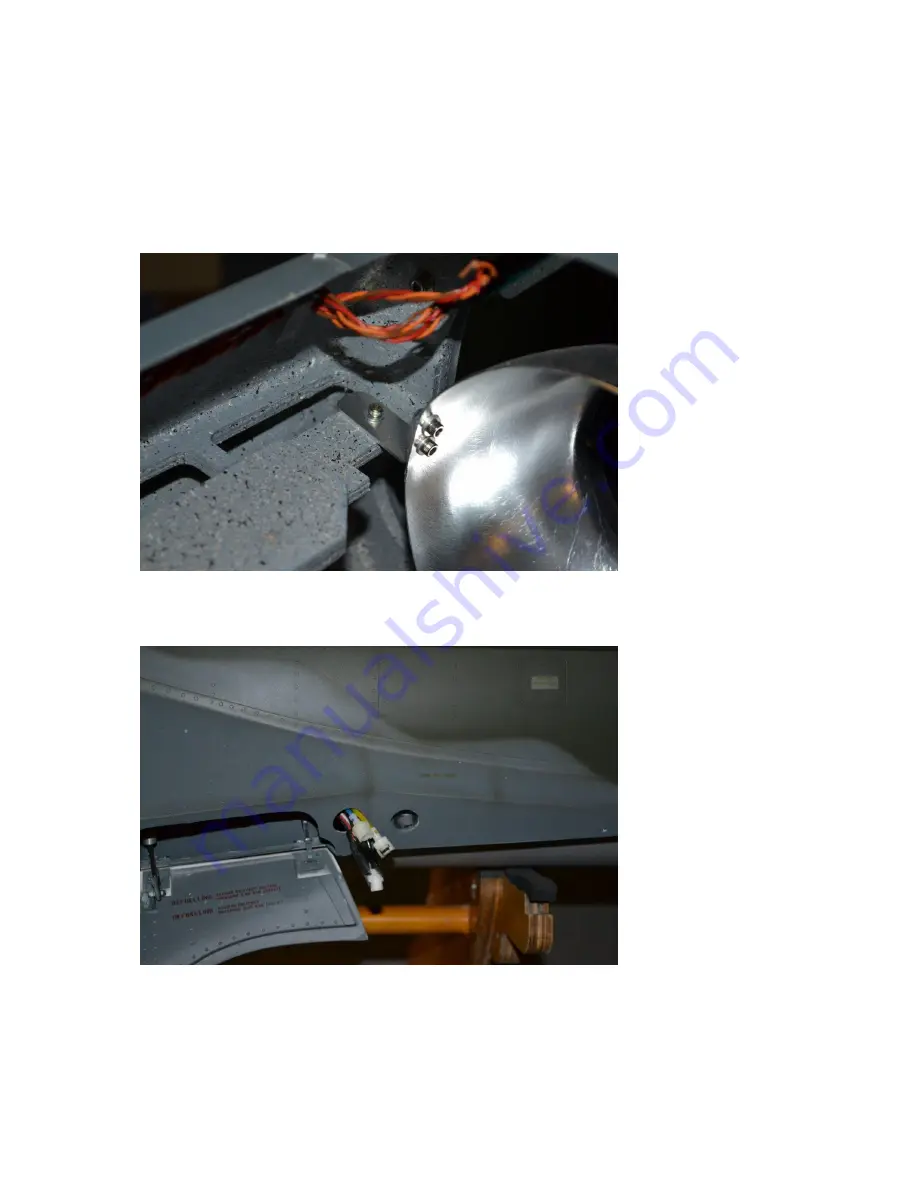
Check the alignment of the tailpipe and then drill pilot holes through the mounting straps and into
the sides of the turbine rails, note that it may be necessary to add a pair of wooden blocks above or
below the rails depending on the final installed position of the turbine, to accept the tailpipe
securing screws. Open the holes in the tailpipe mounting straps to give clearance for the screws then
fit these screws to secure the tailpipe.
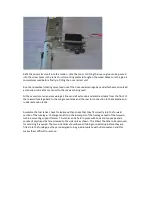
Fit all remaining extension leads and electrical cables, including those for the wing connections, the
following photo shows a typical connection set-up in the wing root.
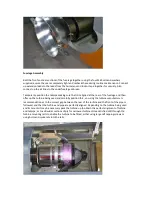
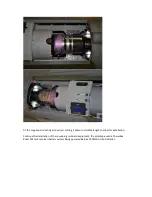
Refit the turbine and add any equipment that is to be installed under the main hatch – note that the
Hunter will require all heavy items to be mounted as far forward as possible to reduce the amount of
nose weight required. Even doing this it will be necessary to add a substantial amount of weight in
the nose – do make sure that this is securely fitted.


