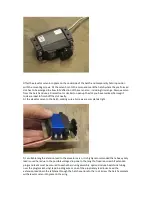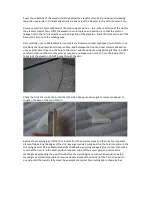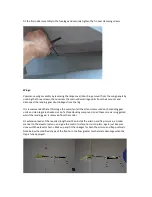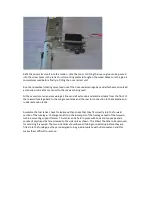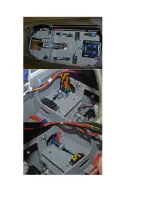
Refit the nose retract unit into the model – note that prior to fitting thin cyano glue can be poured
into the screw holes in the retract unit mounting plates to toughen the wood. Make sure the glue is
completely cured before finally re-fitting the nose retract unit.
Run the nosewheel steering servo lead out of the nose undercarriage bay and attach extension lead
as required to be able to connect to the receiver being used.
At the same time run any remaining air lines and all extension and electrical leads from the front of
the forward fuselage back to the wing mount area and the rear for connection to the tailplane and
rudder extension leads.
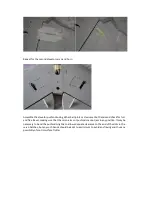
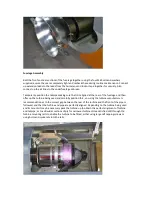
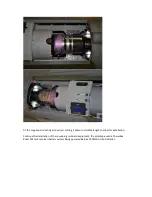
Assemble the fuel tanks, check for leaks and then check that they fit correctly into the forward
section of the fuselage – the large tank fits in the lower part of the fuselage ahead of the forward
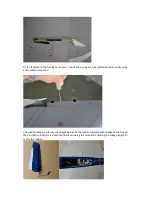
turbine mounting support former. This tank can be held in place with hook and loop tape and a
couple of ply straps that are screwed to the side rails as shown. This allows the tank to be removed
for servicing if required. The two side tanks should have all tubing connected up before they are
fitted into the fuselage, as they are designed to be glued into place with silicon sealant, and this
makes them difficult to remove.


