DIGITAL MERCHANDISER
56X/77X MODELS
4
3. RECEIVING
Each merchandiser is tested and thoroughly inspected before shipment. At the time of shipment, the carrier accepts
the merchandiser and any claim for damages must be made with the carrier. Upon receiving the merchandiser from the
delivering carrier, carefully inspect the carton for visible indication of damage. If damage is present, have carrier note this
on bill of lading and file a claim with the carrier.
4. INSTALLATION
Installation instructions vary based on the dispenser model and the circumstances of installation. The digital merchandiser
may be installed on a new dispenser or will replace an older merchandiser as part of a door conversion kit. Please refer to
the appropriate section based on merchandiser type and required installation.
4.1 Installation of a 561 Digital Merchandiser
1.
Remove the collar from each of the hinge pins on the back of the new
door using a 3/32” hex wrench. Place the collars and hex wrench
nearby so they are accessible for the next step.
2.
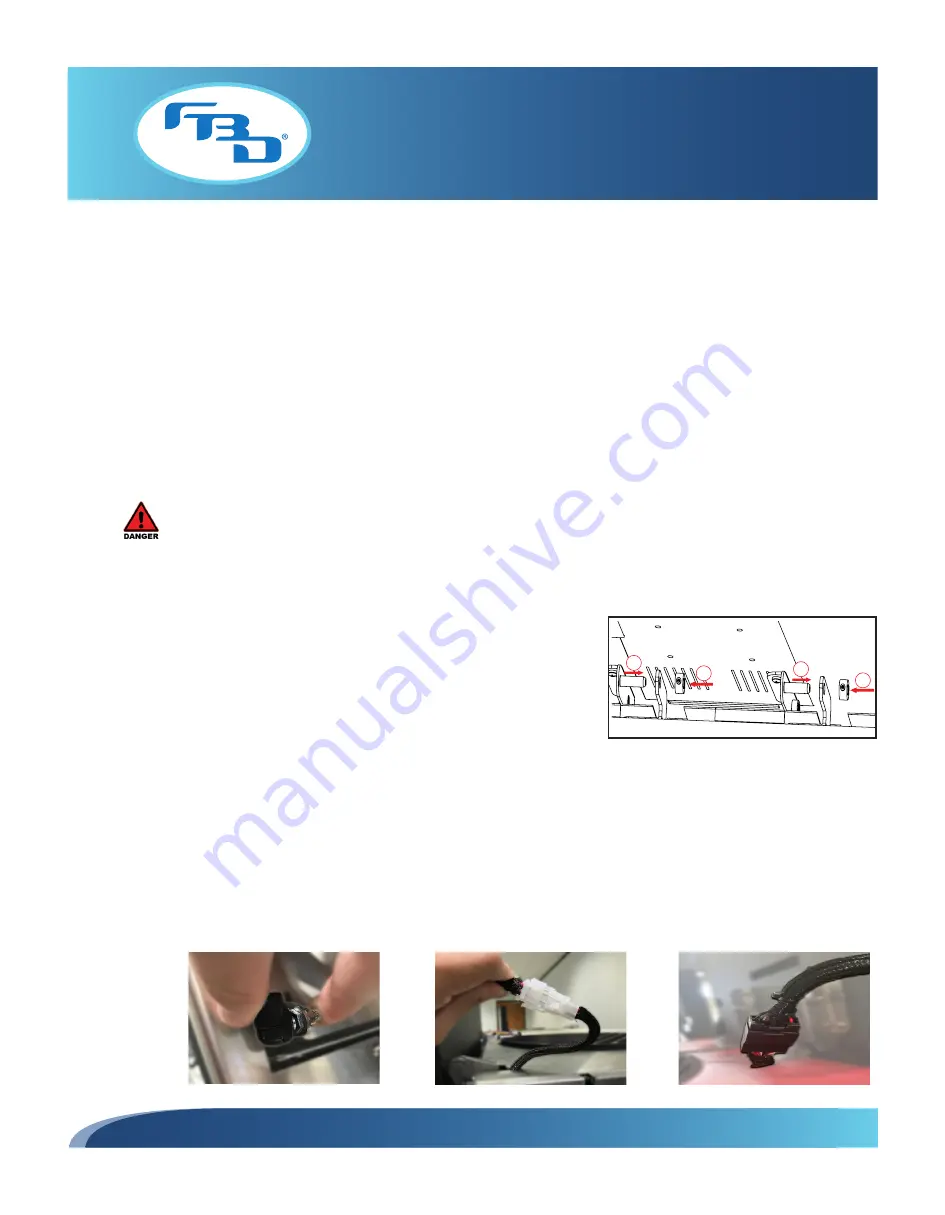
Slide the hinge pin from the new door into the pivot hole on the upper
brackets on the dispenser (
A
on
Figure 4.1
). Place the collar back on
each hinge pin and tighten the set screw on the shaft collars with the
hex wrench (
B
on
Figure 4.1
).
Before installing a merchandiser, disconnect electrical power to the dispenser.
Figure 4.1
Figure 4.2
Figure 4.3
Figure 4.4
3.
While holding up the door, push the gas shock socket from the door into the ball stud on the front facing bracket.
Repeat on opposite side (
Figure 4.2
).
4.
Connect the power harness coming out of the right side of the new door to the power extension harness coming out
of the right top side of the dispenser (
Figure 4.3
).
5.
Connect the harness coming out of the left side of the door with the harness coming out of the top left side of the
dispenser (
Figure 4.4
).
6.
Reconnect the power to the dispenser and follow start-up instructions in Section 6 of this manual.


