22
-
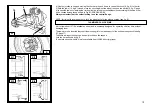
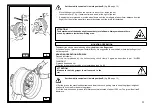
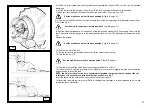
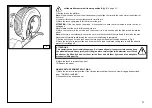
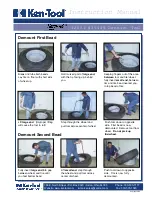
Move the finger tool until the red spot in it is about 3 cm. inside the rim.
-
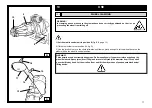
Insert the lever (17, fig. I) between rim and bead, at the right of the tool.
- Keeping the lever pressed, move the wheel down until the rim edge is at about 5mm. distance from the
finger tool, then let the wheel turn counterclockwise until the tyre is full detached.
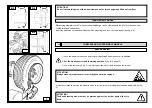
Set the mobile control unit in work position B
(fig. B/8, page 13)
ATTENTION!
The detachment of the beads might cause the tyre to fall down. Always make sure there
are no by-standers inside the working area.
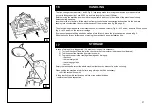
MOUNTING OPERATION
Tubeless tyres can be mounted using either
the disk
or
the finger tool
If the wheel doesn’t present any particular difficulty, it is suggested to use the disk; otherwise the finger tool
will be required.
MOUNTING OPERATION WITH DISK
Proceed as follows:
1) if the rim is released by the self-centering chuck, clamp it again as described in par. “WHEEL
CLAMPING”
2) grease beads and rim
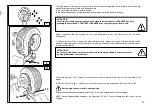
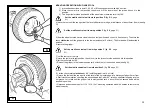
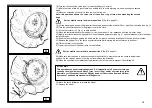
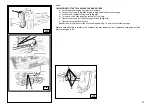
3) set the in the highest position of rim outer edge (see fig. M)
4) Set the tyre on the machine baseframe and lower the chuck (taking care to keep the gripper in highest
position) to hook the first bead to the gripper.
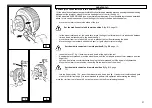
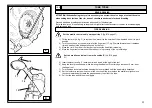
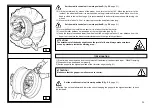
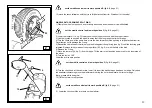
5) Lift the rim with hooked tyre and let it rotate counterclockwise of about 15-20 cm. The tyre will set itself
slantways.
ATTENTION!
Make sure that the gripper is well secured to the
rim.
Set the mobile control unit in work position B
(fig. B/8, page 13)
M
L
I
17


