Model 422 & Model 422CC Instruction Manual
D01187869
Revision A, December 2015
19
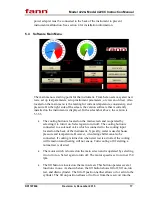
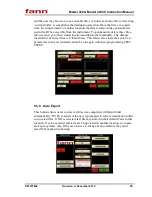
The instrument setup button takes the user to the instrument setup screen shown
above. From this screen the user may perform a variety of operations and change
options.
5.5.1 Calibrating Temperature
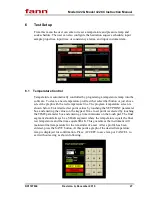
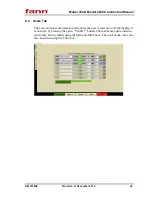
Temperature calibration must be performed by a qualified individual that has a
certified temperature calibration device. When the screen above appears, connect a
J type temperature calibrator to the thermocouple connector input on the
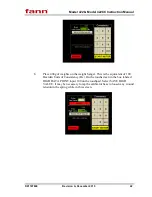
instrument. Enter a lower-limit temperature value on the calibrator. Touch the Enter
Low Value parameter box shown above and then enter the correct temperature
value for the low data point using the touchpad at the right. The raw value is the
voltage signal read directly from the I/O hardware and it should change as the
calibration signal changes.
When the low data point has been entered, press the SAVE LOW VALUE button.
The user can now enter the high data point on the calibrator and then again on the
touchscreen as before. The raw value should be different for the low and high data
points or there will be a computation error. After the high data point has been
established, press the SAVE HIGH VALUE button. We recommend using a low
value of room temperature and a high value of 400°F or near maximum operating
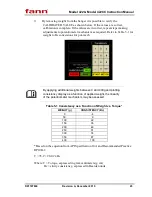
temperature. The user can now vary the calibration signal and see how the
calibrated signal compares with that of the calibration device in the VERIFY NEW
CALIBRATION box. If the signals compare favorably, press the SAVE button to
save the calibration. The calibration values will be stored in a configuration file and
take effect upon saving and exiting the Instrument Setup menu.


