4-Channel Digital Video Recorder
15
The
S.M.A.R.T.
column displays
“Good”
,
“Bad”
or
“N/A”
, depending on storage conditions.
Good
–
The storage condition is normal.
Bad
–
Data cannot be written on or read from the storage device.
N/A
–
Storage conditions are normal, however, the S.M.A.R.T. monitoring is not working or supported.
NOTE: When the S.M.A.R.T. displays
Bad
, the screen displays a message box. Once the “Bad” message displays,
replacing the hard disk drive is recommended, usually within 24 hours.
NOTE:
Temperature
and
S.M.A.R.T.
information will be available only for internal hard disk drives supporting
the SMART (Self-Monitoring Analysis and Reporting Technology) monitoring program.
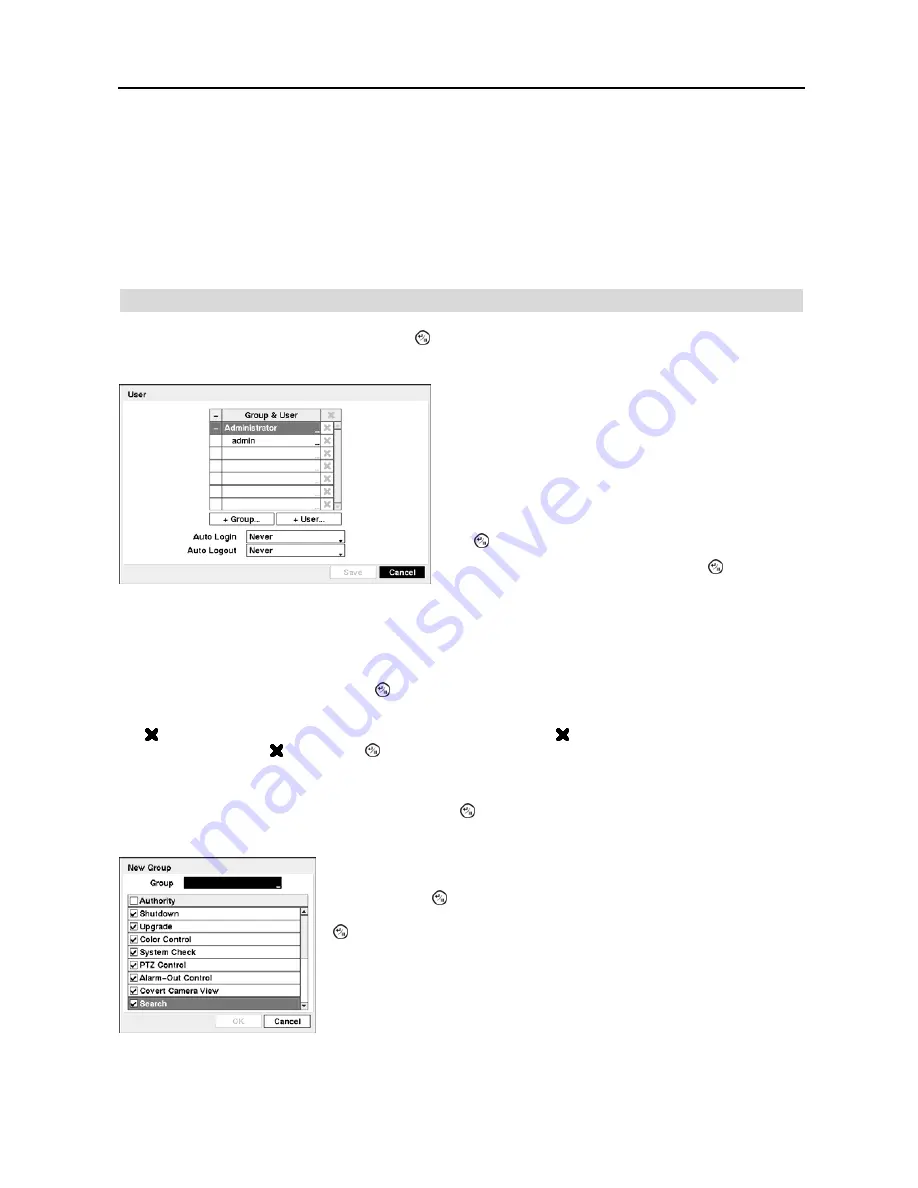
User
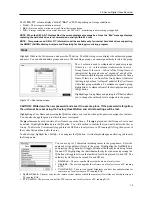
Highlight
User
in the System menu and press the button. The
User
setup screen displays the authorized groups
and users. You can add and delete groups and users. When adding a group, you can assign authority levels to the group.
CAUTION: Write down the new password and save it in a secure place. If the password is forgotten,
the unit must be reset using the
Factory Reset Button
and all data settings will be lost.
Highlighting a User Name and pressing the button allows you to add or change the password assigned to that user.
You can also change the group to which the user is assigned.
The column can be used to delete a User Name or an entire Group. If the is grayed out, that Group or User cannot
be deleted. Highlight the and press the button. You will be asked to confirm that you want to delete the User or
Group. To delete the User currently logged into the DVR on a local system or a PC running RAS, log the user out of
the system first and then delete the user.
To add a Group, highlight the
+ Group…
box and press the button. A virtual keyboard appears allowing you to enter
the Group name.
System Check –
The user can view the remote system status or check the remote system status as a batch process on a
PC running RAS.
PTZ
Control
–
The user can control the PTZ camera on a local system or a PC running RAS.
Figure 15
─
User setup screen.
The
+/-
column is used to collapse and expand user groups.
If there is a + or – in this column, it indicates the item is a
Group Name. If there is a – in front of the Group Name, it
indicates that the group has been “expanded” and all of the
User Names within that group are displayed below the Group
Name. If there is a + in front of the Group Name, it indicates
that the group has been “collapsed” and all of the User Names
within that group are hidden. To collapse or expand a group,
highlight the
+/-
column in front of the desired group and press
the button.
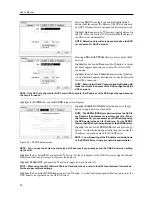
Highlighting a Group Name and pressing the button allows
you to change the authority levels assigned to the group.
You can use up to 15 characters including spaces in the group name. Enter the
name and assign authority levels to the group. Highlighting the
Authority
box
and pressing the button will toggle between all authority levels being turned
On and Off. Highlighting the individual authority level boxes and pressing the
button will toggle between that authority level being turned On and Off. The
authority levels that can be turned On and Off are:
Shutdown
–
The user can shut the system down on a local system.
Upgrade
–
The user can upgrade the software on a local system or a PC running
RAS.
Color Control –
The user can control brightness, contrast, hue and saturation for
cameras on a local system or a PC running RAS.
Summary of Contents for 4-Channel
Page 1: ......
Page 2: ......
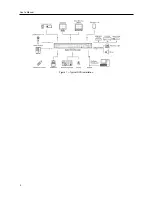
Page 10: ...User s Manual 2 Figure 1 Typical DVR installation...
Page 14: ...User s Manual 6...
Page 50: ...User s Manual 42...


