Rack-Mounting the Switch
ARX-500 Hardware Installation Guide
2 - 7
Rack-Mounting the Switch
1. Holding the switch firmly, align the switch (front panel view) with
the slide rails.
2. Using the rack handles, carefully slide the switch into place on the
rails.
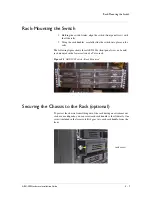
The following figure shows three ARX-500s (front panel view, no bezels)
rack mounted in the lower section of a Telco rack.
Figure 2.2
ARX-500 Switch – Rack Mounted
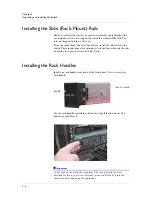
Securing the Chassis to the Rack (optional)
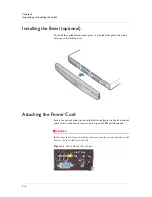
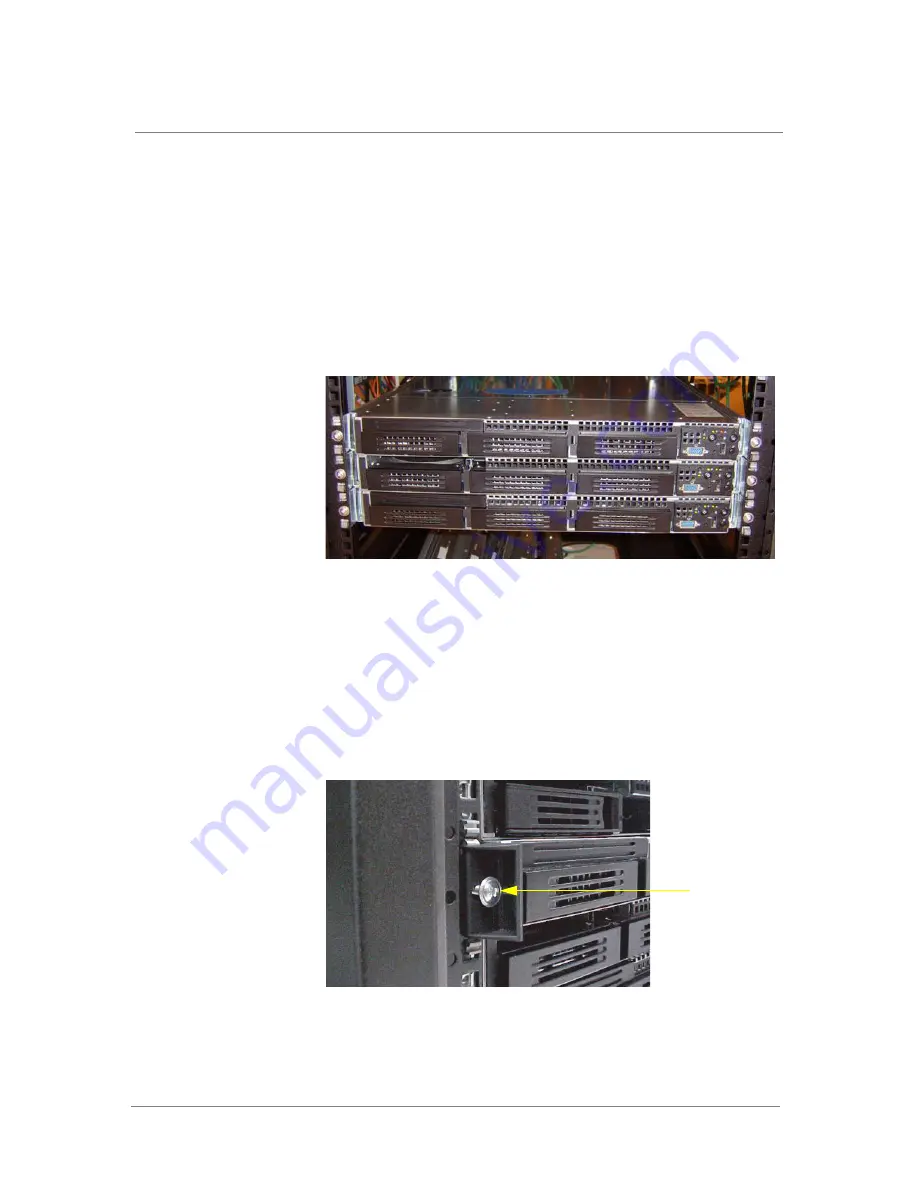
To protect the chassis from sliding out of the rack during an extreme event
such as an earthquake, you can screw each rack handle to the slide rails. One
screw (included in the Accessory Kit) goes into each rack handle, from the
front.
rack screw
Summary of Contents for ARX-500
Page 1: ...ARX 500 Hardware Installation Guide 810 0039 00 ...
Page 2: ......
Page 7: ...Table of Contents ...
Page 8: ......
Page 10: ...Table of Contents x ...
Page 11: ......
Page 12: ...Table of Contents xii ...
Page 14: ......
Page 22: ......
Page 32: ......
Page 50: ...Chapter 3 Connecting the Switch to the Network 3 20 ...
Page 51: ...4 Maintenance Powering Down the ARX 500 POST Diagnostics Front Panel LEDs Rear Panel LEDs ...
Page 52: ......
Page 59: ...Index ...
Page 60: ......
Page 62: ...Index Index 4 ...


