


4
Installation
1� Installation Location
Choose a location with a clear, unblocked field of view and with a good wireless signal to the camera. Please keep the
following tips in mind:
•
Make sure the wall is strong enough to withstand three times the weight of the camera.
•
Please do not install the camera under any glares, including direct sunlight and bright light.
• Keep away from ventilation openings, including air conditioner vents, humidifier mist nozzle and warm air vents.
•
Please do not install the camera on where there is strong wind.
•
Please do not install the camera opposite a mirror.
•
In order to avoid wireless interference, please keep the camera at least 1 meter away from any other wireless device (including
Wi-Fi router and telephone).
•
Recommended installation height: 6 ft (1.8 m) above the ground.
•
Recommended installation angle: Tilt down 15 degrees.
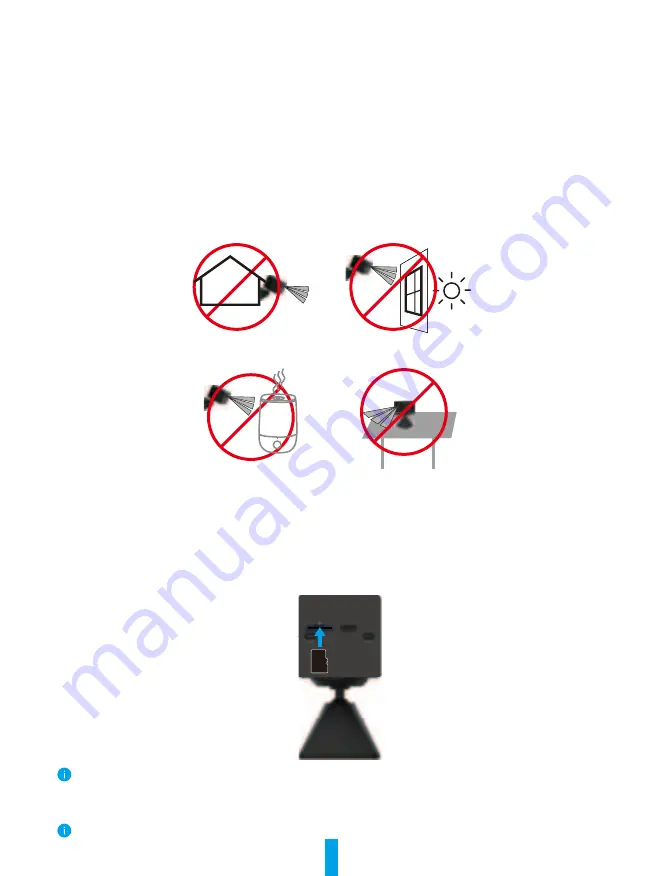
Do not install outdoors
Do not install facing direct
sunlight
Do not install at the place
with blocked field of view
Do not install in front of an
air humidifier
•
It is recommended to set detection sensitivity on EZVIZ app when selecting location. Thus you can verify if motion can be
detected in the camera’s placement and adjust the sensitivity based on the size and distance of detected object.
2� Installation Steps
1� Install Micro SD Card (Optional)
-
Insert the Micro SD card (sold separately) into the card slot as shown in the figure below.
After installing the Micro SD card, you should initialize the card in the EZVIZ app before using it.
-
In the EZVIZ app, tap the
Storage Status
in the Device Settings interface to check the SD card status.
-
If the memory card status displays as
Uninitialized
, tap to initialize it.
The status will then change to
Normal
and it can store videos.


