EZTouchPLC
61 / 64
Setup IP Address
The
EZTouchPLC
will arrive with a factory-programmed IP Address that may
need
edited to be compatible with your LAN network. Once the IP Address has
been
adjusted to the LAN, the
EZTouchPLC
can receive programming
instructions
through either the serial port (COM1) connection or via the Ethernet.
Follow the
steps below to use the editing software to update the IP Address
information
though a COM port on the
EZTouchPLC
.
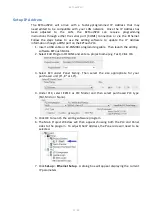
1.
Insert a USB cable or EZ-PGMCBL programming cable. Then launch the editing
software EZ
Touch
Edit
or
.
2.
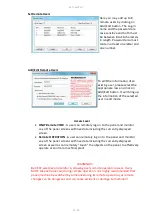
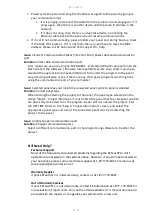
Select Edit Program OFFLINE and enter a project name (e.g. Test). Click OK.
3. Select EZ3 under Panel Family. Then select the size appropriate for your
purchased unit (6", 8" or 10").
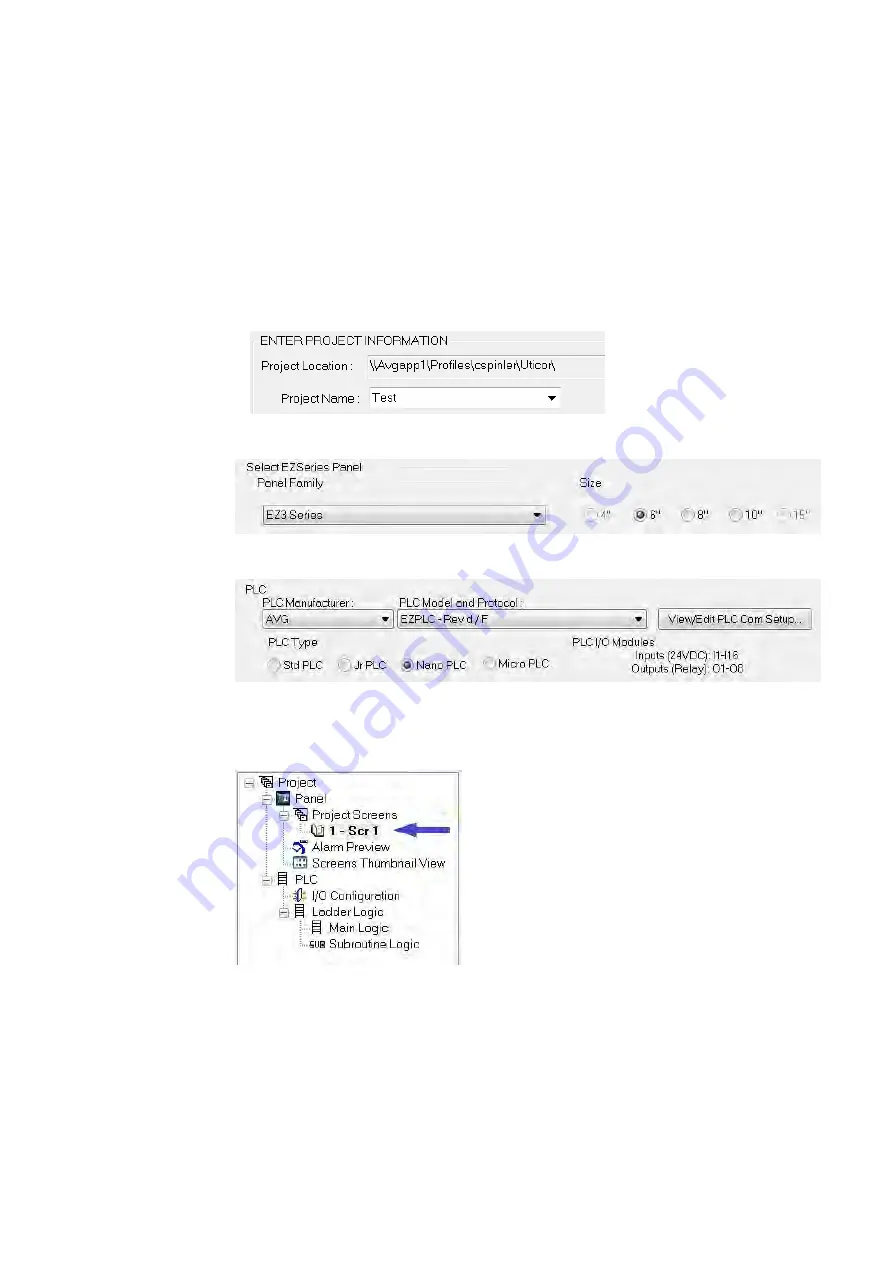
4. Under PLC, select EZPLC as PLC Model and then select purchased PLC type
(Std, Micro or Nano).
5. Click OK to launch the editing software program.
6. The Main Project Window will then appear showing both the PLC and Panel
sides to the program. To adjust the IP Address, the Panel side will need to be
selected.
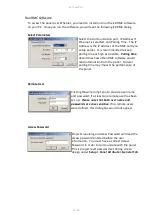
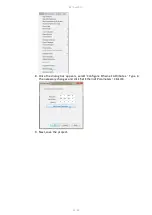
7. Click
Set-up
>
Ethernet Set up
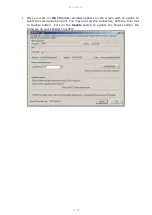
. A dialog box will appear displaying the current
IP parameters.
Summary of Contents for EZTouch I/O Flex
Page 1: ...Copyright 2015 by AVG Automation All Rights Reserved EZTouchPLC ...
Page 21: ...EZTouchPLC 21 64 Touch I O with Micro Terminal Layout ...
Page 22: ...EZTouchPLC 22 64 Terminal Pinouts ...
Page 23: ...EZTouchPLC 23 64 ...
Page 26: ...EZTouchPLC 26 64 Analog I O Specifications ...
Page 27: ...EZTouchPLC 27 64 ...
Page 28: ...EZTouchPLC 28 64 Touch I O with Nano Terminal Layout ...

