EZTouchPLC
44 / 64
4.
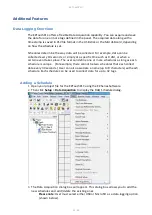
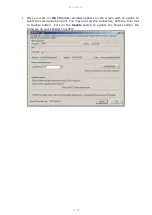
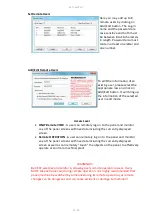
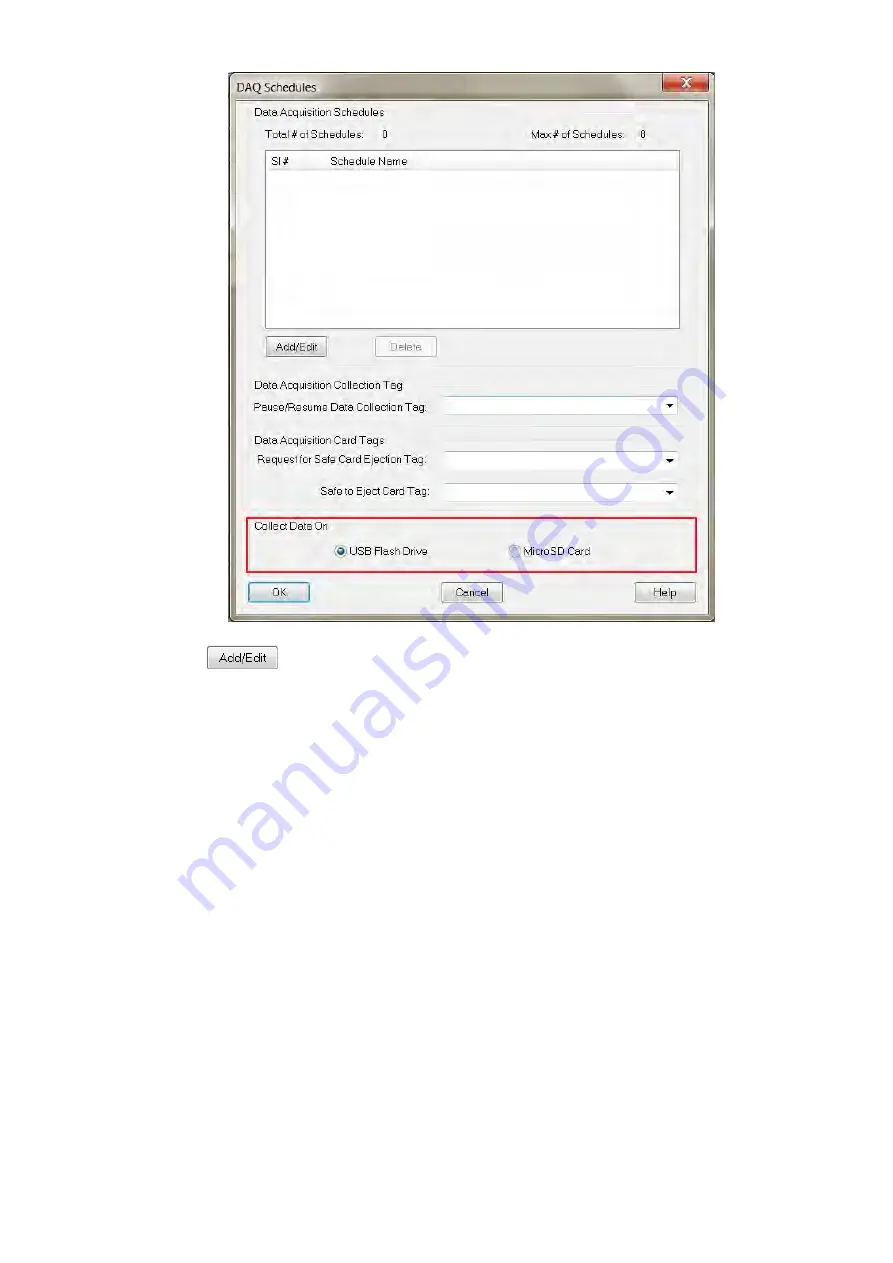
Click on Add/Edit buton to display the ““dd D“A Schedule Details.”
5.
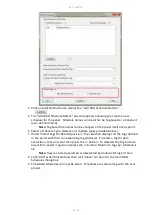
The "Add DAQ Schedule Details" box will appears allowing you create a new
schedule for the panel. Schedule names can be either be Tag based or a Constant
(user defined name).
Note
: Tag based file names can be changed on the panel itself at any point.
6.
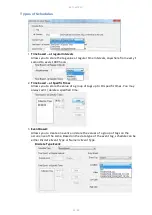
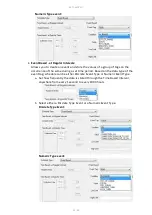
Select a Schedule Type. (Details on schedule types provided below.)
7.
Under "Select Tags for Data Acquisition,"
the
selection displays all the tags defined
in the panel with their corresponding tag addresses. To select a tag for data
acquisition, click on it and then press the >> button. To deselect the tag for data
acquisition, select it again and press the << button. Maximum tags per schedule is
32.
Note
: Tags can also be selected or deselected by double-clicking on them.
8.
Click "Add" when finished and then click "Close" to return to the main DAQ
Schedules dialog box.
9.
The added schedules will now be listed. Schedules are saved along with the user
project.
Summary of Contents for EZTouch I/O Flex
Page 1: ...Copyright 2015 by AVG Automation All Rights Reserved EZTouchPLC ...
Page 21: ...EZTouchPLC 21 64 Touch I O with Micro Terminal Layout ...
Page 22: ...EZTouchPLC 22 64 Terminal Pinouts ...
Page 23: ...EZTouchPLC 23 64 ...
Page 26: ...EZTouchPLC 26 64 Analog I O Specifications ...
Page 27: ...EZTouchPLC 27 64 ...
Page 28: ...EZTouchPLC 28 64 Touch I O with Nano Terminal Layout ...

