B
LACK
D
IAMOND
S
WITCH
H
ARDWARE
I
NSTALLATION
G
UIDE
2-5
I
NSTALLING
THE
B
LACK
D
IAMOND
6800 S
WITCH
b
Slide the power supply into the bay.
Caution: Be careful not to slam the power supply into the backplane. Only
use the locking handle for inserting the power supply unit into the chassis.
c
Secure the power supply by rotating the locking handle up until it clicks in place,
and then tighten the screws using a #1 Phillips-head screwdriver.
6
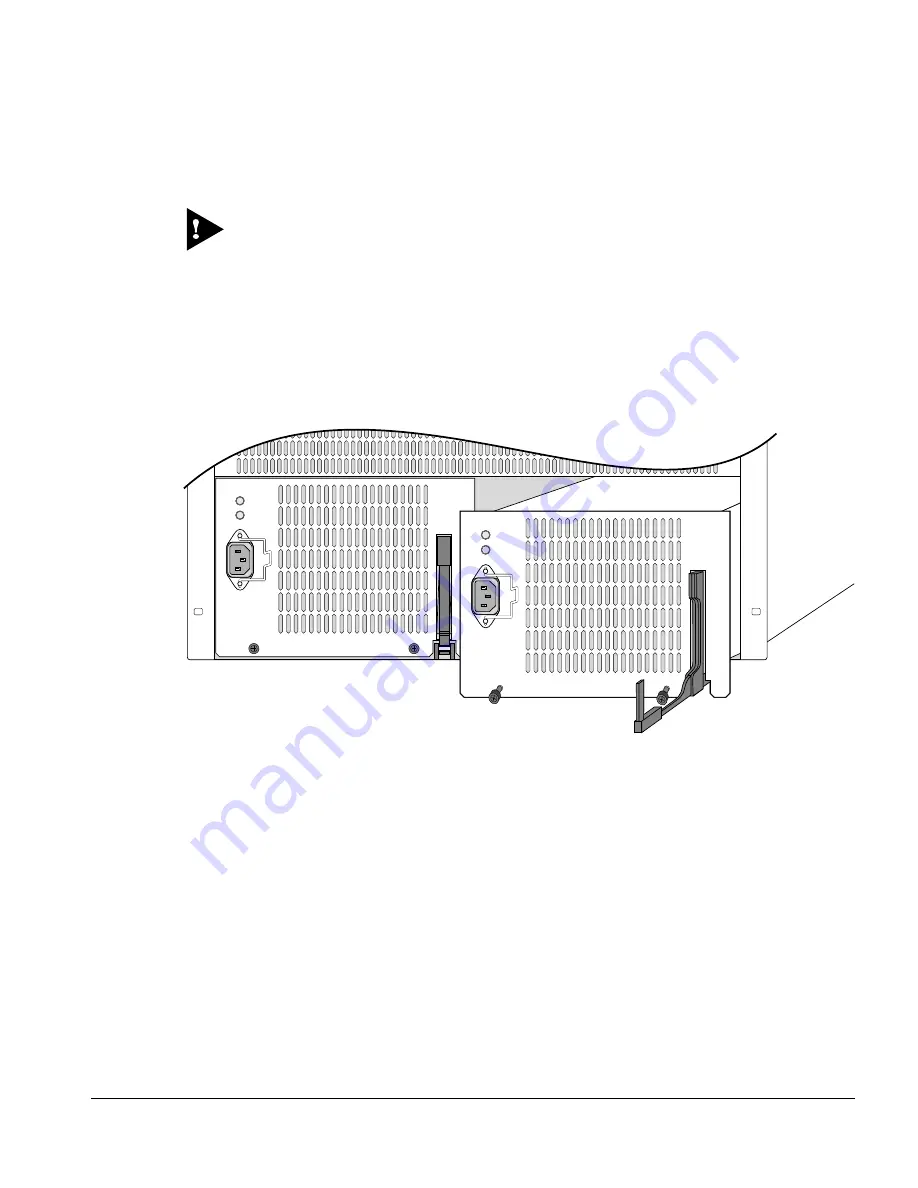
To install a second power supply, remove the blank plate from the power supply bay
on the right of the chassis using a #1 Phillips-head screwdriver.
7
Install the second power supply, as shown in
Figure 2-3
, by repeating the procedure
described in Step 5.
Figure 2-3: Power supply bays
8
Prior to installing module cards into the BlackDiamond 6800 chassis, put on the ESD
wrist strap that is provided with the chassis, and connect the metal end to the
ground receptacle located on the top-left corner of the BlackDiamond 6800 switch
front panel.
Leave the ESD strap permanently connected to the BlackDiamond 6800 chassis, so
that it is always available when you need to handle ESD-sensitive components.
9
To install the MSM64i follow these steps:
a
Ensure that the MSM64i is right side up (printed circuit board, or PCB, to the
right) and the ejector/injector handles are extended, as shown in
Figure 2-4
.
BD_pwrx
DC OUT
AC IN
DC OUT
AC IN
Summary of Contents for BlackDiamond 6800
Page 6: ...vi ...
Page 8: ...viii ...
Page 12: ...XII BLACKDIAMOND SWITCH HARDWARE INSTALLATION GUIDE PREFACE ...
Page 32: ...1 20 BlackDiamond Switch Hardware Installation Guide BLACKDIAMOND 6800 SWITCH OVERVIEW ...
Page 44: ...2 12 BLACKDIAMOND SWITCH HARDWARE INSTALLATION GUIDE INSTALLATION AND SETUP ...
Page 52: ...3 8 BLACKDIAMOND SWITCH HARDWARE INSTALLATION GUIDE SERVICE AND MAINTENANCE ...
Page 56: ...A 4 BLACKDIAMOND SWITCH HARDWARE INSTALLATION GUIDE SAFETY INFORMATION ...


