SOFTWARE INSTALLATION FOR WINDOWS 95
USING PD TRAVELER UNDER WINDOWS 95
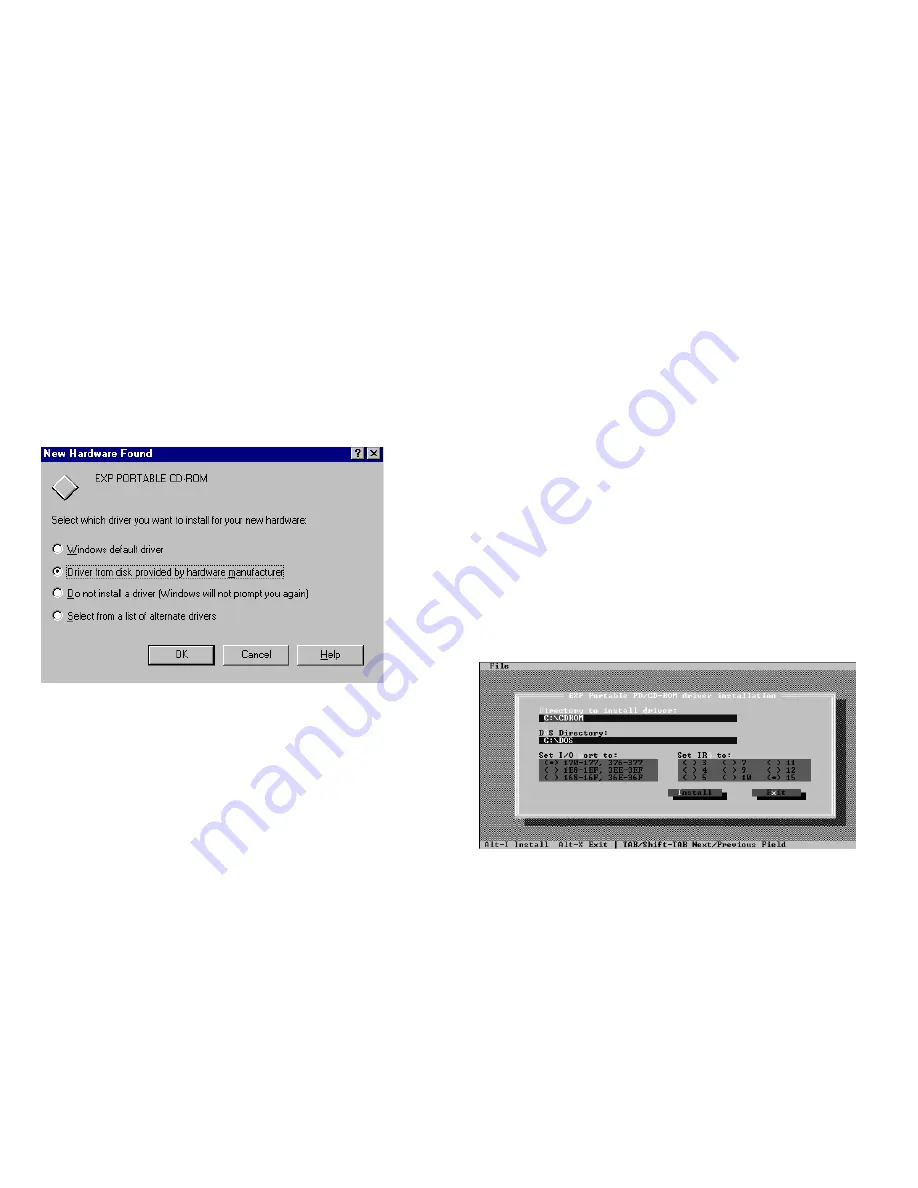
The following dialog box will appear when you are using the PD TRAVELER
under Windows 95 for the very first time.
If the dialog box does not appear and the CD-ROM folder can not be found
in My Computer, please refer to the section titled “Enabling 32-Bit Card
Support”.
Figure 7
Select “Driver from disk provided by hardware manufacturer” and click on
OK button, Windows 95 will then prompt you to insert the manufacturer’s
installation disk. Insert the PD TRAVELER device driver disk into your
floppy drive. Specify the directory as A:\ or B:\ whichever containing the
diskette and select OK.
Follow the on-screen instruction to continue. After finishing, go to “My
Computer”, there should be two additional drive icons: a Removable drive
for the PD and a CD-ROM drive icon.
SOFTWARE INSTALLATION FOR DOS/WINDOWS 3.1
The INSTALL program helps you install the device driver into the computer
easily. Please follow the instructions below to proceed with automatic
installation.
1.
Insert the device driver diskette into a floppy disk drive on your
computer.
2.
Change the working directory to the floppy drive containing the
device driver diskette by typing “
A:
”
or “
B:
” then press ENTER.
3.
At the DOS prompt (A:\> or B:\>), type “
INSTALL
” followed by the
ENTER key.
4.
Press ENTER or click on the OK button to continue. When the
opening screen appears, a dialog box will be displayed for you to
specify the 1), directory to install the device driver; 2), the DOS
directory to specify the location of the MSCDEX driver, 3), the
I/O port and 4),the IRQ desired for the PD TRAVELER. Enter the
directory you select to install the driver and press the TAB key to
forward to the next field to indicate the DOS Directory. Press the
TAB key again to set the I/O port. The default setting of the I/O
ports are (170-177 and 376-377). After completing the selection,
click on the Install button to continue.


