Design and function
MIG/MAG welding
099-005214-EW501
19.05.2011
33
• Extend and lay out the torch tube package.
• Unfasten pressure units and fold out (clamping units and counter-pressure rollers will automatically flip
upwards).
• Unwind welding wire carefully from the wire spool and insert through the wire inlet nipple over the drive
roller grooves and the guide pipe into the capillary tube and Teflon core using guide pipe.
• Press the clamping element with the counter pressure roller back downwards and fold the wire units
back up again (wire electrode should be in the groove on the drive roller).
• Set the contact pressure with the adjusting nuts of the pressure unit.
•
Press the wire inching button until the wire electrode projects out of the welding torch.
CAUTION
Extensive wear due to incorrect contact pressure!
Incorrect contact pressure will cause extensive wear of the wire feed rollers!
• With the adjusting nuts of the pressure units set the contact pressure so that the wire
electrode is conveyed but will still slip through if the wire spool jams.
• Set the contact pressure of the front rollers (in wire feed direction) to a higher value!
5.7.5
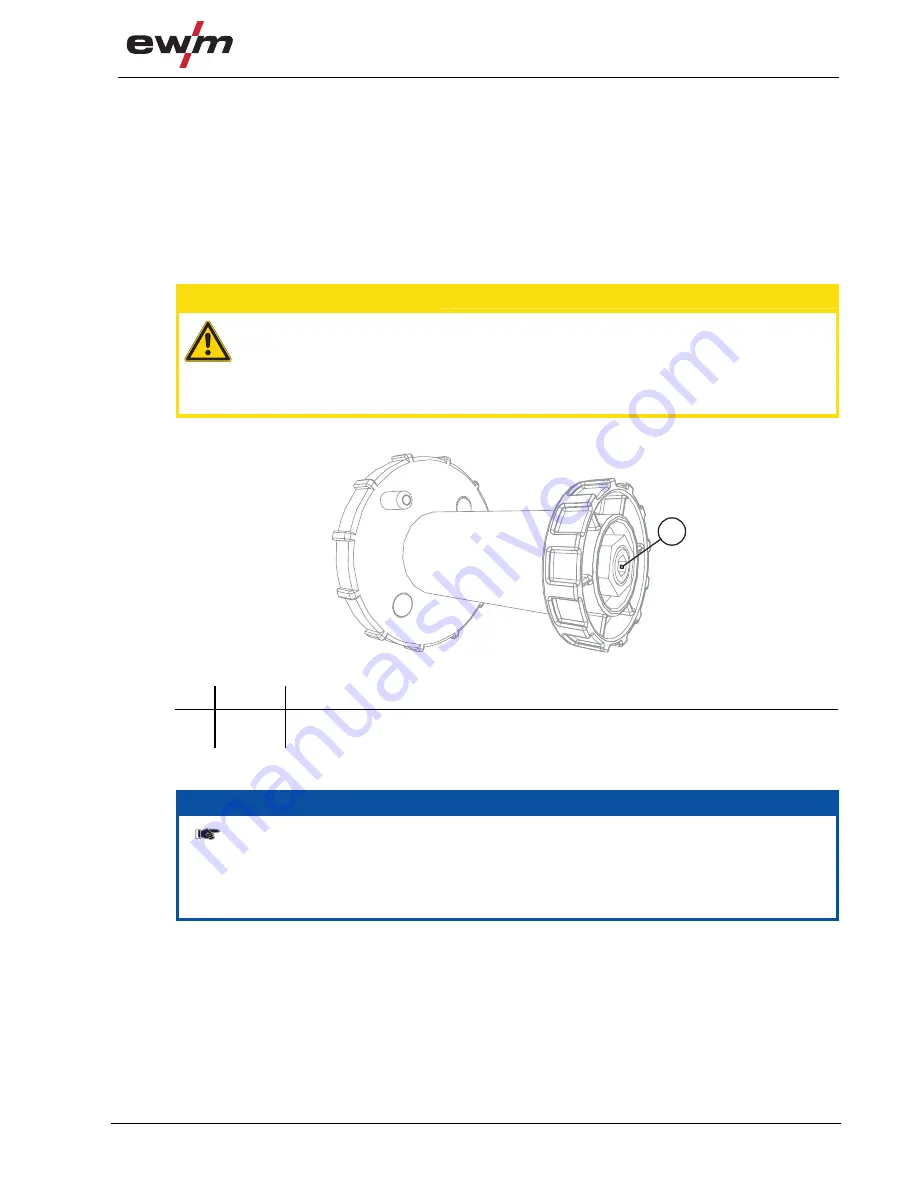
Spool brake setting
1
Figure 5-9
Item Symbol Description
0
1
Allen screw
Securing the wire spool retainer and adjustment of the spool brake
• Tighten the Allen screw (8 mm) in the clockwise direction to increase the braking effect.
NOTE
Do not jam the wire spool!
Tighten the spool brake until the wire spool no longer turns when the wire feed motor stops but
without it jamming during operation!
The fixing of the pin reel must be checked if the hexagonal socket screw is released.
See chapter “Fixing of the pin reel (adjustment of the pre-tensioning)”


