3
Function specification
3/8
2nd step
•
Release the torch trigger.
•
The welding current increases with the gradient set (UP-SLOPE) to the welding current I
1
.
With the second torch trigger, it is possible to switch to the secondary current operating
point I
2
during welding.
3rd step
•
Operate the torch trigger.
•
The welding current falls with the gradient set (DOWN-SLOPE) to the end-crater current I
E
(minimum current).
4th step
•
Release the torch trigger.
•
The arc extinguishes.
•
The gas post-flow time set begins.
It is also possible to terminate the welding procedure immediately without DOWN-SLOPE and
end-crater current By briefly operating the 1
st
torch trigger (3
rd
step). The current falls to zero
and the gas post-flow time begins.
Automatic cut-out:
In latched operating mode, if no ignition of the arc occurs after operation and release of the
torch trigger or if the arc is interrupted when the torch is moved away, an automatic cut-out
occurs within 3 sec.
The HF, gas and open circuit voltage (power unit) are switched off.
3.5
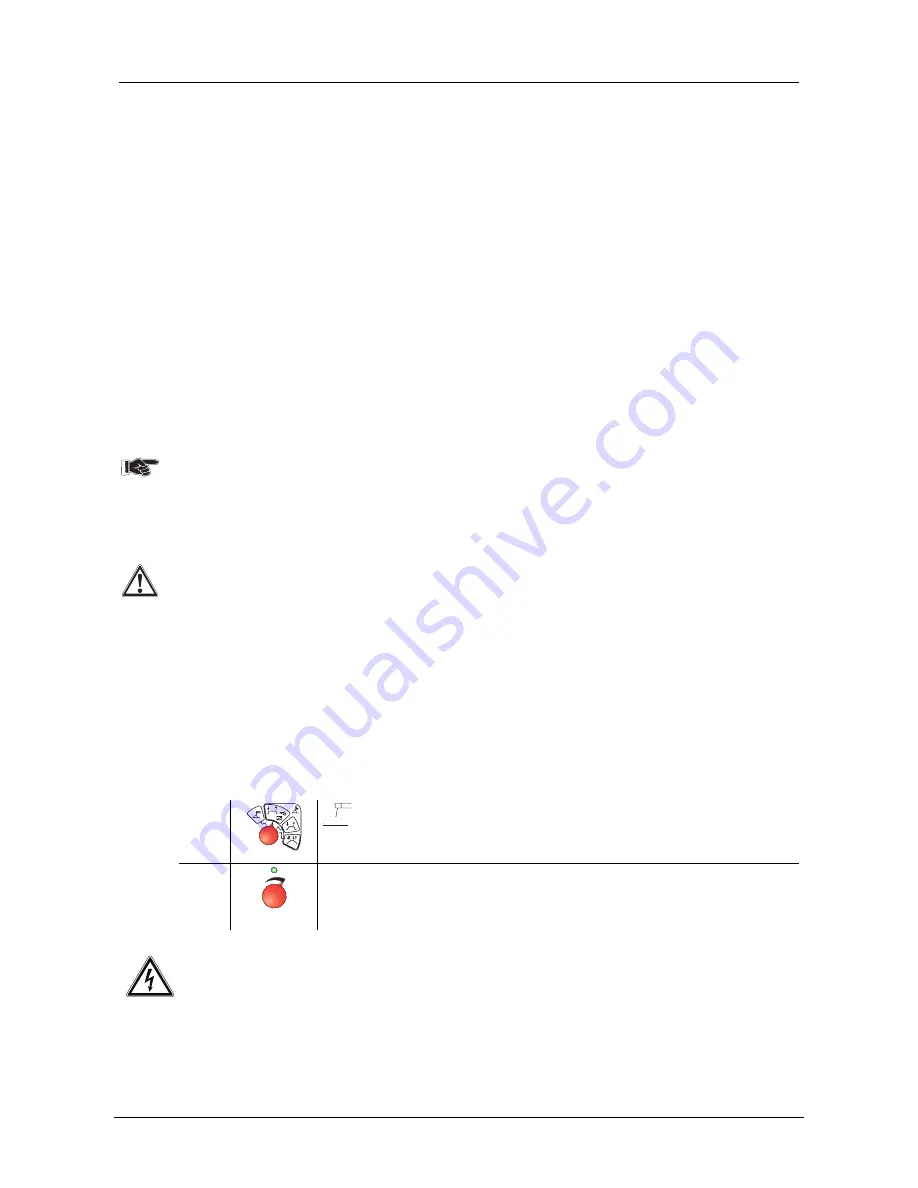
MMA welding
E1
Rotary switch in the position (electrode)
F1
I
1
Select welding current I
1
(5A - maximum current).
If welding is performed alternately by different methods, e.g. TIG or MMA, and if a welding
torch and an electrode holder are connected to the machine, the open circuit/welding
voltage is applied simultaneously to both!
Therefore, always place the torch and the electrode holder on an insulated surface before
starting work and during breaks.


