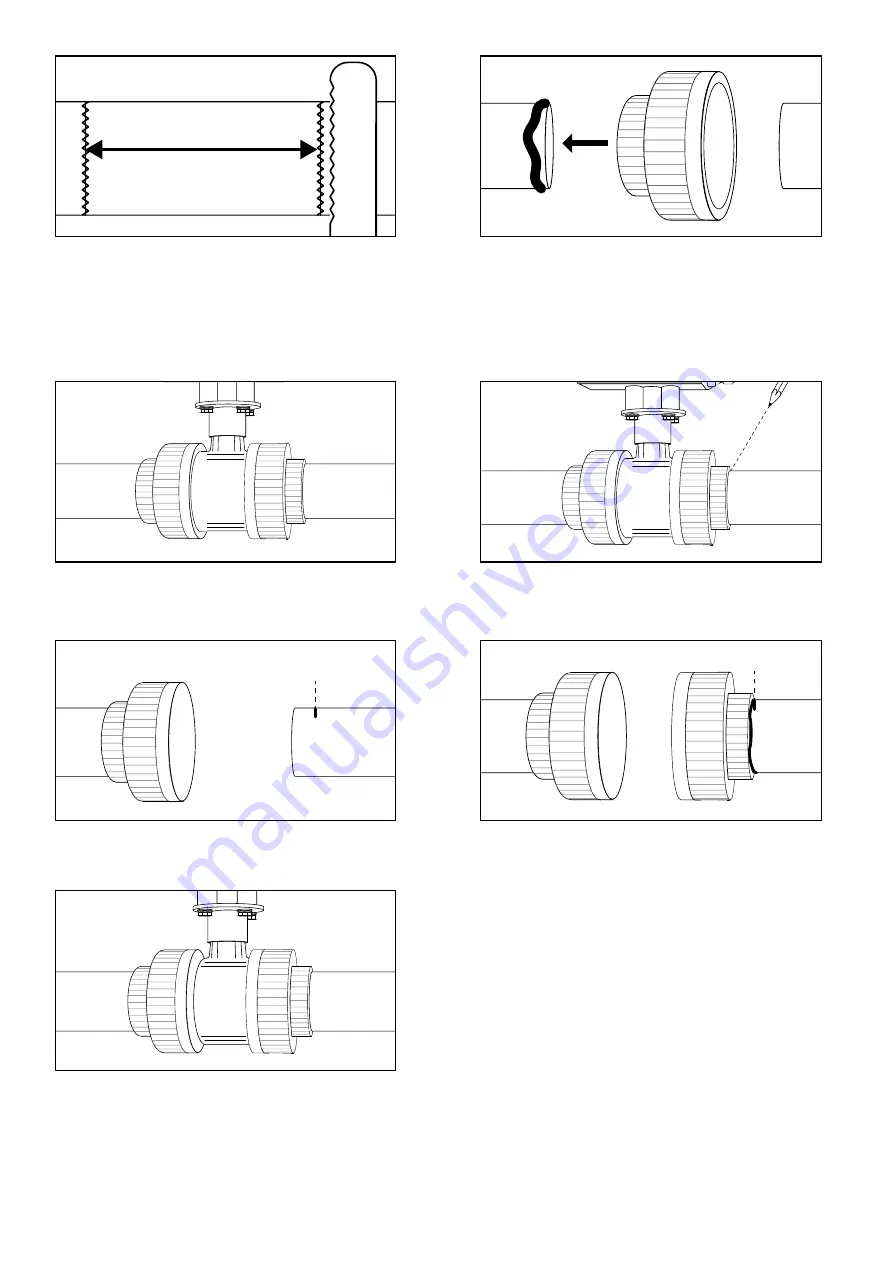
INSTALLING THE AUTOMATED WASTE VALVE
ONTO THE WASTE PIPEWORK
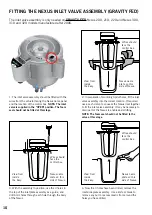
5. From the lines you have marked, cut through the
pipework using a saw. Clean and dry the remaining
pipe thoroughly.
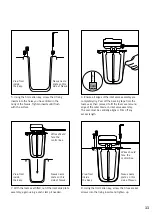
7. Using the automated waste valve as a guide, fit
the valve into the glued union end, but do not glue
the other union end.
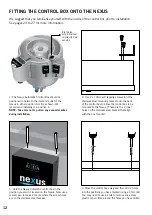
9. Remove the automated waste valve from the pipe.
11. Now fit the automated waste valve back in
between the union ends and tighten both ends up.
MARK
100mm
MARK
6. Clean and dry the pipe thoroughly. Ensure the
union nut is over pipe prior to gluing the insert
flange. Apply solvent weld glue to one of the cut
ends of the pipe and fit the flange onto the pipe.
TIP: We recommend a “wet and dry” PVC glue be
used for gluing the flanges.
8. Mark the unglued flange position on the pipe
with a pencil or marker pen.
10. Ensure the union nut is over pipe prior to gluing
the insert flange. Then, using the mark you made in
Step 8 as the guide, glue the flange onto pipe so it
is located at this mark.
19

