2432RX2-HDMI
Dual Path Serial Digital to HDMI Converter
UPGRADING FIRMWARE
Revision 1.0
Page - 41
5.
UPGRADING FIRMWARE
5.1. UPDATE PROCEDURE
5.1.1. Part 1 – Configuring the Unit for Firmware Upgrades
Connect the 9 pin male connector on the straight through serial extension cable to the COM port on the
end of the 2432RX2-HDMI. Connect the 9 pin female connector to the PCs’ RS-232 communications port.
5.1.2. Part 2 – Terminal Program Setup
1.
Start the terminal program.
2.
Configure the port settings of the terminal program as follows:
Baud
115200
Parity
No
Data Bits
8
Stop Bits
2
Flow Control
None
Table
5-1 : Serial Terminal Settings
3.
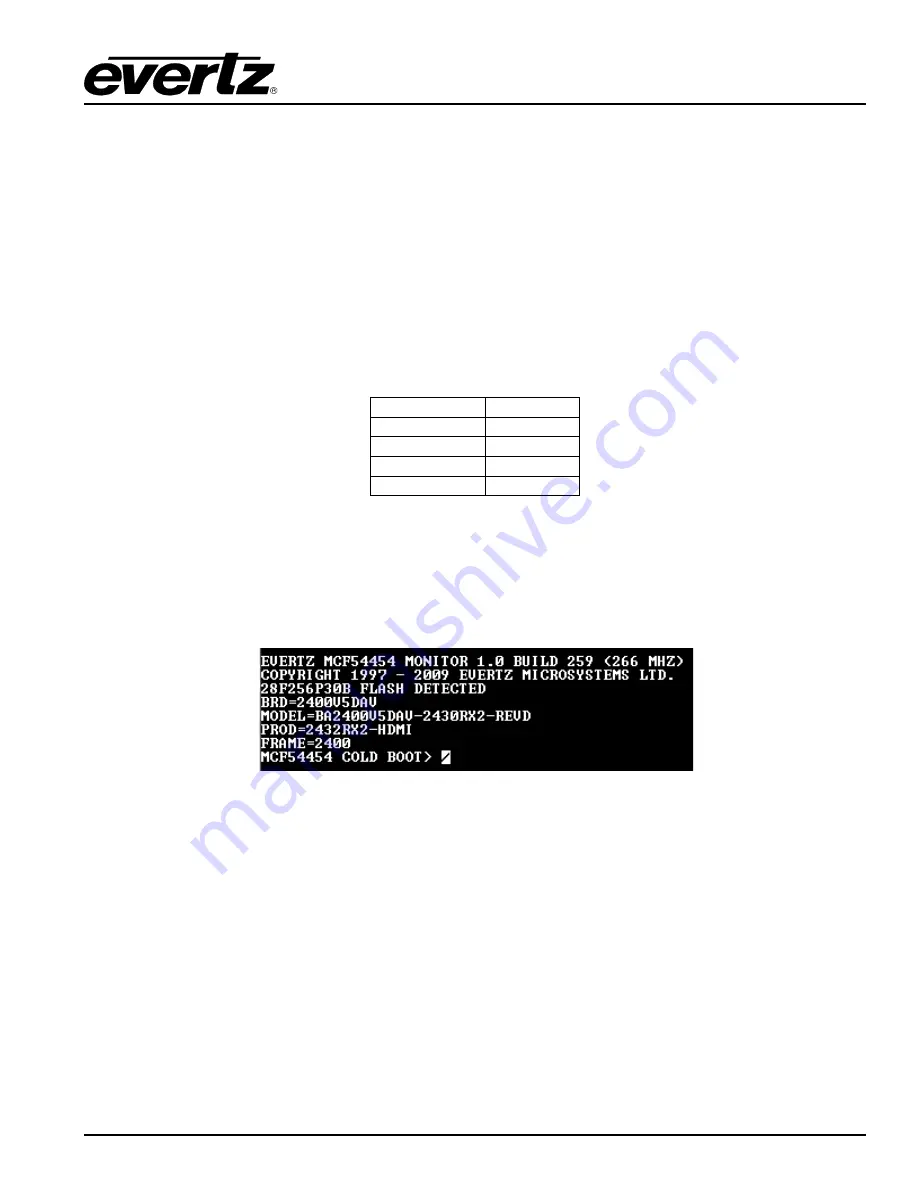
Apply power to the 2432RX2-HDMI. After the unit powers up, a banner with the boot code version
information should appear in the terminal window. The cursor to the right of the word “BOOT>”
should be spinning for about 5 seconds then the unit will continue to boot.
For example:
1. The following is a list of possible reasons for failed communications:
•
Defective serial cable.
•
Wrong communications port selected in the terminal program.
•
Improper port settings in the terminal program (Refer to step 3 for settings).
2. While the cursor is spinning press the <CTRL> and <X> keys on the computer keyboard at the
same time, this should stop the cursor from spinning. The spinning prompt will only remain for
about 5 seconds. The user must press <CTRL-X> during this 5 second delay. If the unit continues
to boot-up, simply cycle the power and repeat this step.
3. Hit the <ENTER> key on your computer once.
4. Type the word “upgrade”, without quotes, and hit the <ENTER> key once.
5. The boot code will ask for confirmation. Type “y”, without quotes.
6. The user should now see a prompt asking you to upload the file.


