


ECOR960 X1
34
4.
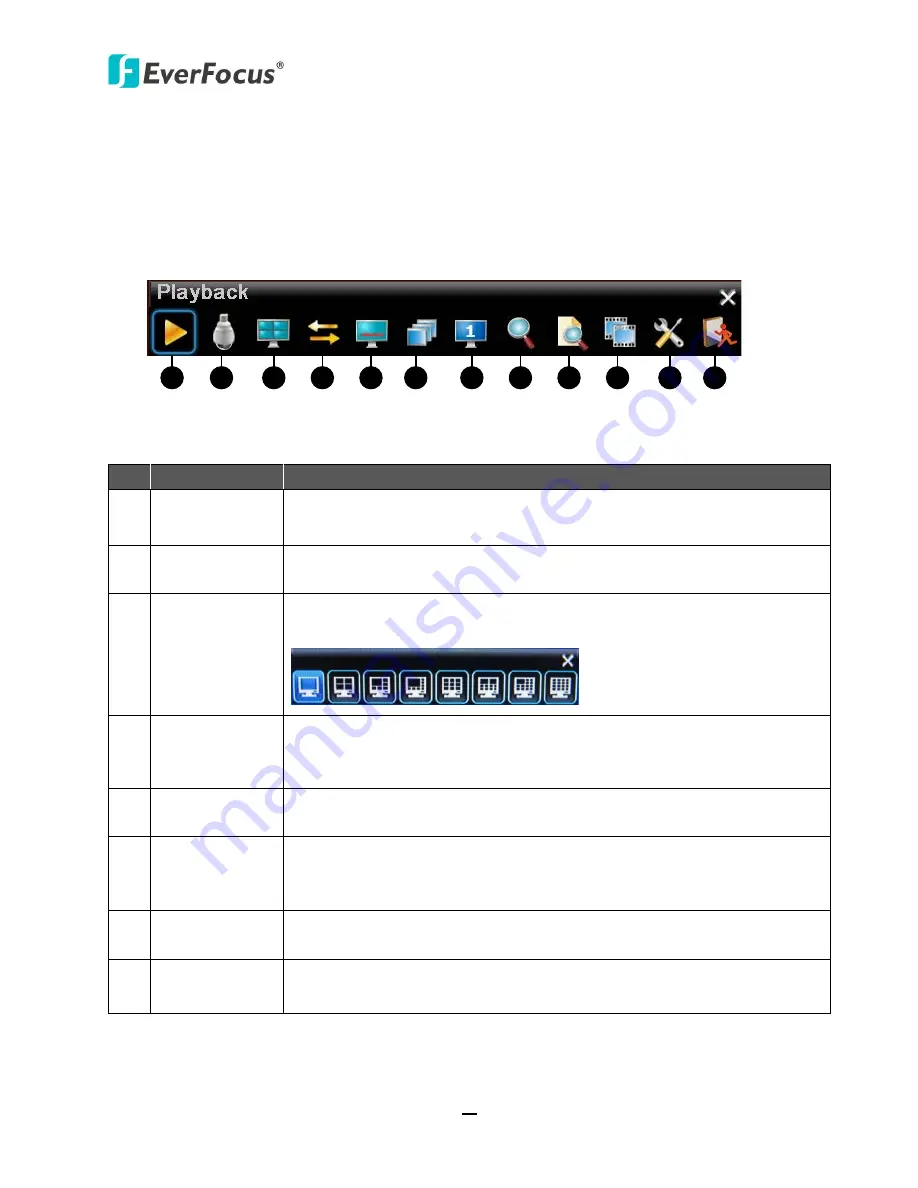
OSD Root Menu
1
2
3
4
5
6
7
8
9
10
11
12
Figure 4-1
Chapter
4
No. Name
Description
1
Playback
Click to display the Playback Bar for recording videos. For details, please
refer to
5. Playback.
2
PTZ
Click to display the PTZ Control Panel for controlling the connected PTZ
cameras. For details, please refer to
4.1 PTZ.
3
Layout
Click to display the Layout Bar as shown below. Select a layout type for
the live view display on the Main Monitor. There are 8 kinds of layouts.
4
Channel
Click to display the Channel Switching Bar as show below. To switch the
selected camera to a specific channel, please refer to
4.3 Channel
Switching
.
5
Display
Click to display system information icons or status icons on the live view
screen. For details, please refer to
4.4 Display
.
6
Sequence
Click to enter the auto sequential switching mode. Click again to disable.
For setting up the sequencing order, please refer to
6.8.2 Main M/T
Sequence
and
6.8.3 Call M/T Sequence.
7
Monitor
Click to switch to the call monitor setting. For details, please refer to
4.6
Monitor Switching
.
8
Zoom
Click to enter the Zoom mode. You can zoom in the camera view up to
x8 and navigate the camera view. For details, please refer to
4.7 Zoom
.


