


2ad89664-e5f4-4907-bab1-9f7c76e7d9ef / DP10.0 / 2016-07-04
Page 38 of 43
Eurolyser Diagnostica GmbH
ERROR INFORMATION AND TROUBLESHOOTING
Error messages and possible causes
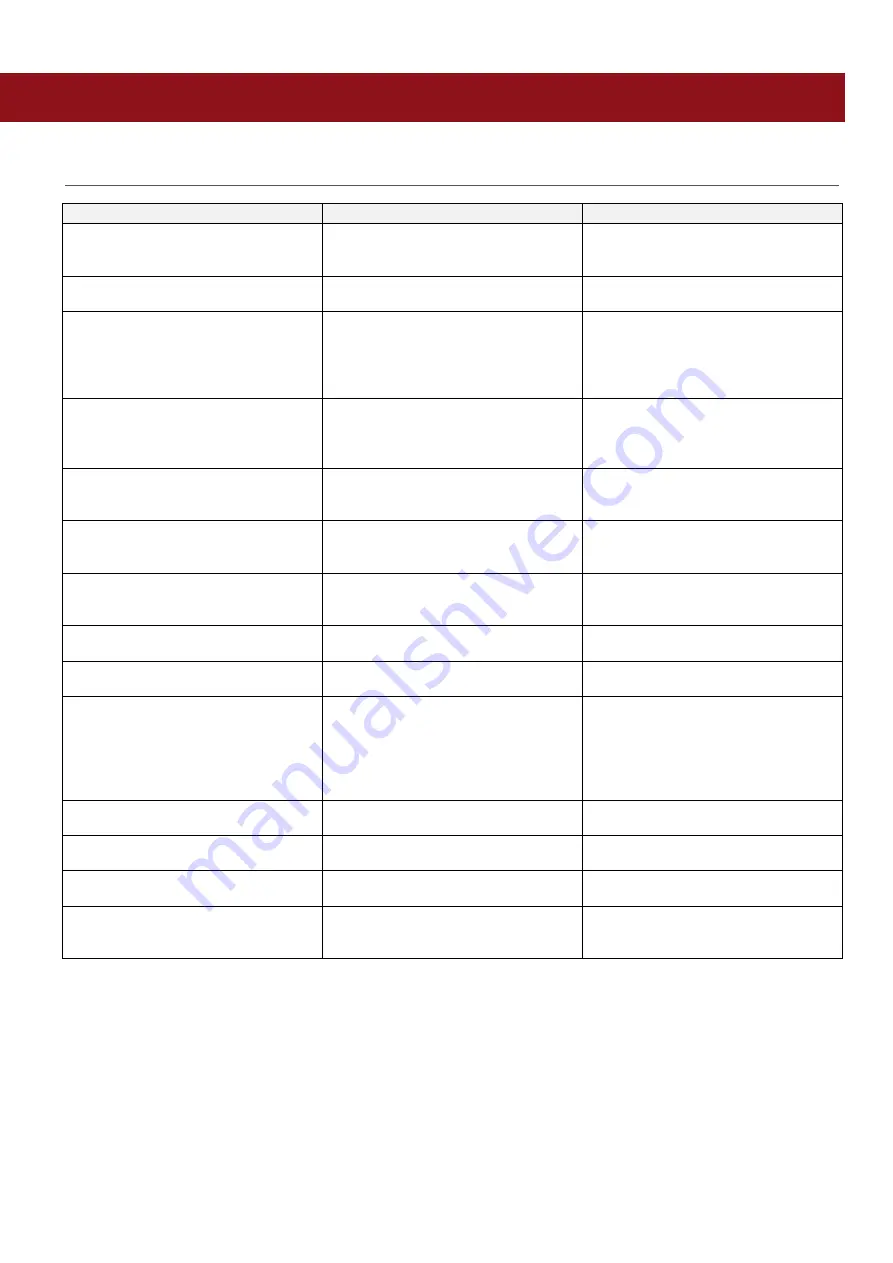
Error message
Cause
Correction
Invalid card
A wrong, defective or expired RFID
card;
A defective RFID module;
Use a new test kit.
Contact your dealer.
Tests expired
The test cartridge has passed its
expiration date.
Use a cartridge from a new test kit
that has not expired.
Door blocked
The test cartridge is blocking the
door because the cartridge has not
been inserted completely or the
cuvette has not been capped firmly
enough.
Reposition the test cartridge or
tighten the cap on the cuvette.
Wrong cap | Missing cap | Missing
cartridge
The wrong ERS cap is being used or
the ERS cap is missing or the
cartridge is missing or an already
used cartridge is inserted.
Use the correct ERS cartridge and
cap.
Bolt blocked
The test cartridge blocks the bolt
because the wrong ERS cap is being
used.
Use the correct ERS cartridge and
cap.
Measurement overflow
The photometric measurement value
lies outside the measuring range
(e.g. a cold cartridge has been used).
Repeat the test using a new
cartridge.
Blank error
The photometric measurement value
is outside the measuring range
(without the cartridge).
Repeat the test after restarting the
Instrument.
Temperature error
The temperature is outside the
range.
Repeat the test after restarting the
Instrument.
Wrong sampletype?
The wrong sample type has possibly
been selected.
Select the correct sample type.
Linearity error
The reaction of kinetic test is not
linear (e.g. if a cold cartridge has
been used, if wrong sampletype was
set, if wrong samplevolume was used
or if a cartridge with integrated
capillary was not used correctly).
Repeat the test using a new sample
and a new cartridge.
Mix error
Instrument fails to perform test due to
possible hardware error.
Please contact your local dealer.
Coagulation error
Coagulation can not be measured.
Repeat the test using a new
cartridge.
Sample volume error
The provided sample volume is not
correct (e.g. pipetting error).
Repeat the test using a new cartridge
with correct sample volume.
Cartridge temperature error
The cartridges’ temperature is too
low for a proper test.
Repeat the test and refer to the
package inserts for proper cartridge
use.


