Description of the configuration wizard
7
When you have set up all the necessary connections,
press [Next] to continue configuration.
Terminal allocation overview screen
The terminal allocations for the individual heating
system components are shown in this window.
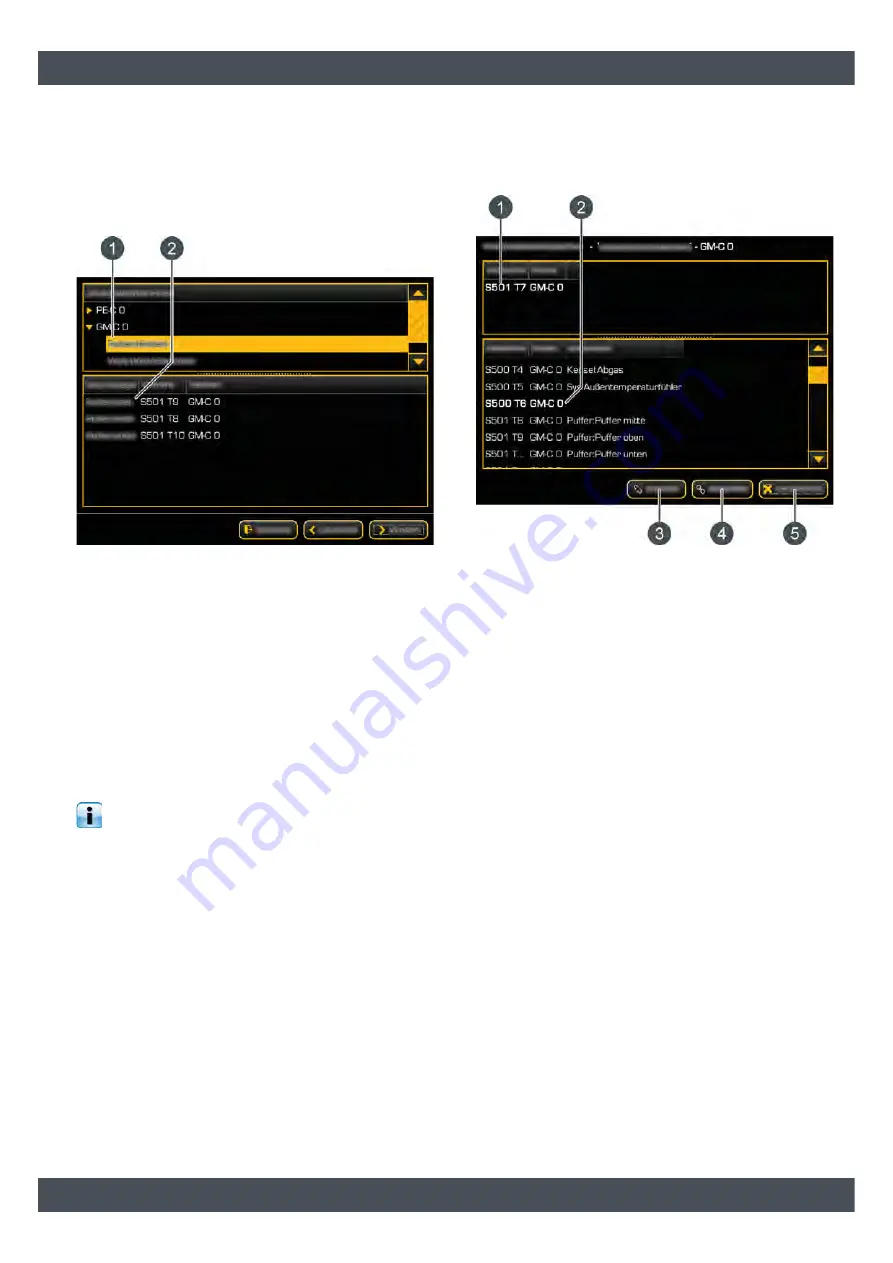
Fig. 2-6: Terminal allocation overview screen
1
Overview of added function blocks
2
Terminal allocations of individual components of
the selected function block
All configured function blocks for the individual circuit
boards are listed in the [Selected function blocks]
window. When you select a function block, its assigned
terminal allocation is shown in the window below. In
this step, the individual components are connected to
the respective terminals on the circuit board.
Once all components have been connected, press the
[Next] button to continue configuration.
You can already change the terminal allocations
in this step. The next section explains how to
change the terminal allocation for the temperature
sensor of the hot water tank.
Changing terminal allocation
1. In the function block of the hot water tank, tap the
temperature sensor [Hot water tank] twice. A
window opens.
Fig. 2-7: Example: Changing terminal allocation
1
Current terminal allocation
2
Available terminals, the factory setting is
highlighted
3
Delete current terminal allocation
4
Allocate new terminal allocation
5
Close window
2. In the upper window, select the terminal and press
[Disconnect] to delete the current terminal
allocation.
3. After this, select a free terminal in the lower
window and allocate the new allocation by
pressing [Connect]. Finish by closing the window
with the [Close] button.
Installing a configuration
Finish by pressing [Apply] to install the configuration.
The configuration will then be adopted and the
software restarted.


