③
Historical Data
Retrieve the historical Waveform data, click it to pop up the
historical waveform browsing window as shown in Figure 5-19.
④
Pause
Click pause control, the waveform will stop updating and stay on
the captured.
⑤
Save
Check “Save”, the data in the waveform browsing window will be
saved.
⑥
Cursor1
Cursor 1, the amplitude and time of a point on the waveform,
often cooperate with cursor 2 to measure the time interval.
Cursor2
Cursor 2, the amplitude and time of a point on the waveform,
often cooperate with Cursor 1 to measure the time interval.
⑦
Waveform
Selection
The output voltage or output current data can be set individually
or at the same time and browse its waveform.
⑧
Parameter
Setting
The window display time, sampling time interval and other
parameters of the waveform data points can be set.
⑨
Control button
The user can zoom in horizontally/vertically, zoom in/out as a
whole, zoom in partly, restore the original state, and drag the
waveform though clicking different buttons.
5.10.2
Historical waveform browsing
The GUI software of EAC-4Q-KS can record the waveform of output voltage and current, and
store it in the TFT touch panel/workstation, for users to retrieve browsing and analysis in future
Operation Steps:
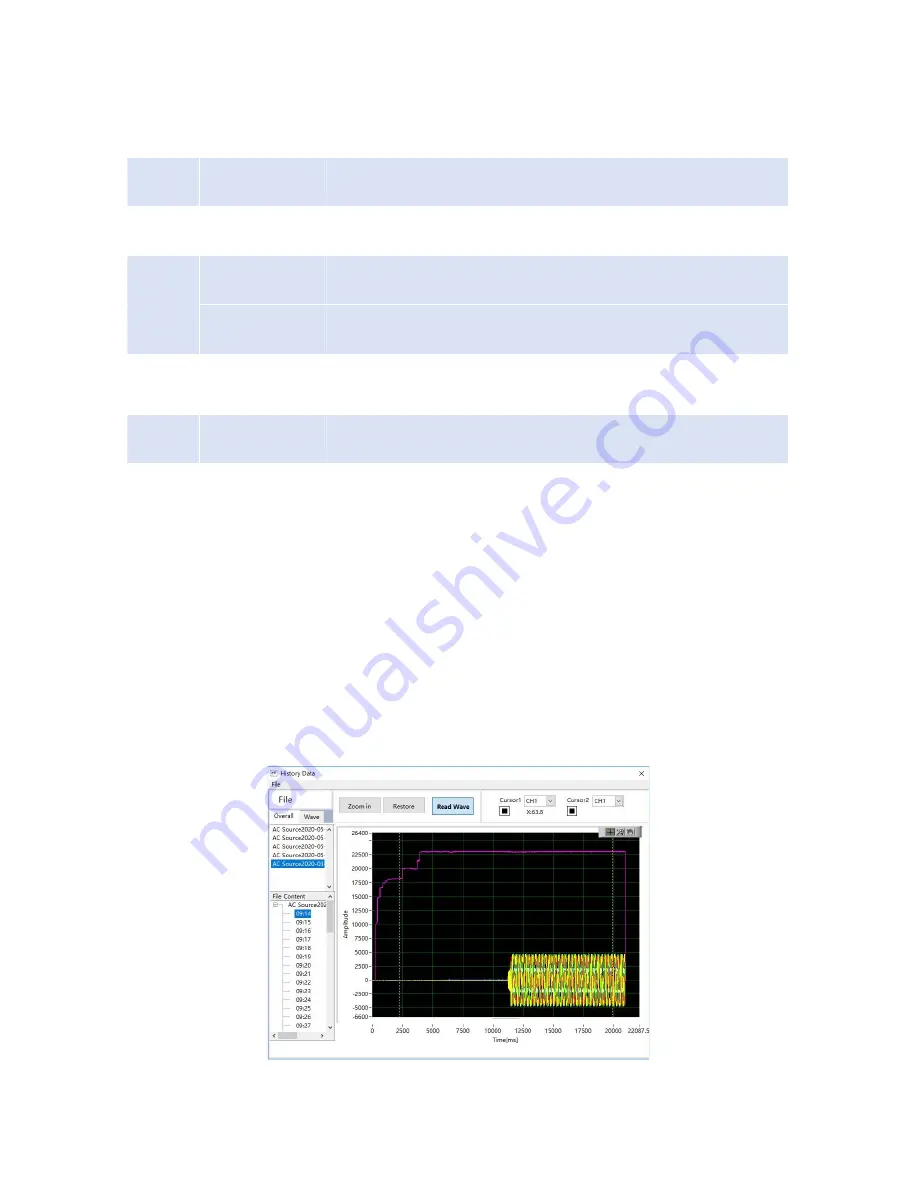
Click "Historical Data" to enter the panel (Figure 5-21). The historical waveforms are arranged in
the window on the left in order of recording time. After selecting a waveform, click "Read
waveform " to browse the historical Waveforms (the operation steps are similar to 5.10.1).
Figure 5-21 Historical waveform panel
Summary of Contents for EAC-4Q-KS 15
Page 57: ...Figure 5 14 DC output mode...
Page 97: ...CUR POW POW...


