22
23
EN
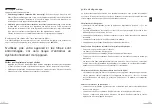
before initial use
Remove your appliance and its accessories from its original packaging. Check the appliance
for any damage.
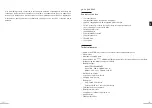
Installing the battery on the appliance
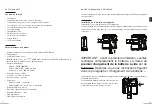
The appliance comes with the battery (7) uninstalled.
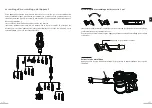
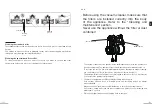
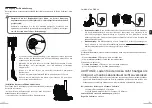
Remove the battery from its packaging and insert it into the housing located above the dust
container (10) until it clicks into place as shown in the diagrams below:
IMPORTANT: fully charge the battery before initial
use. The
empty battery takes
six hours to fully
charge
. Refer to the instructions in the “Charging
the battery” section.
If the battery is not fully charged before initial use, its performance may be limited.
To remove the battery, press the release button (9) on each side of the motor unit as shown
in the adjacent diagram:
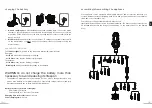
Installing the wall bracket
The supplied hardware kit includes wall plugs suitable for solid walls made of concrete, solid
brick, stone, etc.
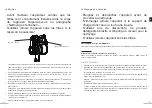
1.
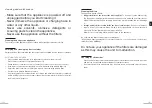
Place the wall bracket (17) against the wall in the desired location. Make
sure that the height of the bracket matches the height of the vacuum
cleaner.
2.
Trace each of the three holes with a pencil. Use a spirit level to ensure the
bracket is perfectly horizontal.
3.
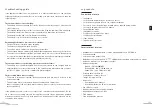
Drill the three holes using a concrete drill bit of suitable diameter.
4.
Insert the three supplied wall plugs into the holes.
5.
Place the bracket against the wall and screw the three screws through
the bracket.
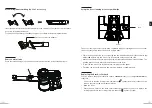
Installing the attachable charging base
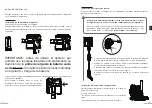
An attachable charging base (18) is provided to charge your
vacuum cleaner.
Place this base:
- on the ground, making sure it is aligned with the wall mount.
- near an easily accessible wall outlet.
Inspect the partition or wall type where you want to fix the charging base.
Make sure that the included fastenings are compatible.
If they are not, use expanding wall plugs designed for your type of partition
or wall (use special fixings for hollow walls, BA13 plasterboard walls, hollow
bricks, etc.).
These are not provided in the packaging
.
!


