
ESI
Juli@ XTe
25
6. Setting in Applications
This chapter contains basic configuration examples for some software applications. Please also refer
to the manual of the audio software you use for detailed information.
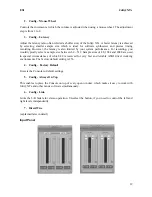
Windows Multimedia Setup
The Windows multimedia setup is required if you want to use your Juli@ XTe as the main sound
device for Windows multimedia applications. Go to
My computer-> Control panel -> Sounds and
Audio Device Properties -> Audio
. Select the Juli@ entry as your playback device to make sure that
all standard signals are played via the Juli@ XTe hardware.
Please note that some advanced properties buttons in this area will be grayed out because some of
the mixer features of Juli@ XTe are not compatible with the functions provided by the Windows
default mixer that was designed for consumer audio hardware. However, this does not mean you do
not have any advanced options – the Juli@ XTe control panel described in the previous chapter
includes all professional audio features that you might need and which are simply not always
compatible with the basic mixer control from Windows.
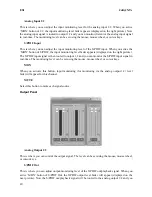
Mac OS X Audio MIDI Setup
The
Audio MIDI Setup
application can be found in the
Utilities
folder on your system. When you
launch it, you can setup Juli@ XTe as your
Default Input
,
Default Output
or
System Output
device
– if required.
While audio production and editing applications usually provide an option inside their preferences
to select Juli@ XTe as recording and playback device, many general standard applications such as
iTunes for example are usually accessing the
Default Output
device, selectable in the
Audio MIDI
Setup
dialog.
If you want to change settings of Juli@ XTe, you need to select it under
Properties For.
You can
change the default sample rate under
Audio Input
->
Format
or
Audio Output
->
Format
or you can
change the main playback volume under
Audio Output
->
Volume Slider
->
M
.
Cubase LE 6
Juli@ XTe ships with a DVD-ROM with Cubase LE 6 from Steinberg. If you are using a different
recording software, you can skip this section.
Installation
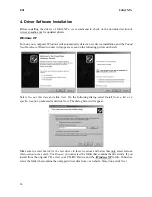
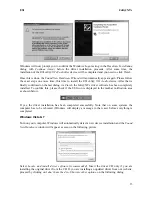
To install Cubase LE 6, insert the DVD-ROM into the DVD-ROM drive of your computer. Under
Windows, the installation will normally start automatically – if not, you can launch it manually by
starting the installer from the DVD-ROM drive. To install Cubase LE 6 under Mac OS X, double
click on the installer icon
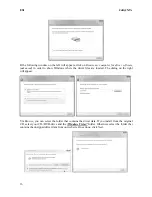
To proceed with the installation, follow all instructions on screen. During the installation the
Syncrosoft License Control
software will be installed as well. To use Cubase LE 6 for more than 30
days, you need to activate it with this software via the internet. This means that you need an active
internet connection on the computer you are installing Cubase LE 6. We recommend you to activate
the software as early as possible.


