


ESAB ET 186i AC/DC
Manual 0-5425 3-7 INSTALLATION, OPERATION AND SETUP
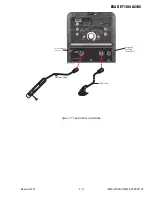
A-11409
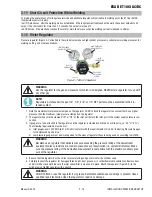
High
Low
Figure 3-3
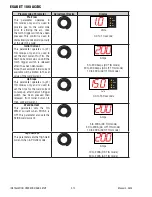
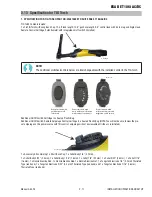
4T Latch Mode
This mode of welding is mainly used for long welding runs to reduce operator fatigue. In this mode the operator can press and
release the torch trigger and the output will remain active. To deactivate the power source, the trigger switch must again be
depressed and realized, thus eliminating the need for the operator to hold the torch trigger.
Note that when operating in GTAW (HF and LIFT TIG modes), the power source will remain activated until the selected down
slope time has elapsed
NOTE!
This Up Slope operates in (4T) TIG modes only and is used to set the time for the weld current to ramp up,
after the torch trigger switch has been pressed then released, from Initial Current to High or Weld Current.
Press & hold
Trigger
Weld
Current
High
Current
Down
Slope
Post
Flow
AMPS
TIME
Pre
Flow
Up
Slope
Release
Trigger
Initial
Current
Arc Ignited
Arc Terminated
Press & hold
Trigger
Release
Trigger
Crater
Current
A-11410_AB
Figure 3-4
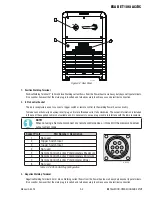
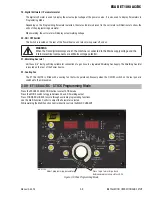
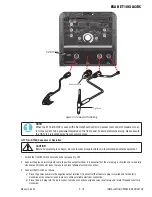
9. Wave Balance / Arc Force Indicator
This indicator light will illuminate when programming Wave Balance (AC HF TIG mode only) or Arc Force (STICK mode only).
10. Forward Programming Button
Pressing this button will advance to the next step in the programming sequence.
11. Multifunction Control
The multifunction control knob is used to adjust welding current.
It is also used to adjust parameters when in programming mode.


