13
ROUTINE MAINTENANCE
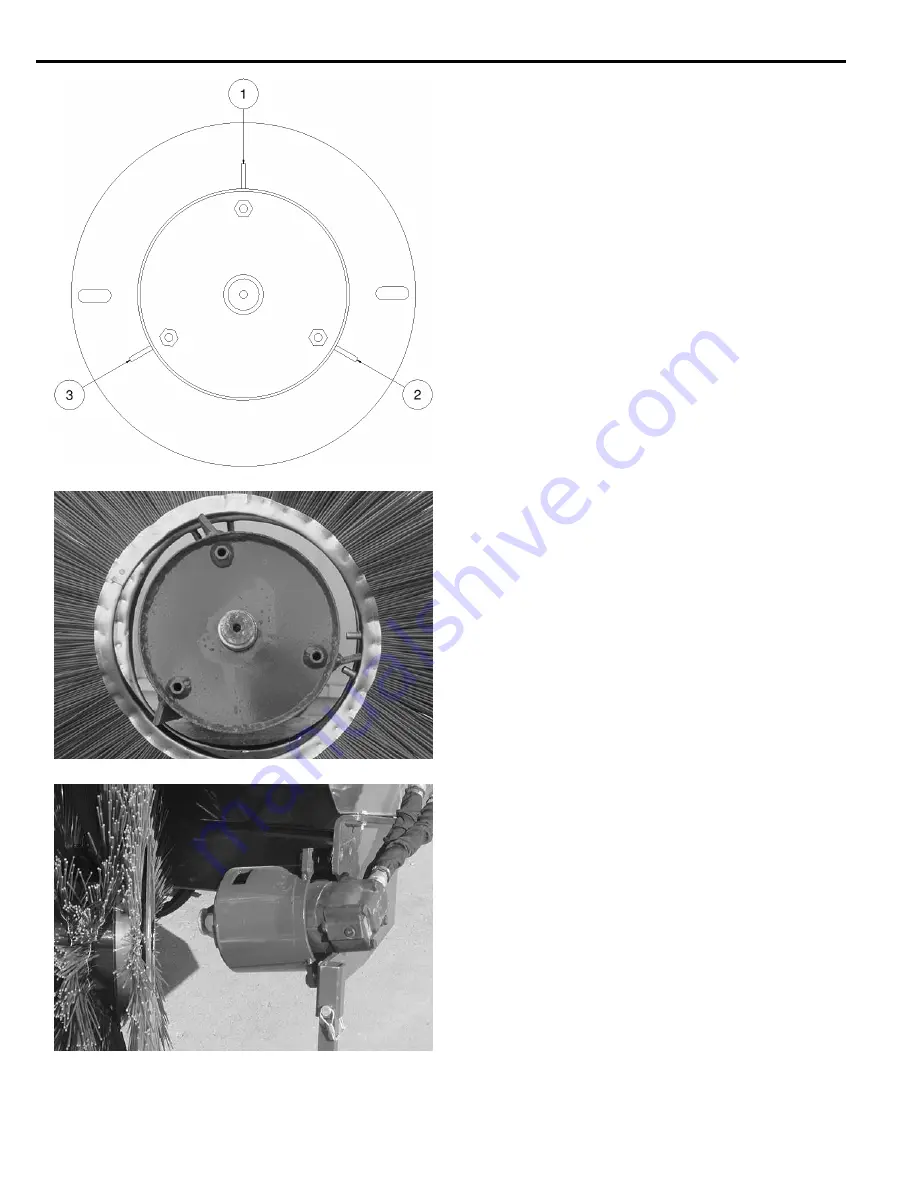
8. Number the ribs on the arbor as 1, 2, and 3.
9.
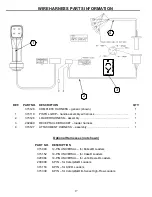
Slide the first “wavy” brush section on so that the
pins are around rib 1.
10.
Slide the second “wavy” brush section on so that
the pins are around rib 2.
NOTE:
Every other brush section will need to be
flipped so that the high spots of the bristle “waves”
on the neighboring sections hit each other.
11.
Slide the third “wavy” brush section on so that the
pins are around rib 3.
12. Continue this pattern until all brush sections are
installed.
NOTE:
The brush stack does not need to be flush
with the end of the arbor. It may be higher or lower
depending on how each brush section is formed.
If the stack is high, compress it when reinstalling
the brush retainer. If the stack is low, it will spread
out when the arbor is laid down. If the stack is
excessively high, remove one or more sections to
get it close to the proper height.
13. Reinstall the brush retainer and three bolts.
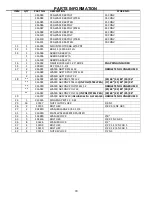
14. Slide the motor assembly into the end of the arbor,
aligning the hex drive with the hole in the end of
the arbor.
15. Slide the brush head assembly back into the
frame.
16. Reinstall the four motor mount bolts and nuts.
17. Reinstall the four bearing mount bolts and nuts.
18. Tighten all hardware to the proper torque(s).
Refer to “Bolt Torque Information” on page 25 of
this manual.


