


8
USER’S INSTRUCTIONS FOR MOUNTING THE SNOW BLOWER
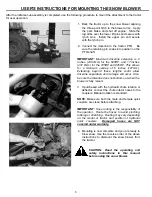
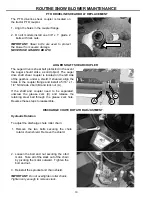
After the initial set-up assembly is completed, use the following procedure to mount the attachment to the tractor
for user operation.
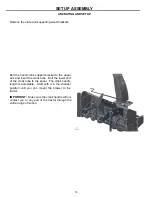
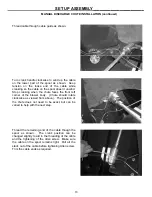
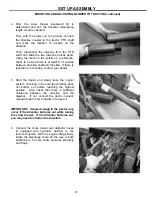
1. Back the tractor up to the snow blower aligning
the three-point hitch to the blower arms. Apply
the park brake and shut off engine. Slide the
tug arms over the lower lift pins and secure with
lynch pins. Install the upper pin and secure
with the lynch pin.
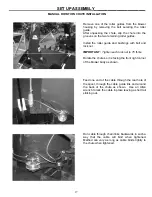
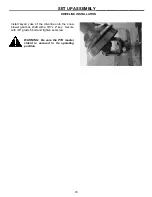
2. Connect the driveline to the tractor PTO. Be
sure the retaining pin snaps into position on the
PTO shaft.
IMPORTANT: Maximum driveline extension is 9
inches (230.4mm) for the 620RP, and 17 inches
(431.8mm) for the 725RP and 825RP. This allows
for a minimum overlap of 5 inches (127mm).
Extending beyond these lengths could allow
driveline separation and damage will occur. Also,
be sure the driveline does not bottom out when the
blower is fully raised.
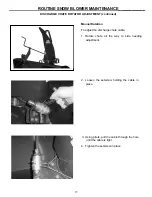
3. If purchased with the hydraulic chute rotation or
deflector, connect the chute rotator hoses to the
couplers. Manual rotation is standard.
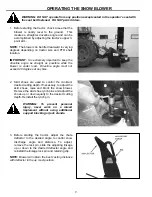
NOTE
: Make sure both the male and female quick
couplers are clean before attaching.
IMPORTANT:
Hose routing is the responsibility of
the operator. Route the hoses to avoid pinching,
rubbing or stretching. Routing may vary depending
on the model of tractor and position of hydraulic
quick couplers. Damaged hoses are NOT
covered under warranty.
4. Mounting is now complete and you are ready to
blow snow. Use the reverse order of the above
instructions to dismount the snow blower from
the tractor.
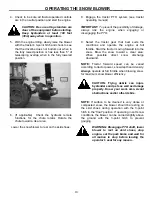
CAUTION: Read the operating and
safety instructions in this manual
before using the snow blower.
Summary of Contents for 620RP
Page 25: ...25 620 725 825 REARPULL BODY INFORMATION__________ ...
Page 27: ...27 620 725 825 REARPULL BODY INFORMATION________ ...
Page 29: ...29 620 725 825 REARPULL DRIVE INFORMATION VIEWED FROM TOP VIEWED FROM FRONT ...
Page 36: ...36 P N 300620 Date Printed 2 27 2017 Erskine Attachments LLC Printed in U S A ...