Print Quality/Layout
Problems
Problems
Solution No.
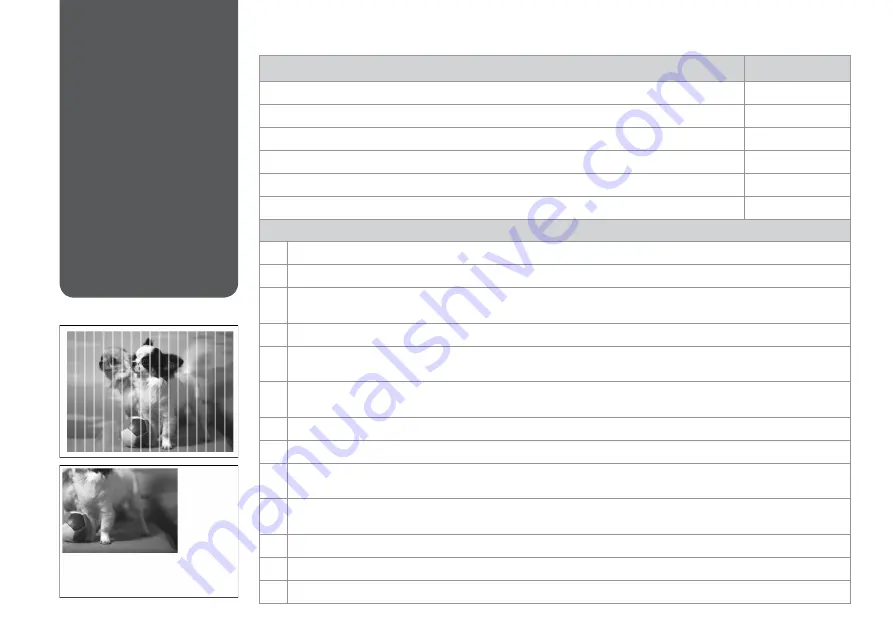
You see banding (light lines) in your printouts or copies.
ABDEGI
Your printout is blurry or smeared.
ABDEFH
Your printout is faint or has gaps.
ABCDG
Your printout is grainy.
E
You see incorrect or missing colors.
DG
The image size or position is incorrect.
JKLM
Solutions
A
Make sure you select the correct paper type.
R
&
10
B
Make sure the printable side (the whiter or glossier side) of the paper is facing in the right direction.
R
&
11
C
When you select Standard Quality or Best as the Quality setting, select Off as the Bidirectional setting. Bidirectional
printing decreases print quality.
R
&
30
D
Perform a nozzle check first and then clean the print head that shows a defect in the nozzle check result.
R
&
34
E
Align the print head. If quality is not improved, try aligning using the printer driver utility. See your online User’s Guide to
align the print head.
R
&
36
F
To clean the inside of the printer, make a copy without placing a document on the document table. For further information,
see your online User’s Guide.
G
For best results, use up ink cartridge within six months of opening the package.
R
&
33
H
Try to use genuine Epson ink cartridges and paper recommended by Epson.
I
If a moiré (cross-hatch) pattern appears on your copy, change the Reduce/Enlarge setting or shift the position of your
original.
J
Make sure you selected the correct Paper Size, Layout, Expansion, and Reduce/Enlarge setting for the loaded paper.
R
&
24, 30
K
Make sure you loaded paper and placed the original correctly.
R
&
11, 16
L
If the edges of the copy or photo are cropped off, move the original slightly away from the corner.
M
Clean the document table. See your online User’s Guide.
Try the following solutions in order from the Top. For further information, see your online User’s Guide.
Summary of Contents for WorkForce 625
Page 1: ...Basic Operation Guide for use without a computer ...
Page 9: ... Handling Media and Originals ...
Page 13: ...13 See the online User s Guide when using Legal size paper Q ...
Page 17: ...17 Copy and Scan Mode ...
Page 22: ...22 N Start copying Make sure you set the Paper Size and Paper Type Q M Finish the settings ...
Page 25: ...25 Print Photos Mode ...
Page 31: ...31 Setup Mode Maintenance ...
Page 37: ...37 H Repeat G for all patterns I Finish aligning the print head ...
Page 39: ...39 Solving Problems ...
Page 45: ...45 G Remove Open I J Carefully remove K Reattach E Turn around F Pull out H Remove L Restart ...


