


138
8.
Close the utility window.
9.
Load a paper type compatible with temporary black printing in your product.
10. Select
Print Settings
from the pop-up menu.
11. Select a non-borderless paper size as the
Paper Size
setting.
12. Select a paper type that supports
Permit temporary black printing
as the media type setting.
13. Select the
Grayscale
option as the color setting.
14. Click
to print your document.
Parent topic:
Printing with Black Ink and Expended Color Cartridges
Related tasks
Removing and Installing Ink Cartridges
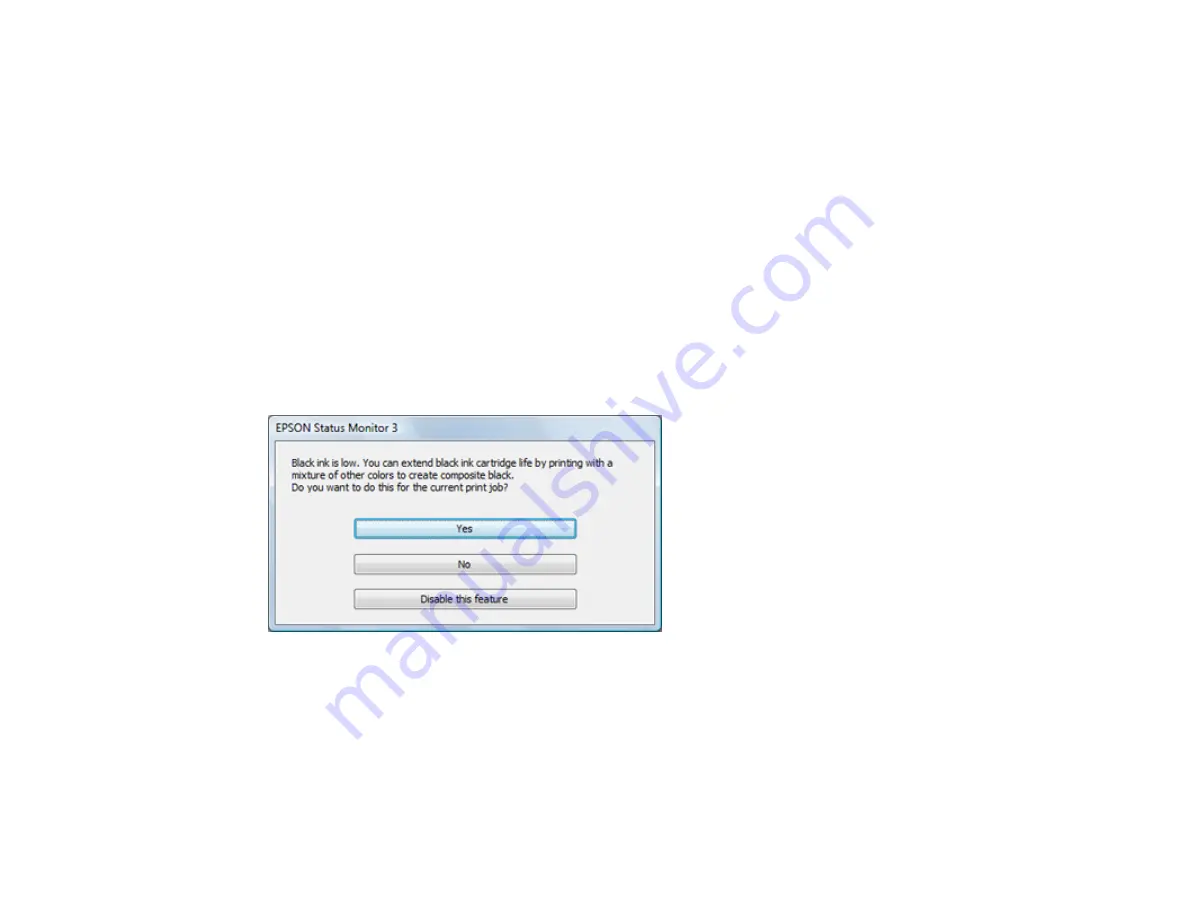
Conserving Low Black Ink with Windows
The following window appears when black ink runs low and there is more color ink.
Note:
The window appears only when you have selected
Plain Paper/Bright White Paper
as the paper
type setting, and depends on other selected print settings. To use this feature, Epson Status Monitor
must be enabled.
• Click
Yes
to use a mixture of color inks to create black, or
No
to continue using the remaining black ink
for the document you are printing.
Summary of Contents for WF-C4310
Page 1: ...WF C4310 User s Guide ...
Page 2: ......
Page 10: ......
Page 65: ...65 2 Extend the paper tray by pressing the lever and slide the edge guides all the way out ...
Page 143: ...143 You see a window like this 5 Click Print ...


