160
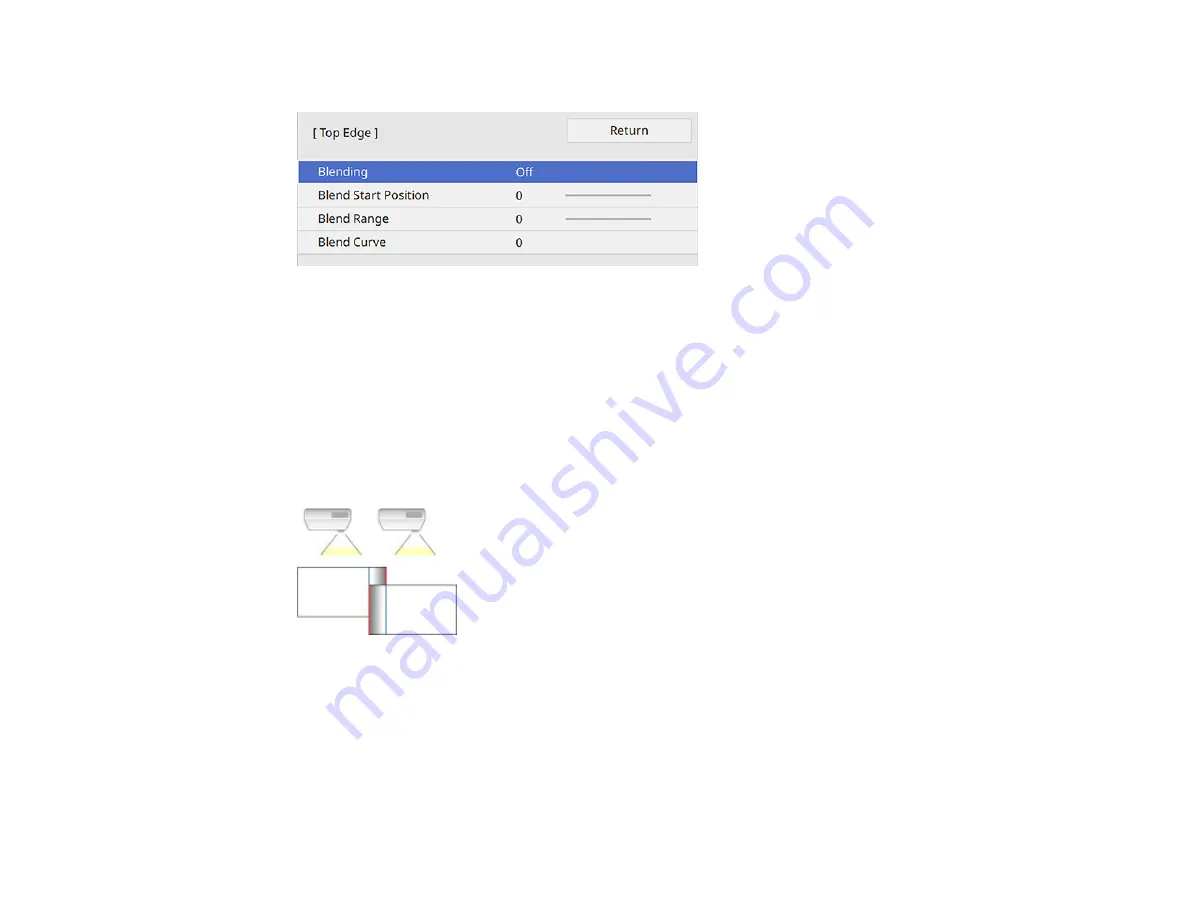
You see a screen like this:
6.
Select the
Blending
setting and select
On
.
7.
Press
Esc
to return to the previous screen.
8.
Select the
Blend Start Position
setting and adjust the point where edge blending begins.
Note:
If you created a unified image area using the Edge Blending feature, set the
Blend Start
Position
setting to
0
.
9.
Select the
Blend Range
setting and use the arrow buttons to select the width of the blended area so
that the displayed guides are at the edges of the overlapping area between the two images.
Note:
If you created a unified image area using the Edge Blending feature, set the
Blend Range
setting to
600
.
10. Select the
Blend Curve
setting and select a gradient for the shaded area on the projectors.
Note:
Depending on your installation environment, you can also set the
Blend Range
setting to
600
or less but black bands may appear on the sides of the projected screen.
Summary of Contents for V11H923620
Page 1: ...PowerLite EB 800F 805F User s Guide ...
Page 2: ......
Page 53: ...53 3 Select the Network menu and press Enter 4 Select Network Settings and press Enter ...
Page 62: ...62 3 Select the Management menu and press Enter 4 Select On as the Wireless LAN Power setting ...
Page 81: ...81 You see the Web Control screen In normal mode ...
Page 86: ...86 You see the Epson Web Control screen 3 Select Crestron Connected ...
Page 193: ...193 You see a screen like this ...
Page 197: ...197 Parent topic Scheduling Projector Events ...
Page 275: ...275 Related references Projector Light Status ...
Page 286: ...286 Top Side ...


